hcraig244
Forum Replies Created
- AuthorPosts
-
Bernie
Sorry for the late reply…..been a bit busy with work etc. The GL90 neon was connected directly to the incomming 230vac supply down stream of the fuses…..the supply needs to be connected through the reed relay contacts just as it is now (so the lamp only comes on when start is pressed) I think all the parts I used are documented in this post….but if you need any more info let me know
Regards Craig
I would also replace ZF18 Zener diode….check the other transistors around the voltage regulator too…..something caused may have caused the SE8002 to short out.
Craig
Ok……one thing at a time.
- For some strange reason the internal wiring which connects the AUX signal DIN to the amp is wired differently to the TAPE input DIN, I found this out the hard way. Connect your signal to the phono plugs instead of the DIN connector for the AUX input and see if you then get sound to your speakers.
- The Hi and Lo s are latching switches that need to be pushed forwards to engage or disengage….these are used if your input needs to go through the pre amp stage or not…a low signal will need to (I think this is right…..). The + and – trim pots can be set by ear….they adjust the volume of each speaker to balance the sound.
- I will need more info for this question….and maybe some pics?
This is a pic showing the lamp still on the push fit tab
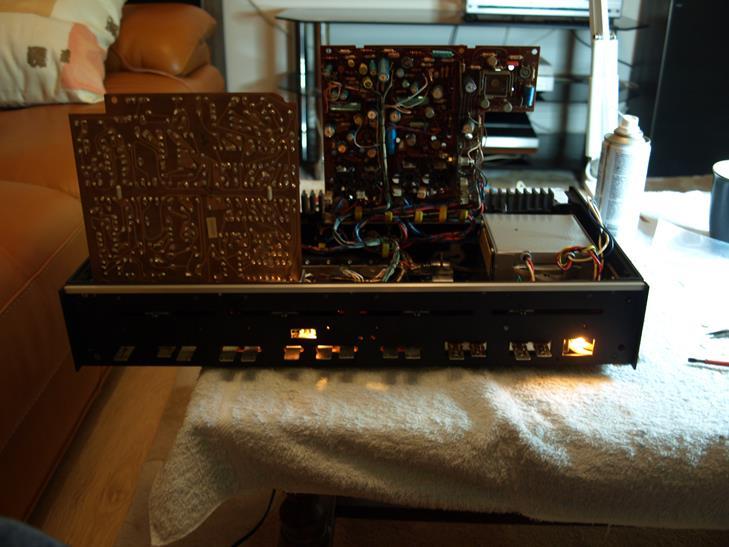
You need to take the top off, remove the screws holding the amp PC down….it’s on a hinge so will lift up and can be put into the service position which is vertical. This allows access to the power on bulb, its a push fit onto a tab and can ce carefully pulled backwards untill released, you can then unscrew the lamp and replace it…..make sure you use the propper voltage…I think its 60vdc
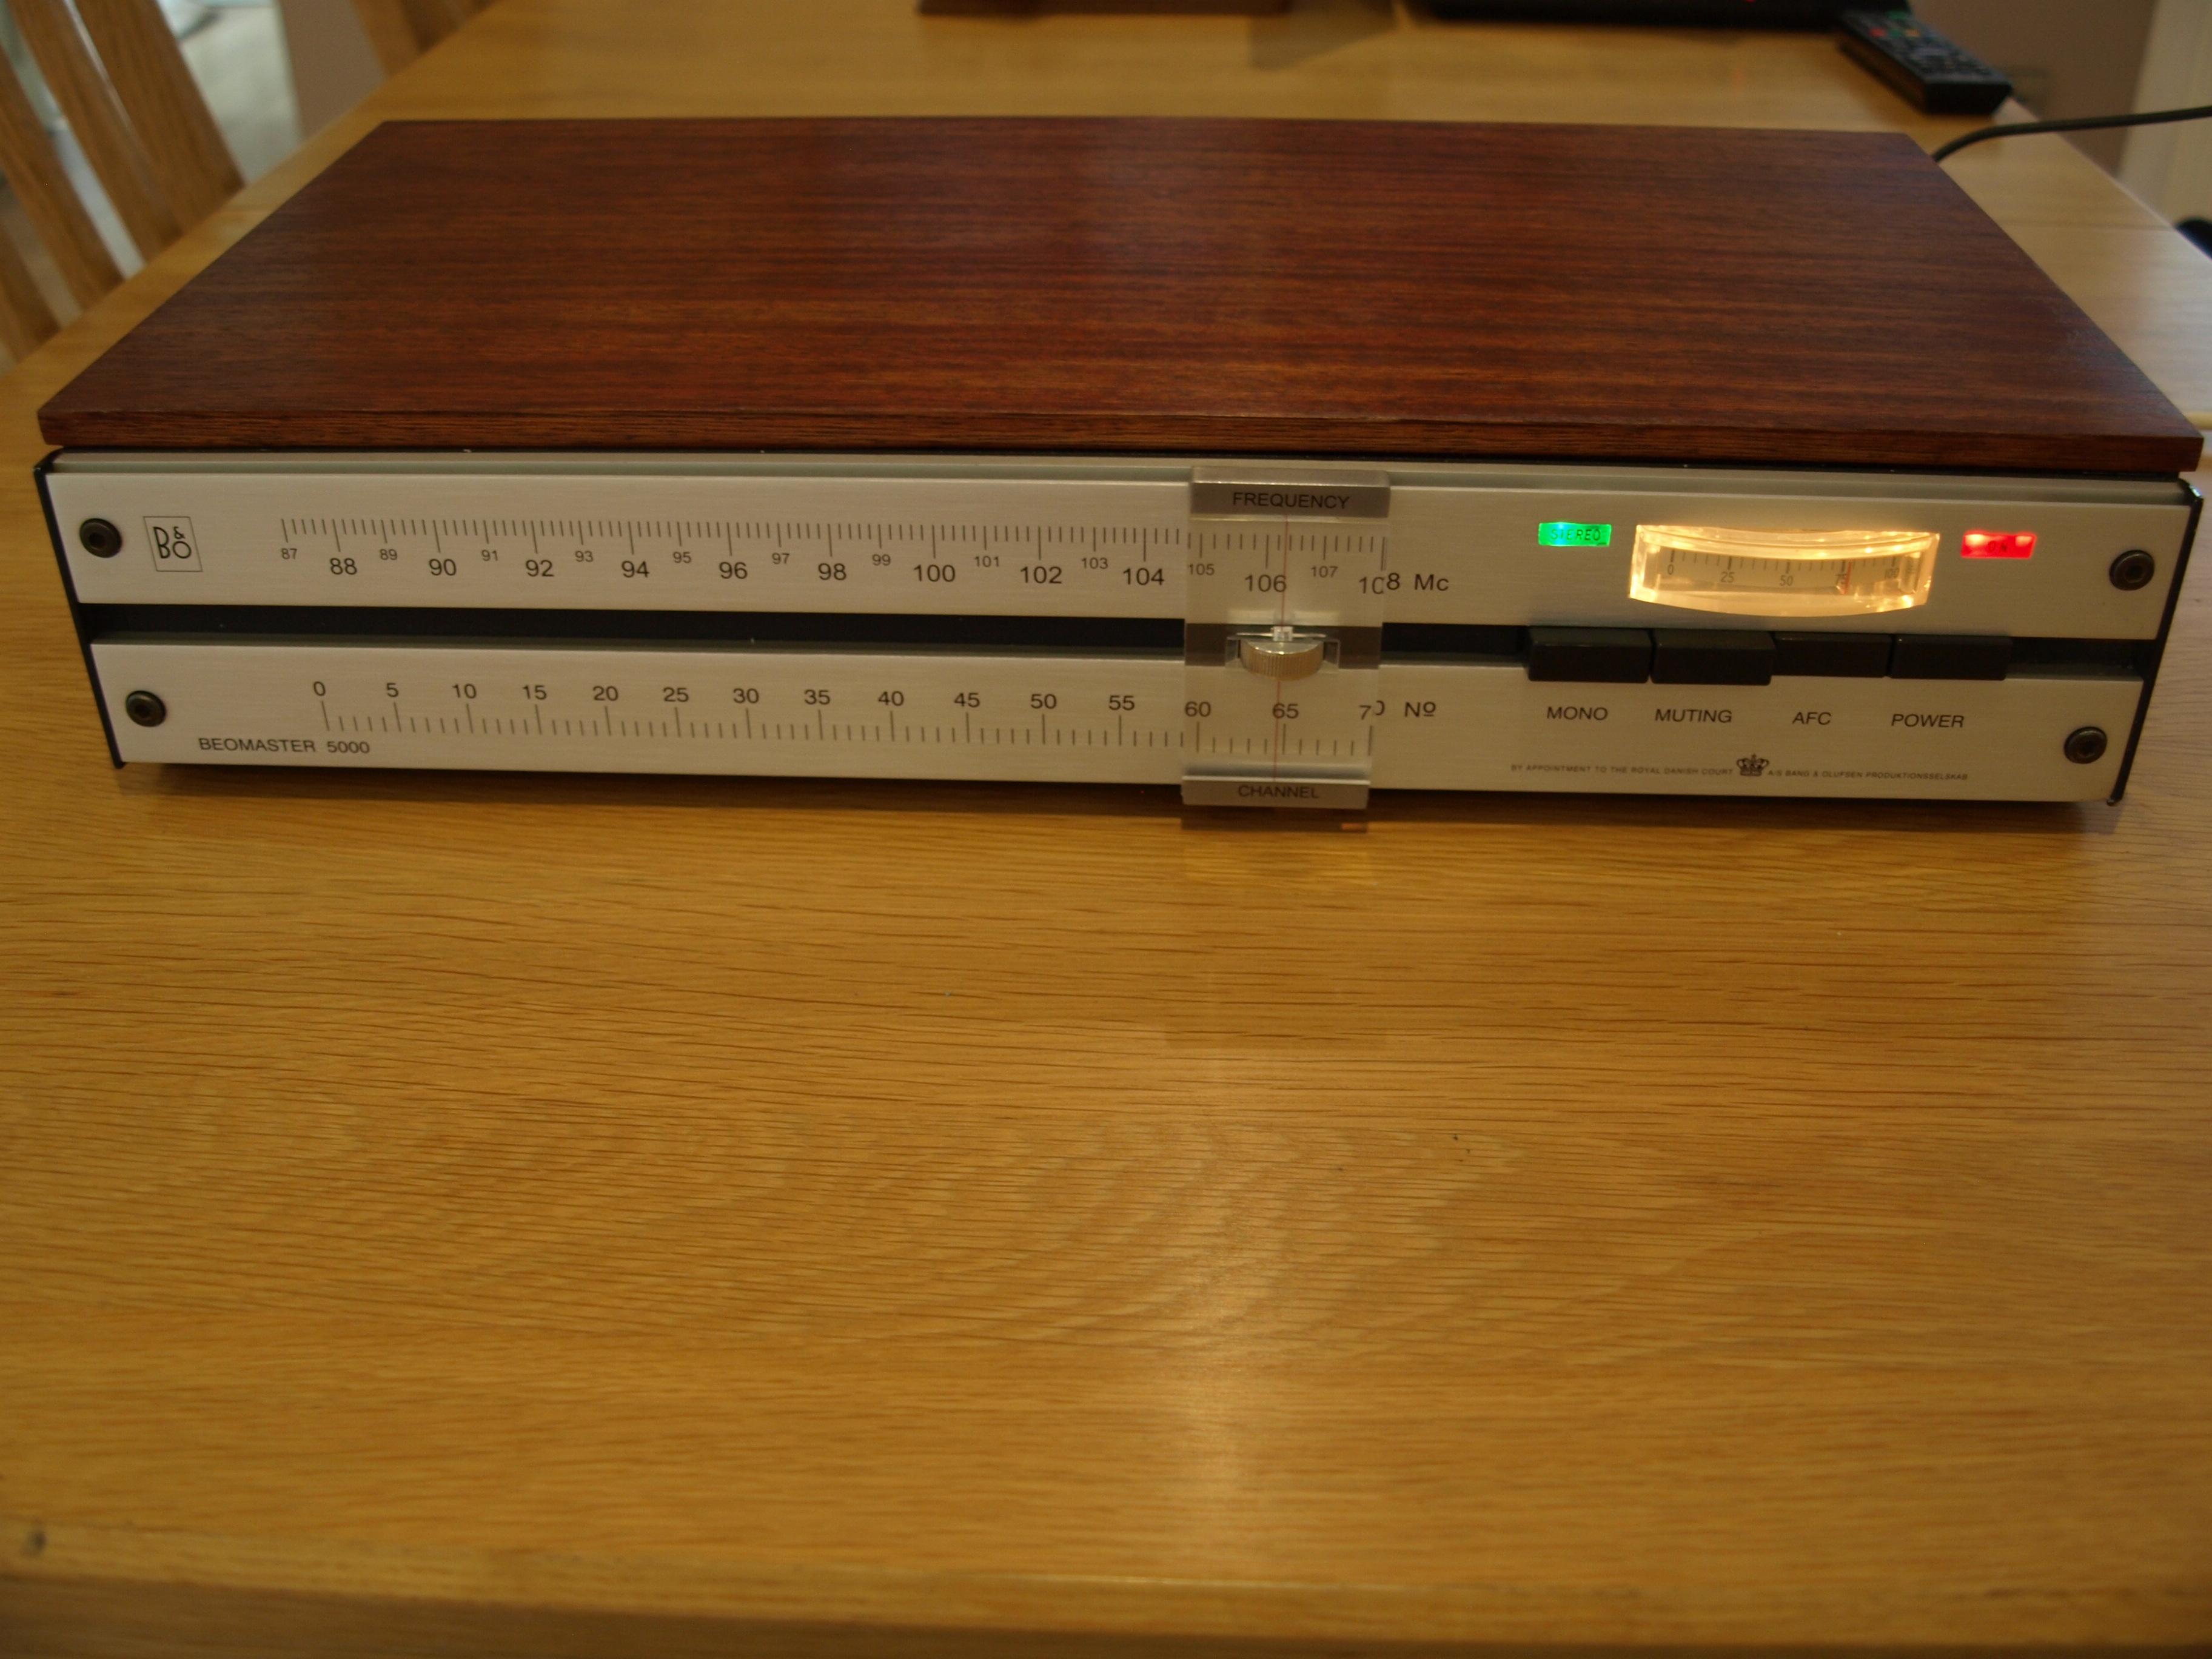
All complete and fully tested…..does sound very good for an old girl, I think it can now be identified as restored……
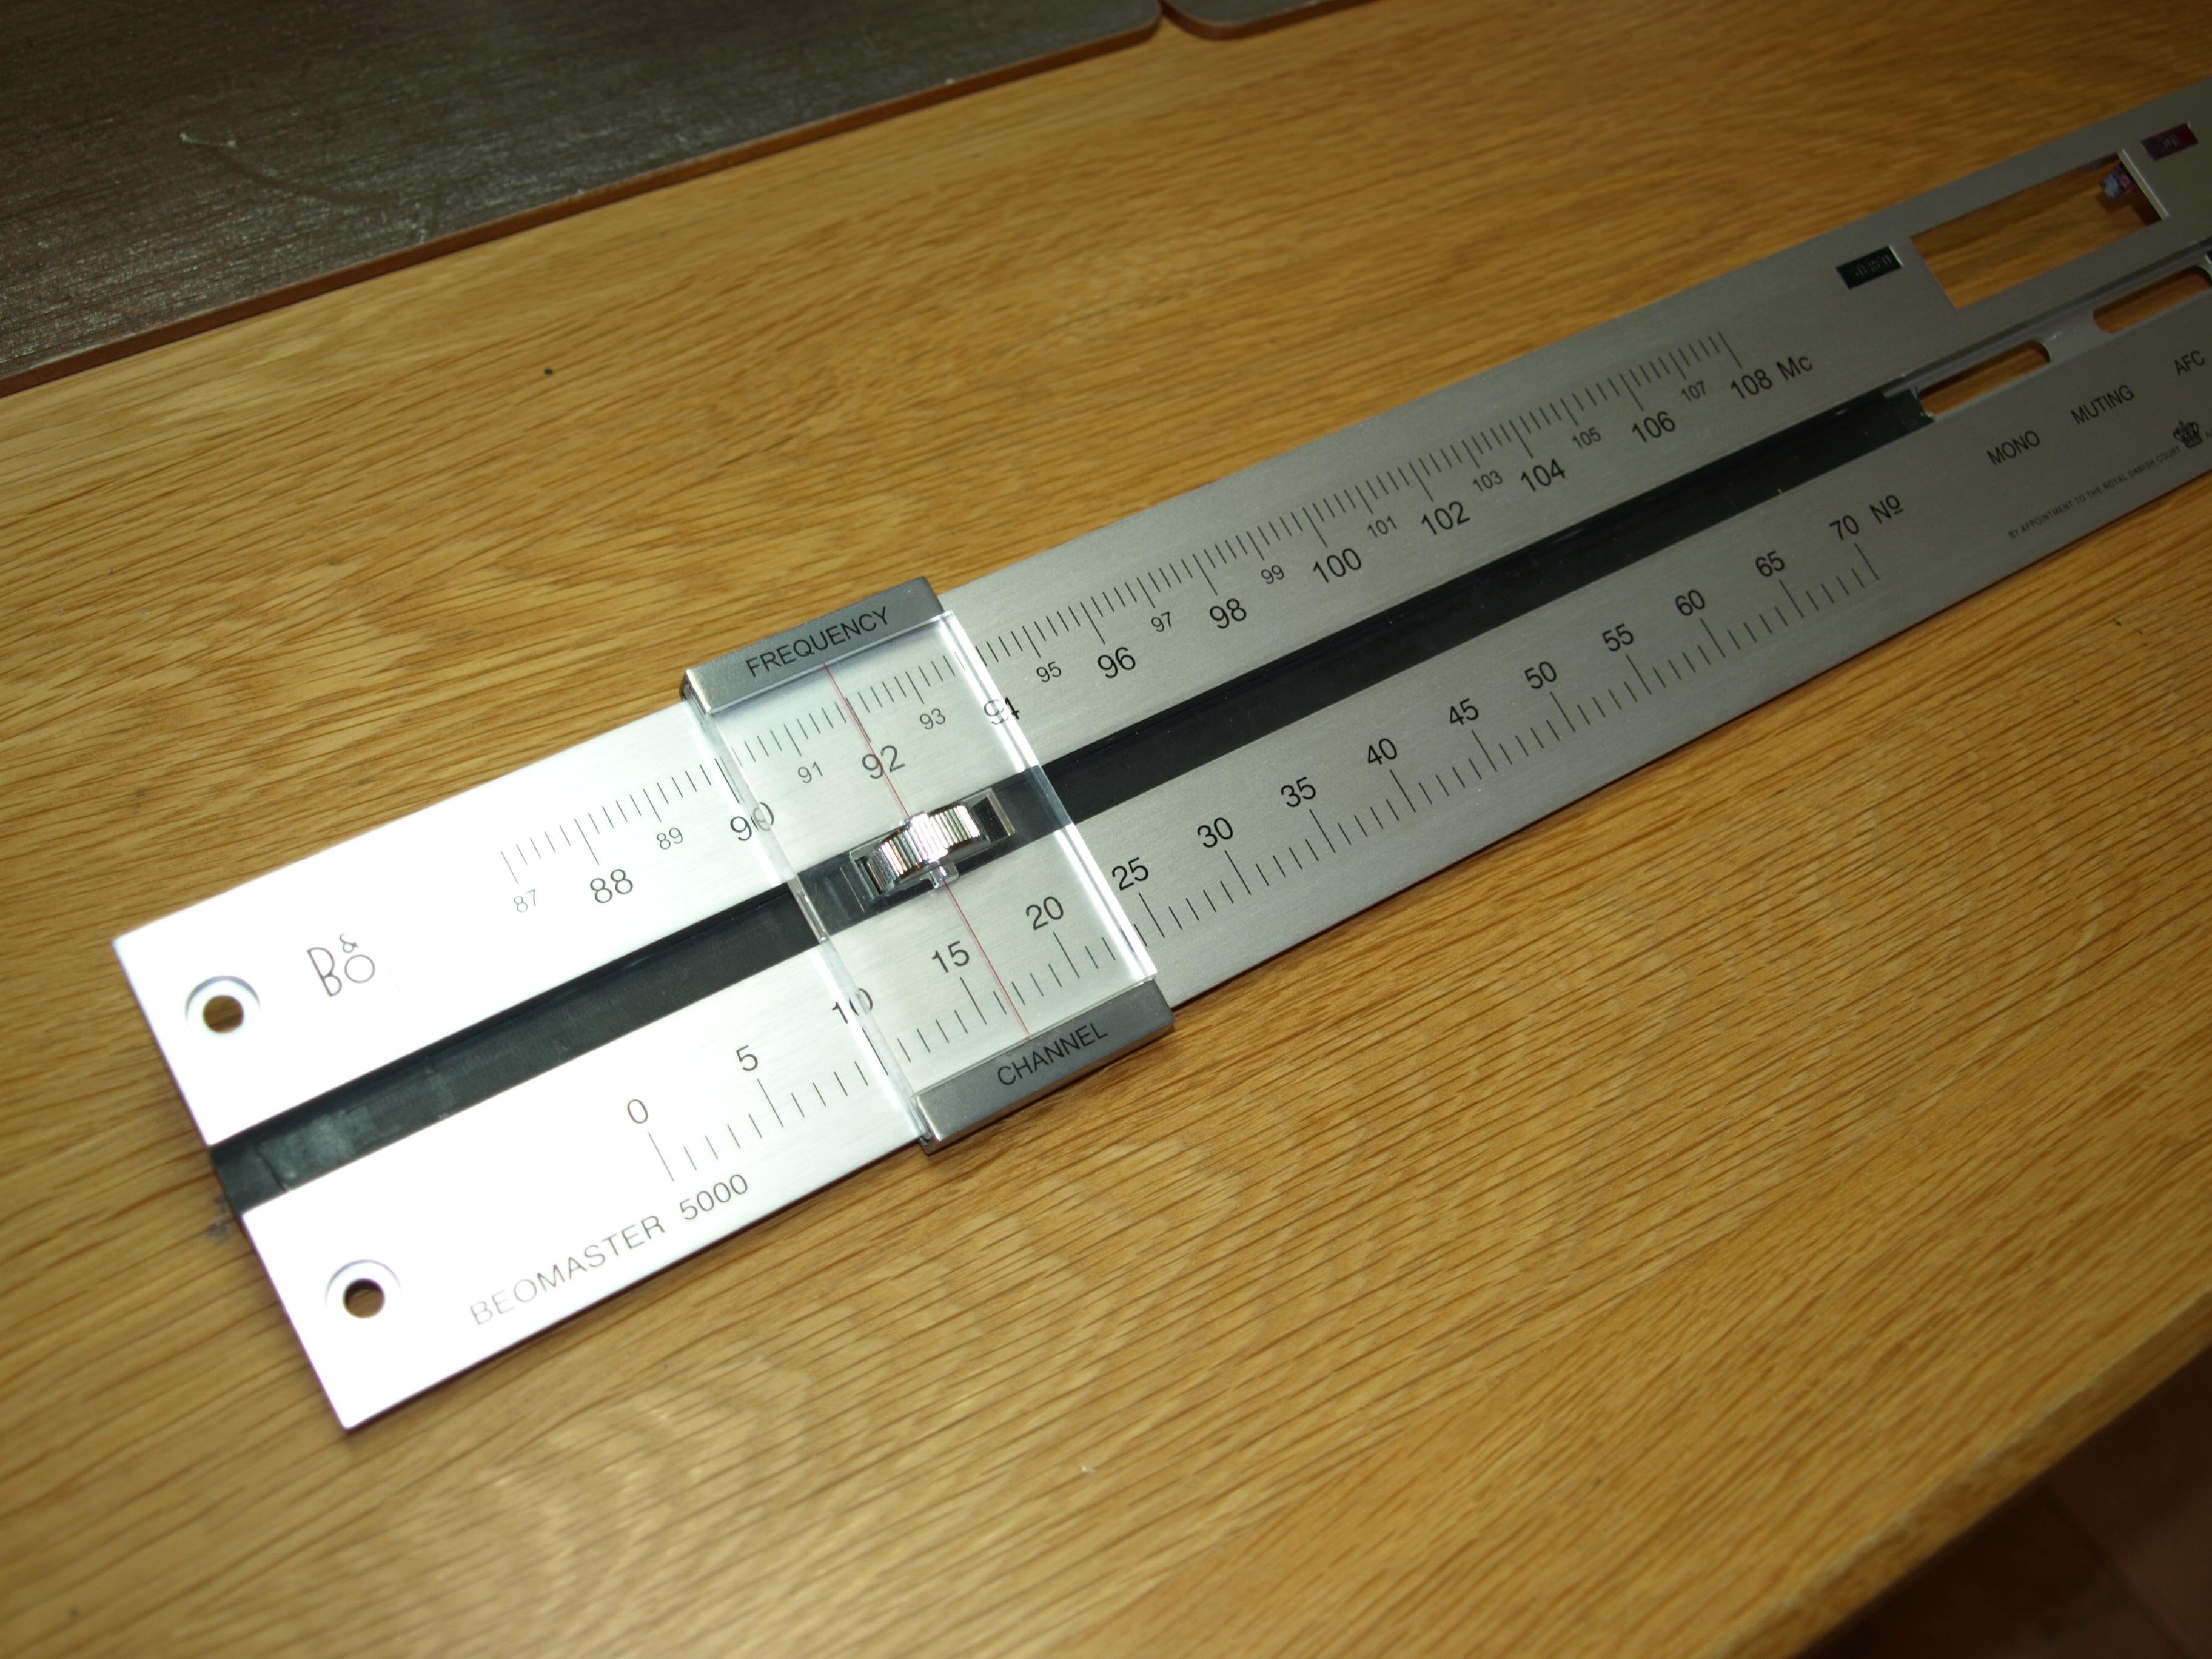
Made a start on the front panel and curser…..takes quite a bit of fiddling around to get the felt pads back in along with the nylon studs on which the curser rides…..
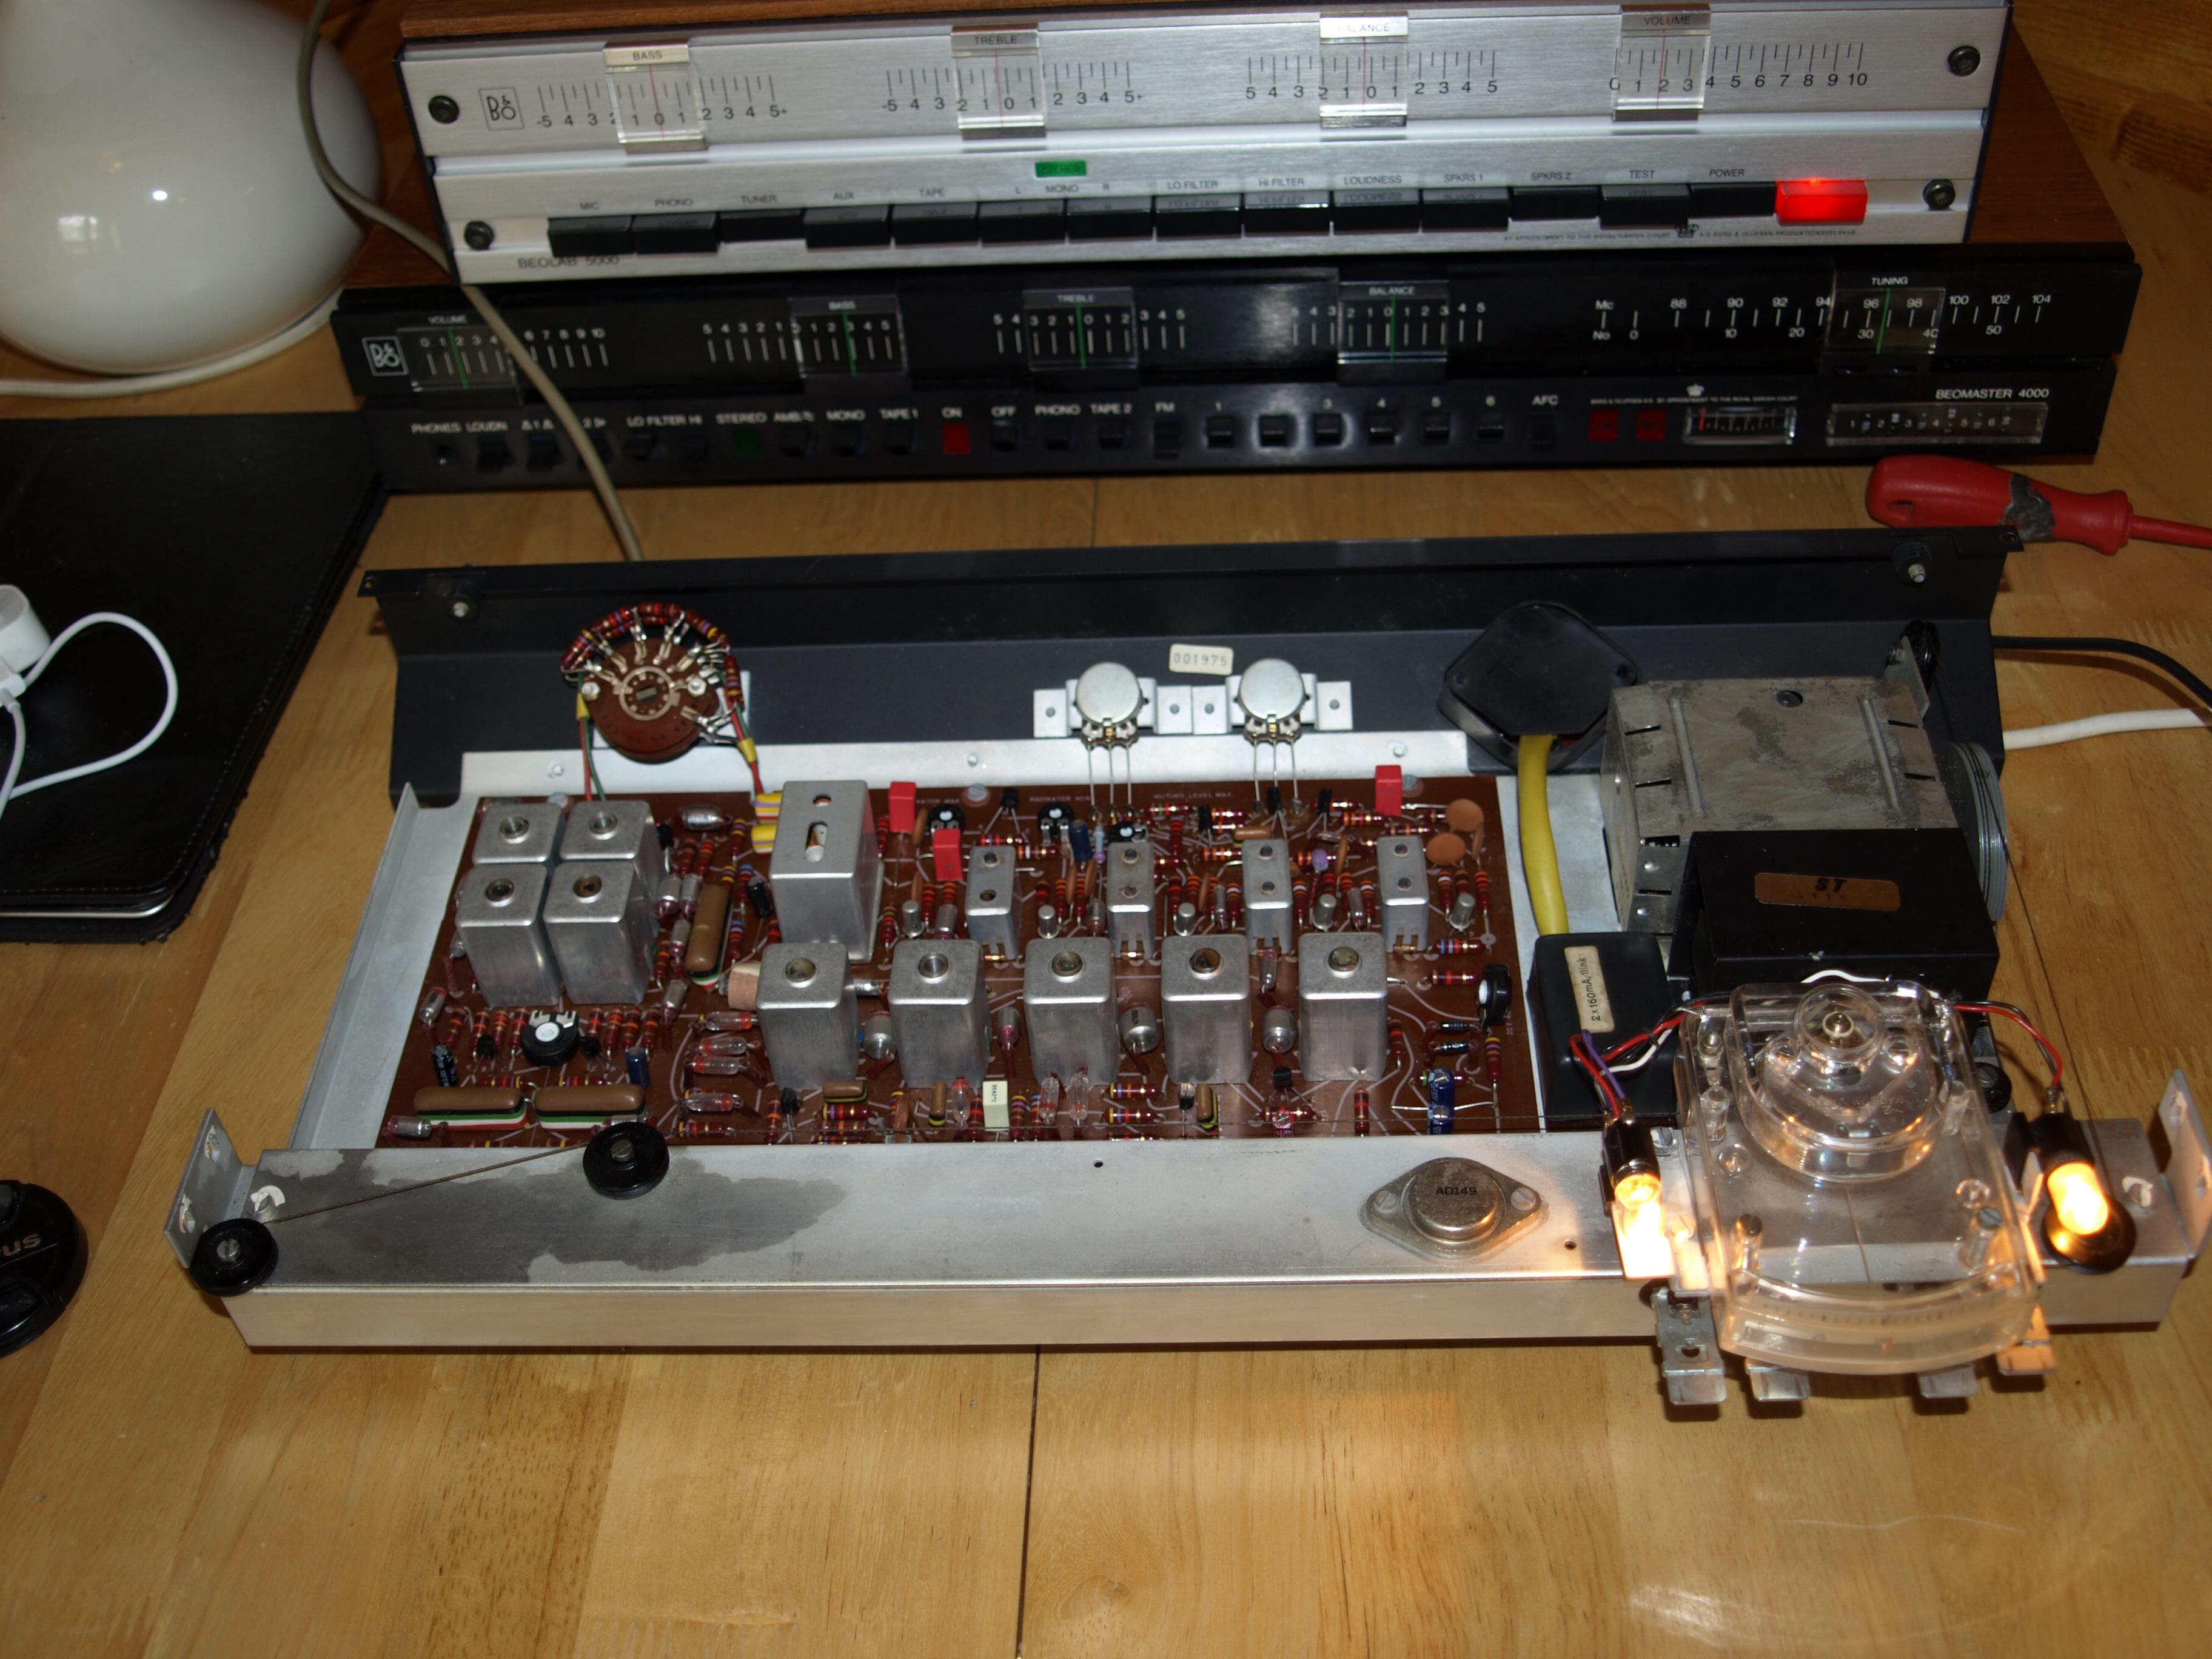
Hooked up to a Beolab 5000 and an antenna, and I have to say that in spite of the occasional unexpected minor issue this tuner sounds tremendous….crystal clear and very stable….all that remains is to put it all back together ;¬)
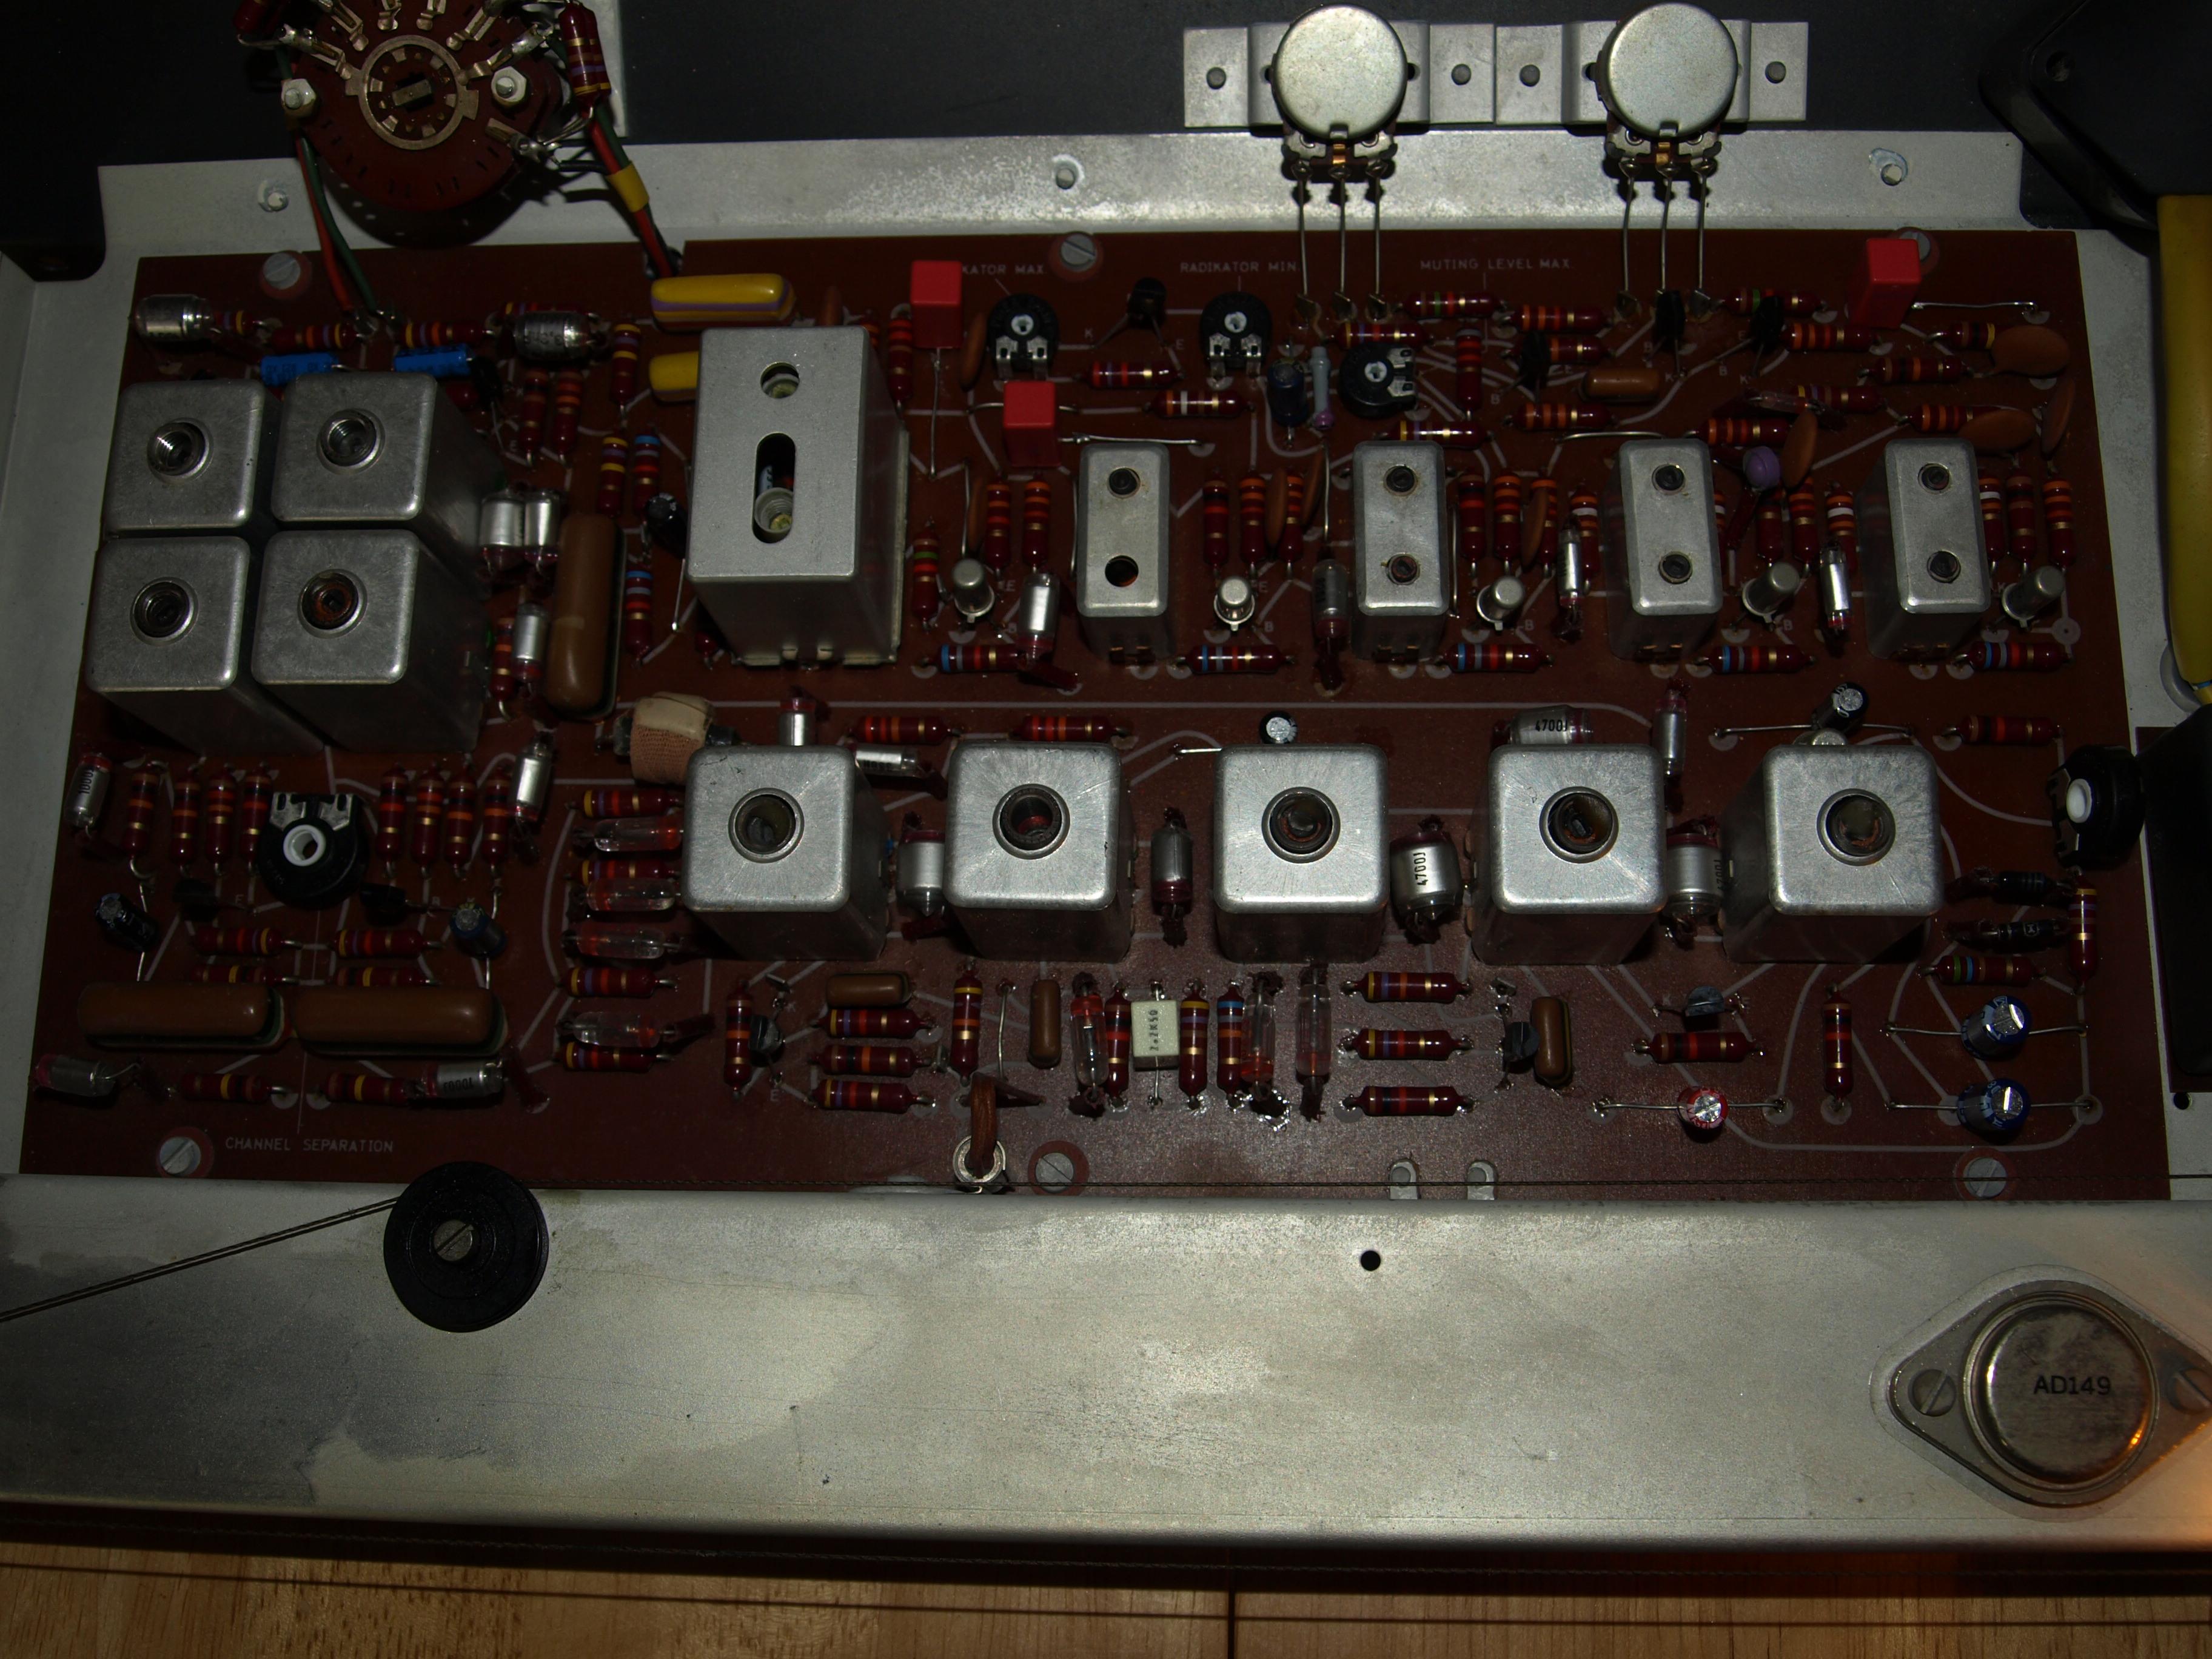
Completed all the component replacements….including the “fairchild black blobs”, fitted BC550B’s.
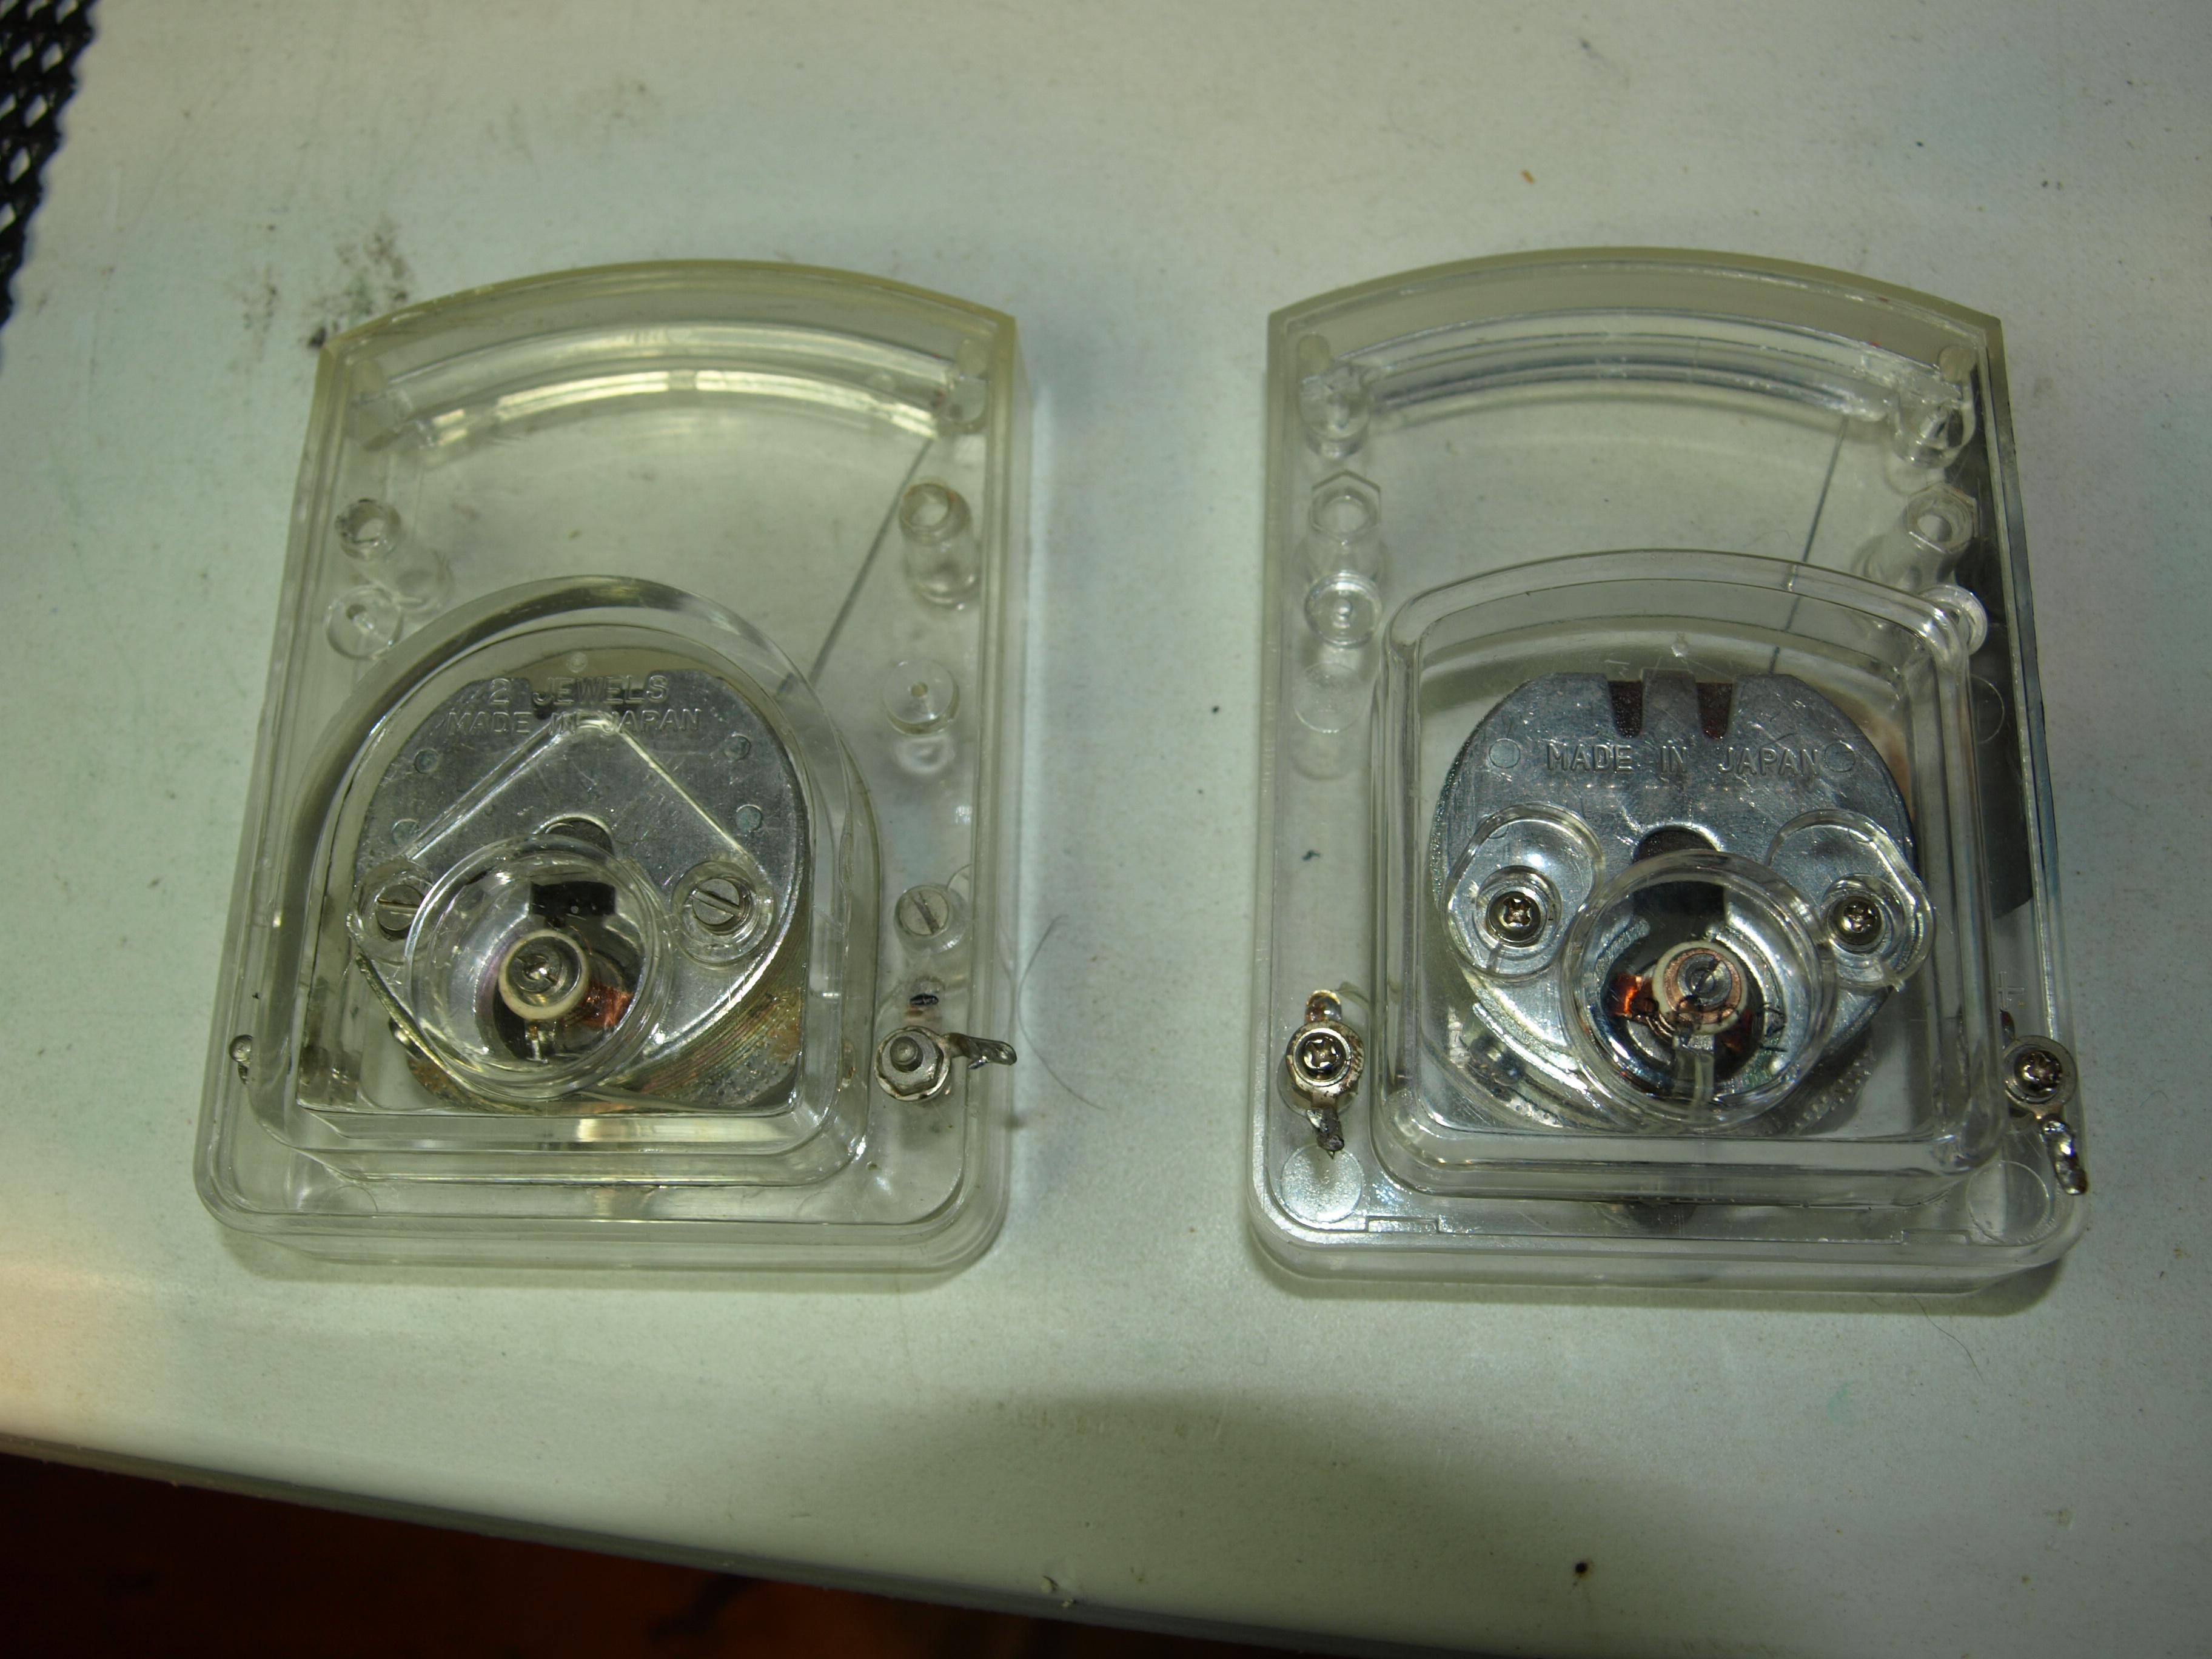
Deciding the way forward was to replace the cloudy lens with the not so cloudy lens on the one I had just installed I set about dismantling the not so cloudy meter and discovered the internal connection from the + post was loose….tightened it up put it back together and having removed the newly extended + wire I soldered it back in place…..and yes everything worked fine!……spent a couple of hours on this
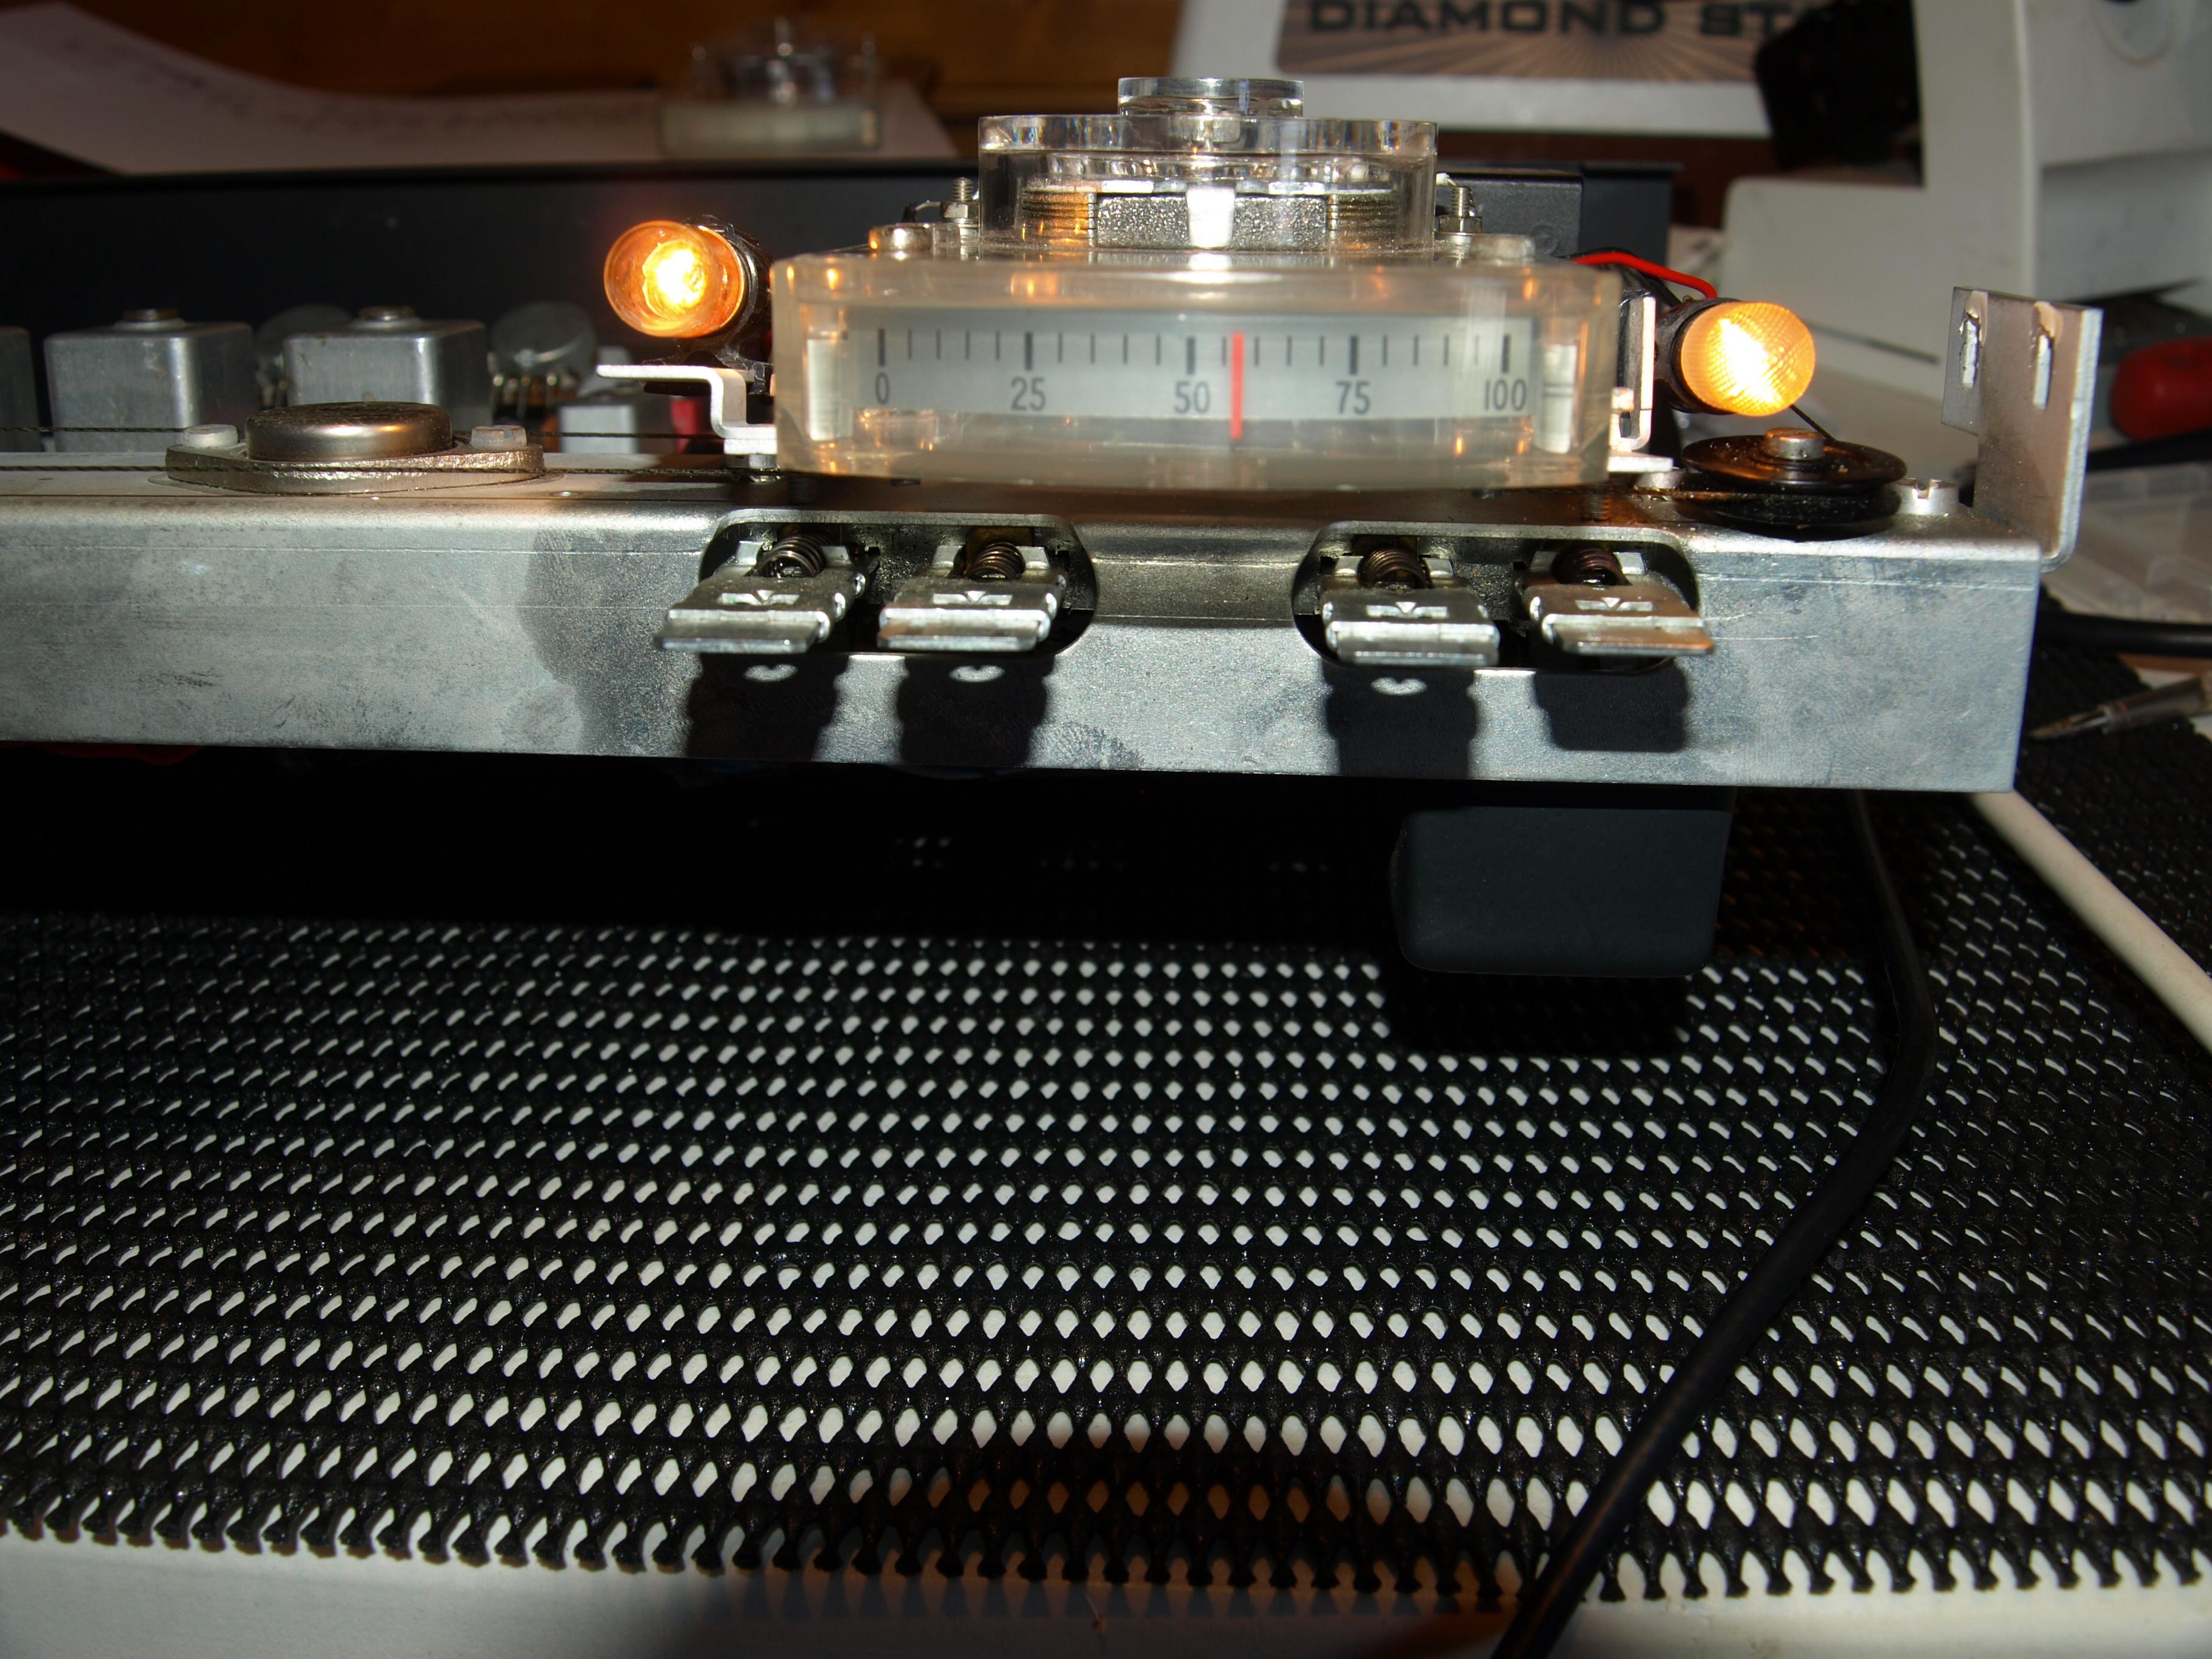
However I extended the + wire and soldered the cloudy meter in place and ran another test, all worked fine
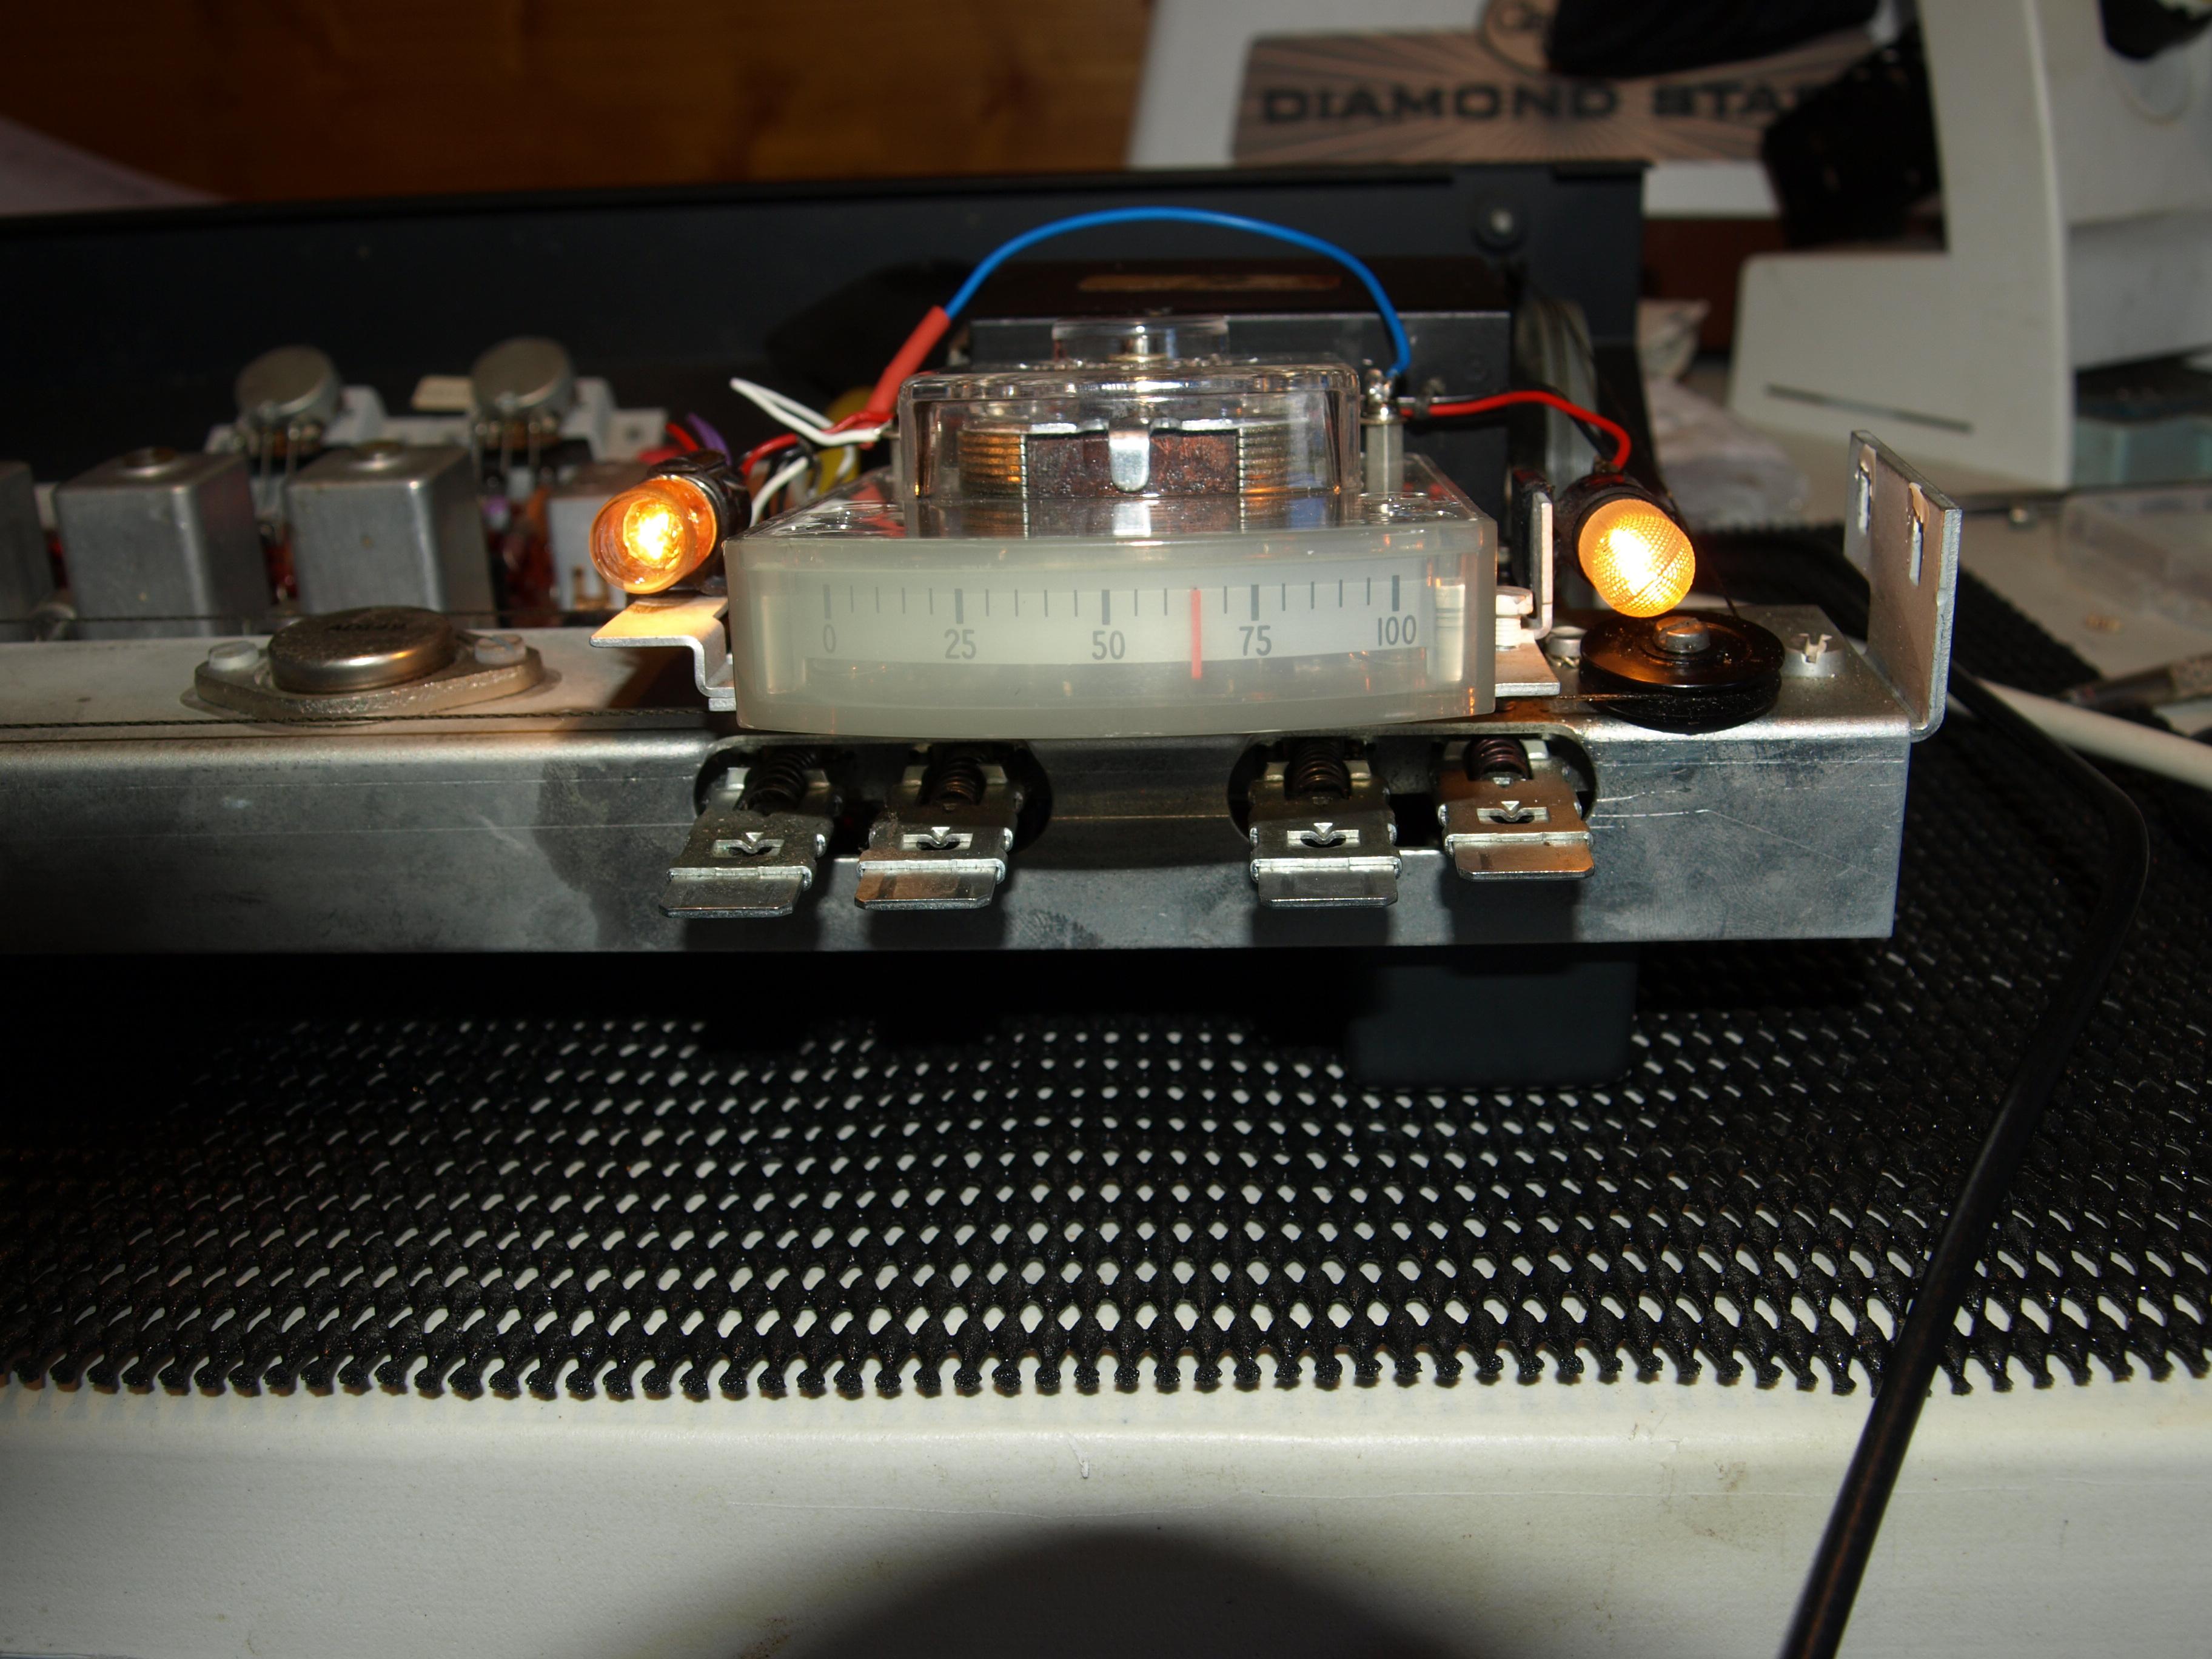
The polarity of the meters are opposite, someone has erased the + / – markings from the left hand side meter and marked them up opposite to what they where…….the right hand side meter is the one with the milky lens and still has the + / – markings unchanged,
The negative marking can be seen against the right side post, the meters have different shapes too….change in design down the years I expect.
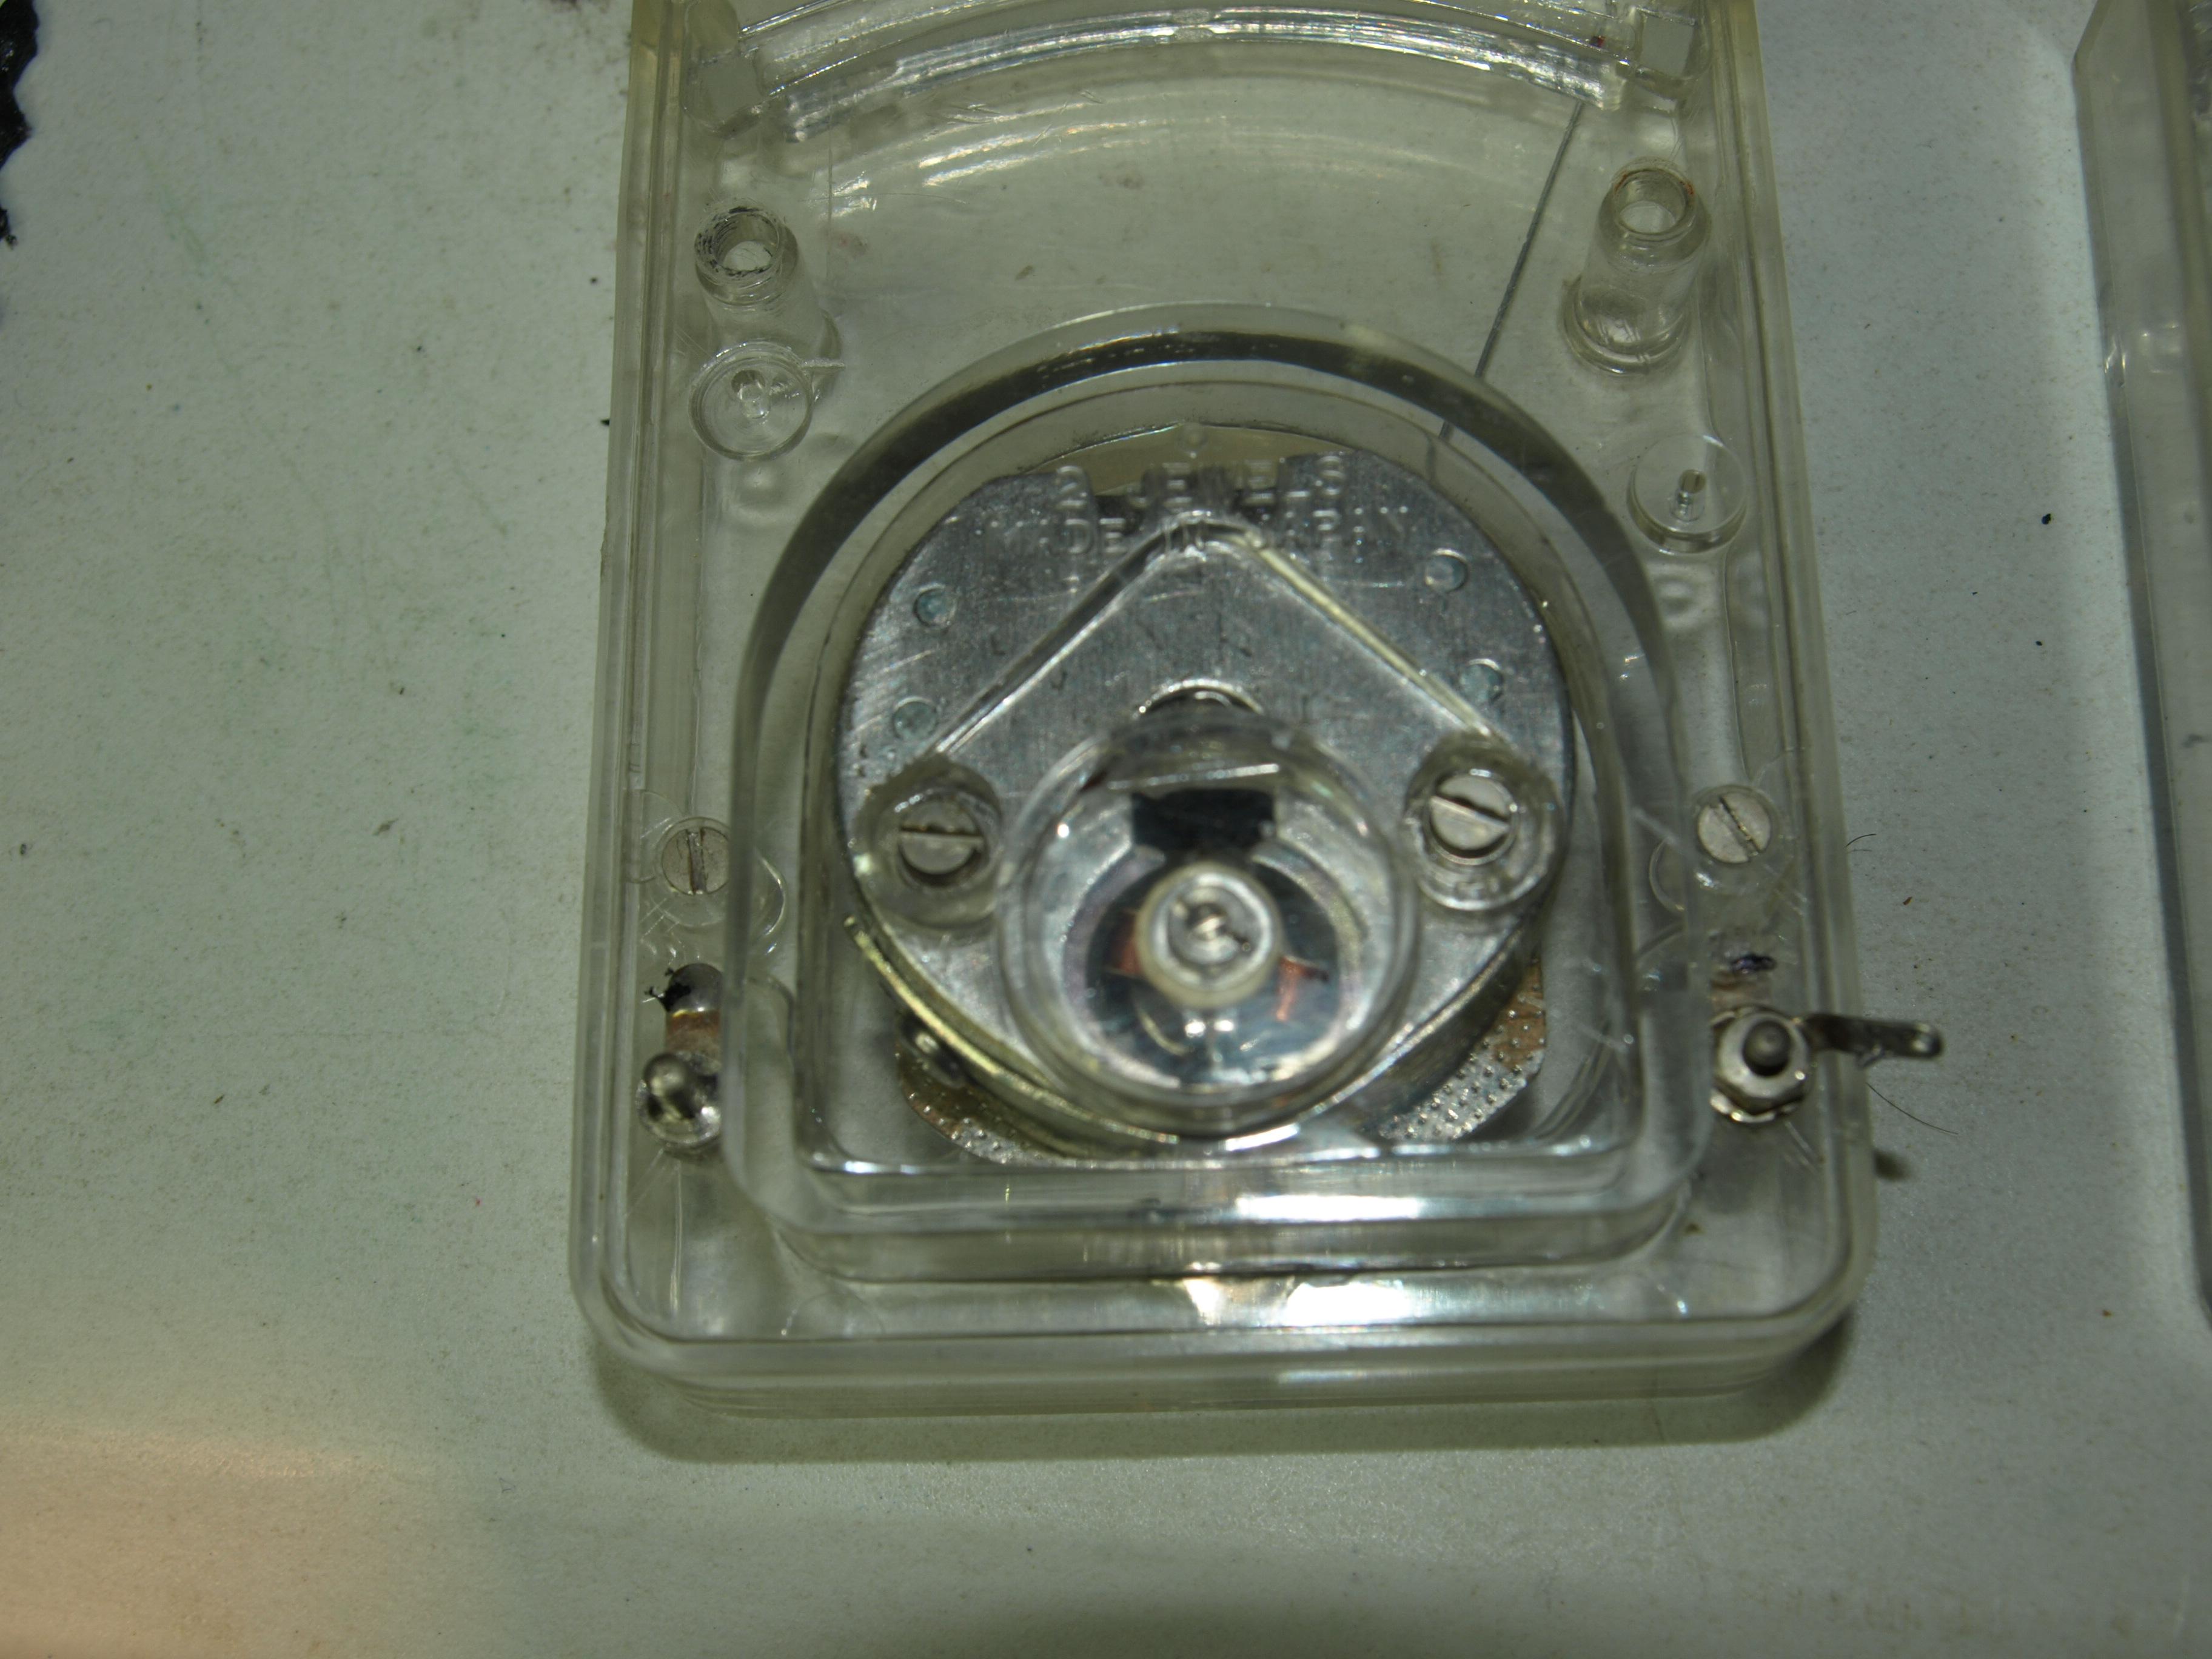
Thinking I may have damaged it during cleaning I took it out, looked ok and when I put my multimeter across it to check the moving coil continuity the needle deflected 3/4 up scale, as you would expect from the current from the meter set to ohms. I got out a meter I recently replaced due to severe clouding of the lens to compare….and found this curious thing……
Started by checking the 240v supply to the transformer…..all good, 32v output to the new rectifier and around 40vdc out of the rectifier. Checked the 20vdc supply and found it was around 29vdc…adjusted the new trimmer I installed and brought it back to 20vdc……checked the voltage to the power ON lamp and that was good too…..so replaced the lamp and of course it illuminated ;¬)
Connected a antenna and adjusted the tuning dial, the stereo lamp flickered as it passed through live broadcasts which was very encouraging…..however the tuning meter stayed hard down throughout.
This is true Soren….I received this from Frede some time ago:
Craigh,
It is actually a ”short list” ?
BC 550B for npn
BC560B for pnp
When the Beolab was designed (before 1967) only a few transistors were available is really low noise versions – therefore B&O have chosen a number of different types of coarse also being able to be used and meeting the actual voltage level. But I have for many years used the above type in the pre-amplifiers.
And I am using the transistors type B because higher gain in classic electronics design is not a good idea (this is my opinion ?)
B U T — for the power amplifier and the power supply – I only use the original RCA types !!!
For the output power transistors and psu transistors — I am only using the original Motorola or RCA (there are to many “fake” 2N3055 out there).
When I am writing the original it is actually the original because I re-use these transistors from Beolab 5000 which is scrapped.
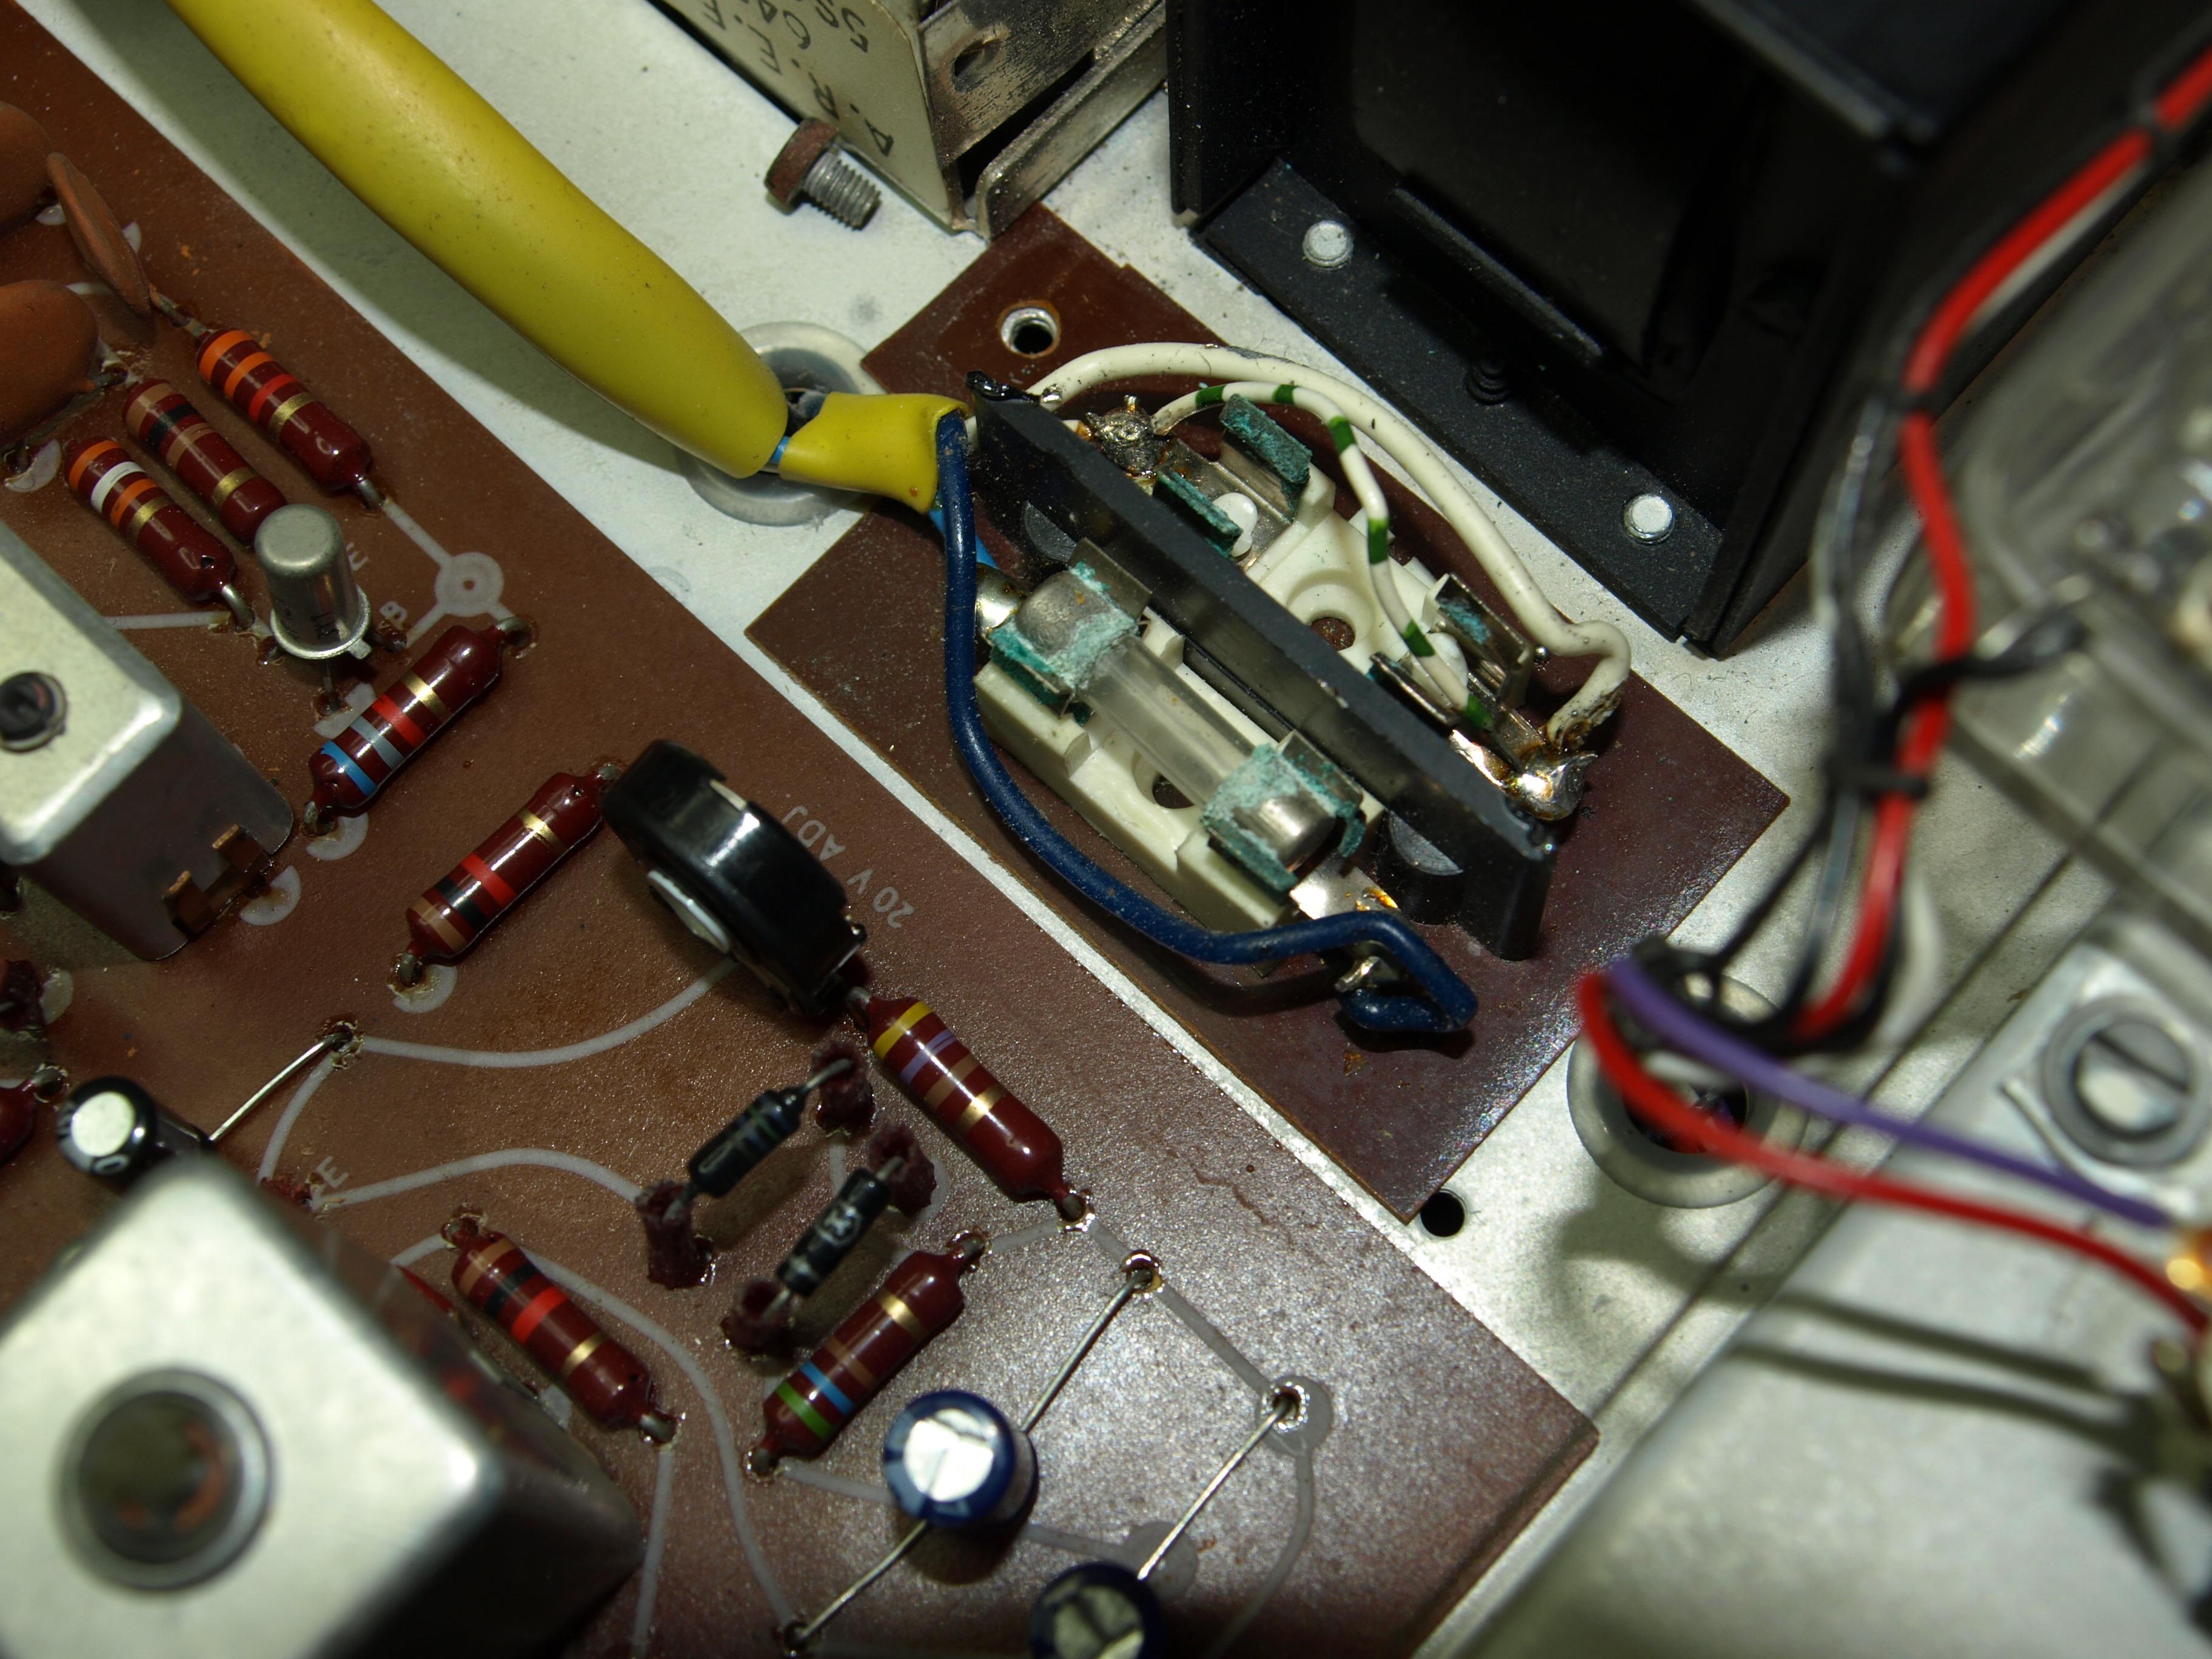
Removed the link and cleaned up the fuseholder…new fuses installed. Gingerly applied power from the variac up to 220v……and nothing happened, not necessarily a bad thing…there was no smoke or sudden popping of new fuses…..so a little fault finding exercise required….as for now a glass of wine is called for
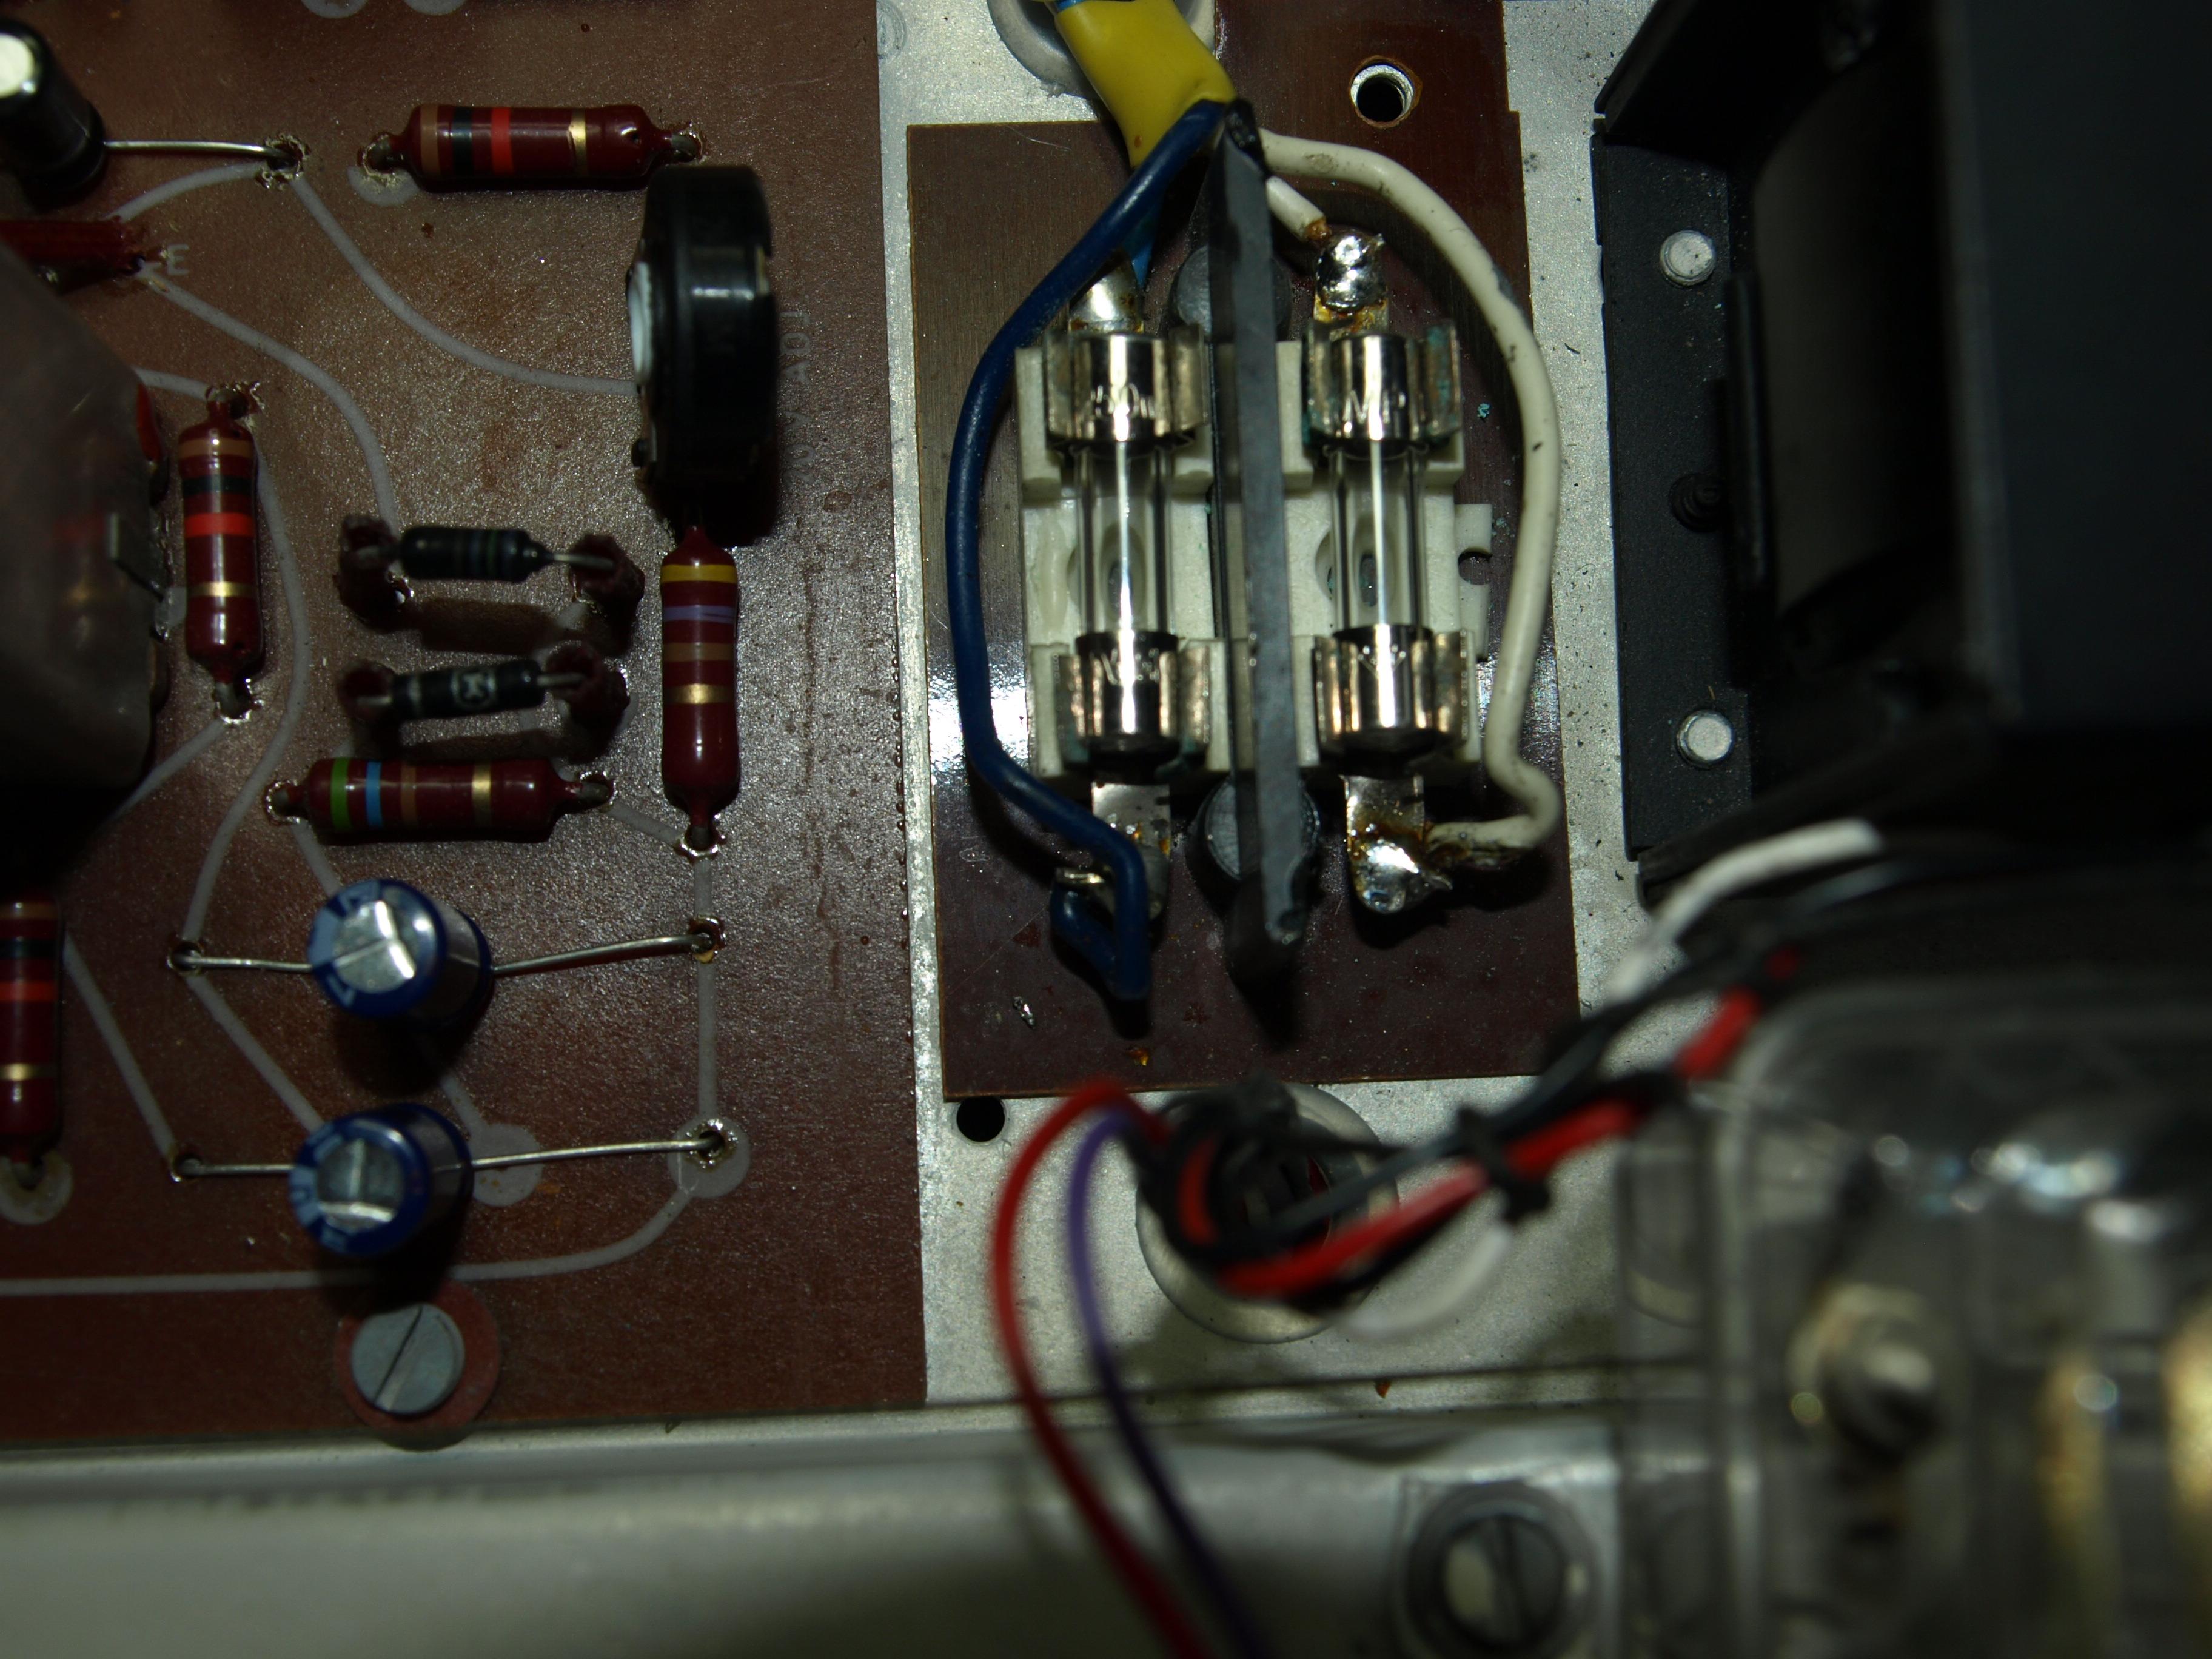
Thought I would check the fuses out too before powering up…..this is what I found.
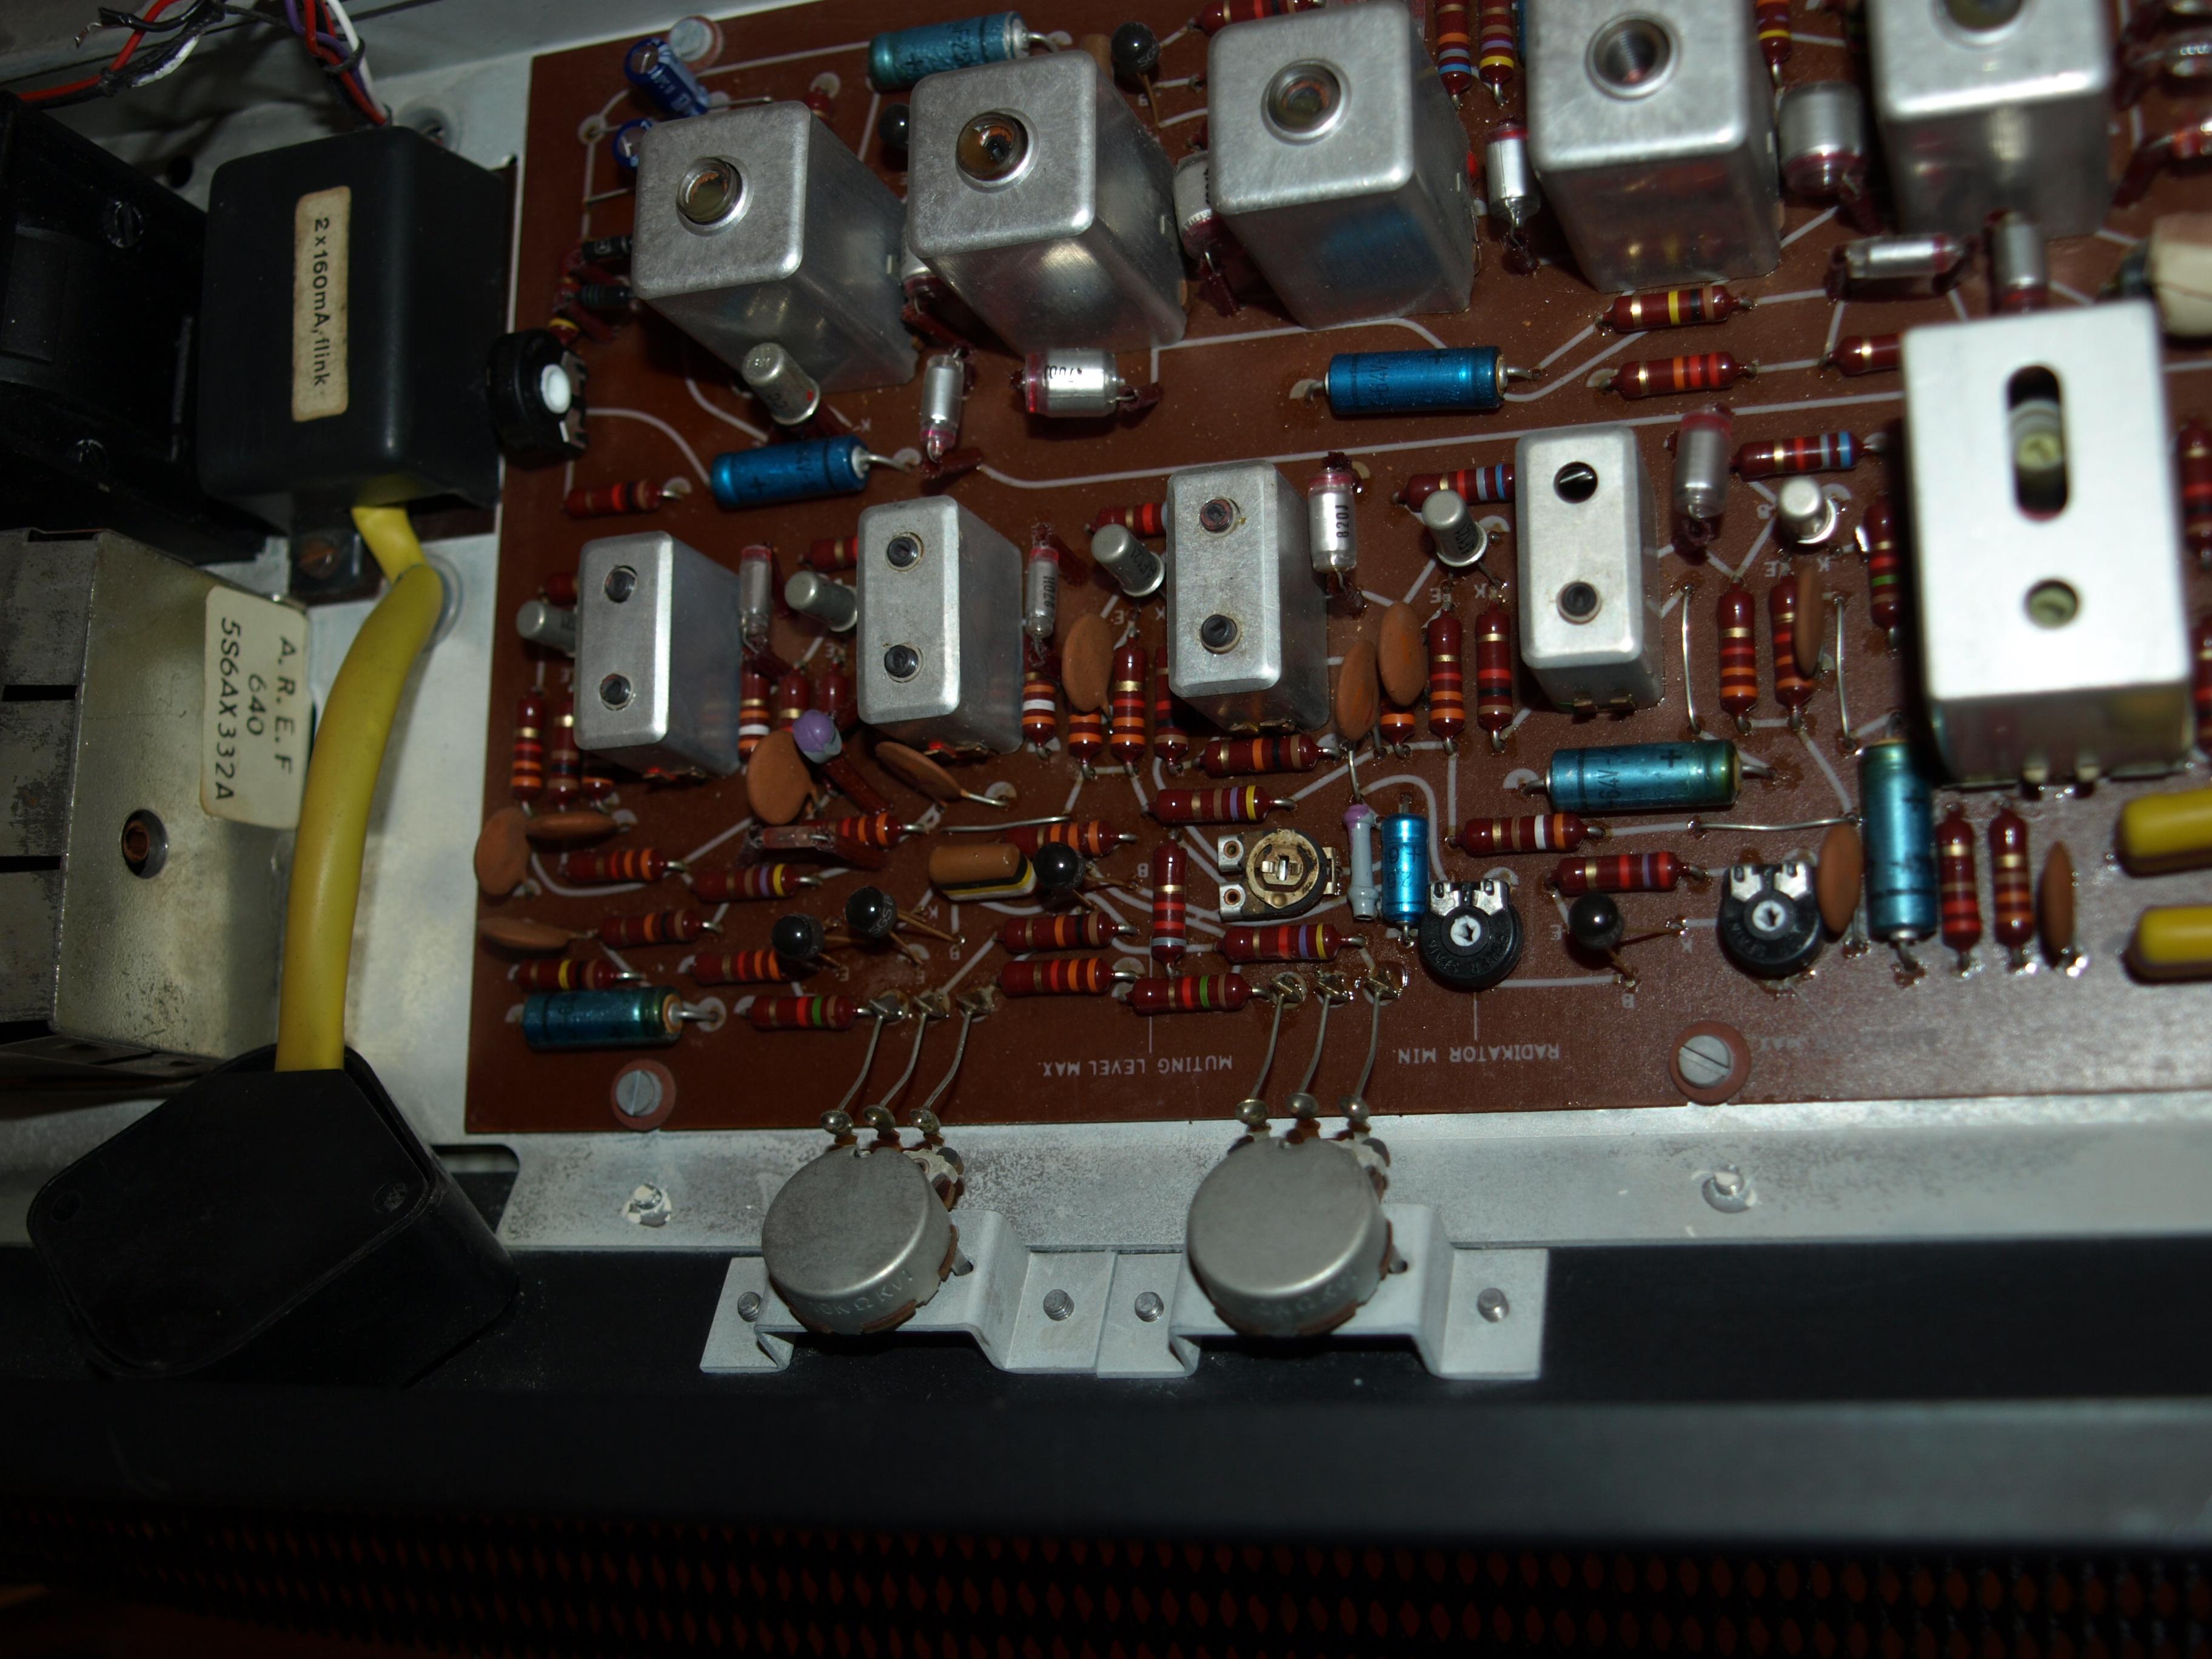
Finished with the replacement of trimmers and capacitors, all except the channel seperation trimmer…thought I would wait until the unit is up and running before playing around with a replacement for that one.
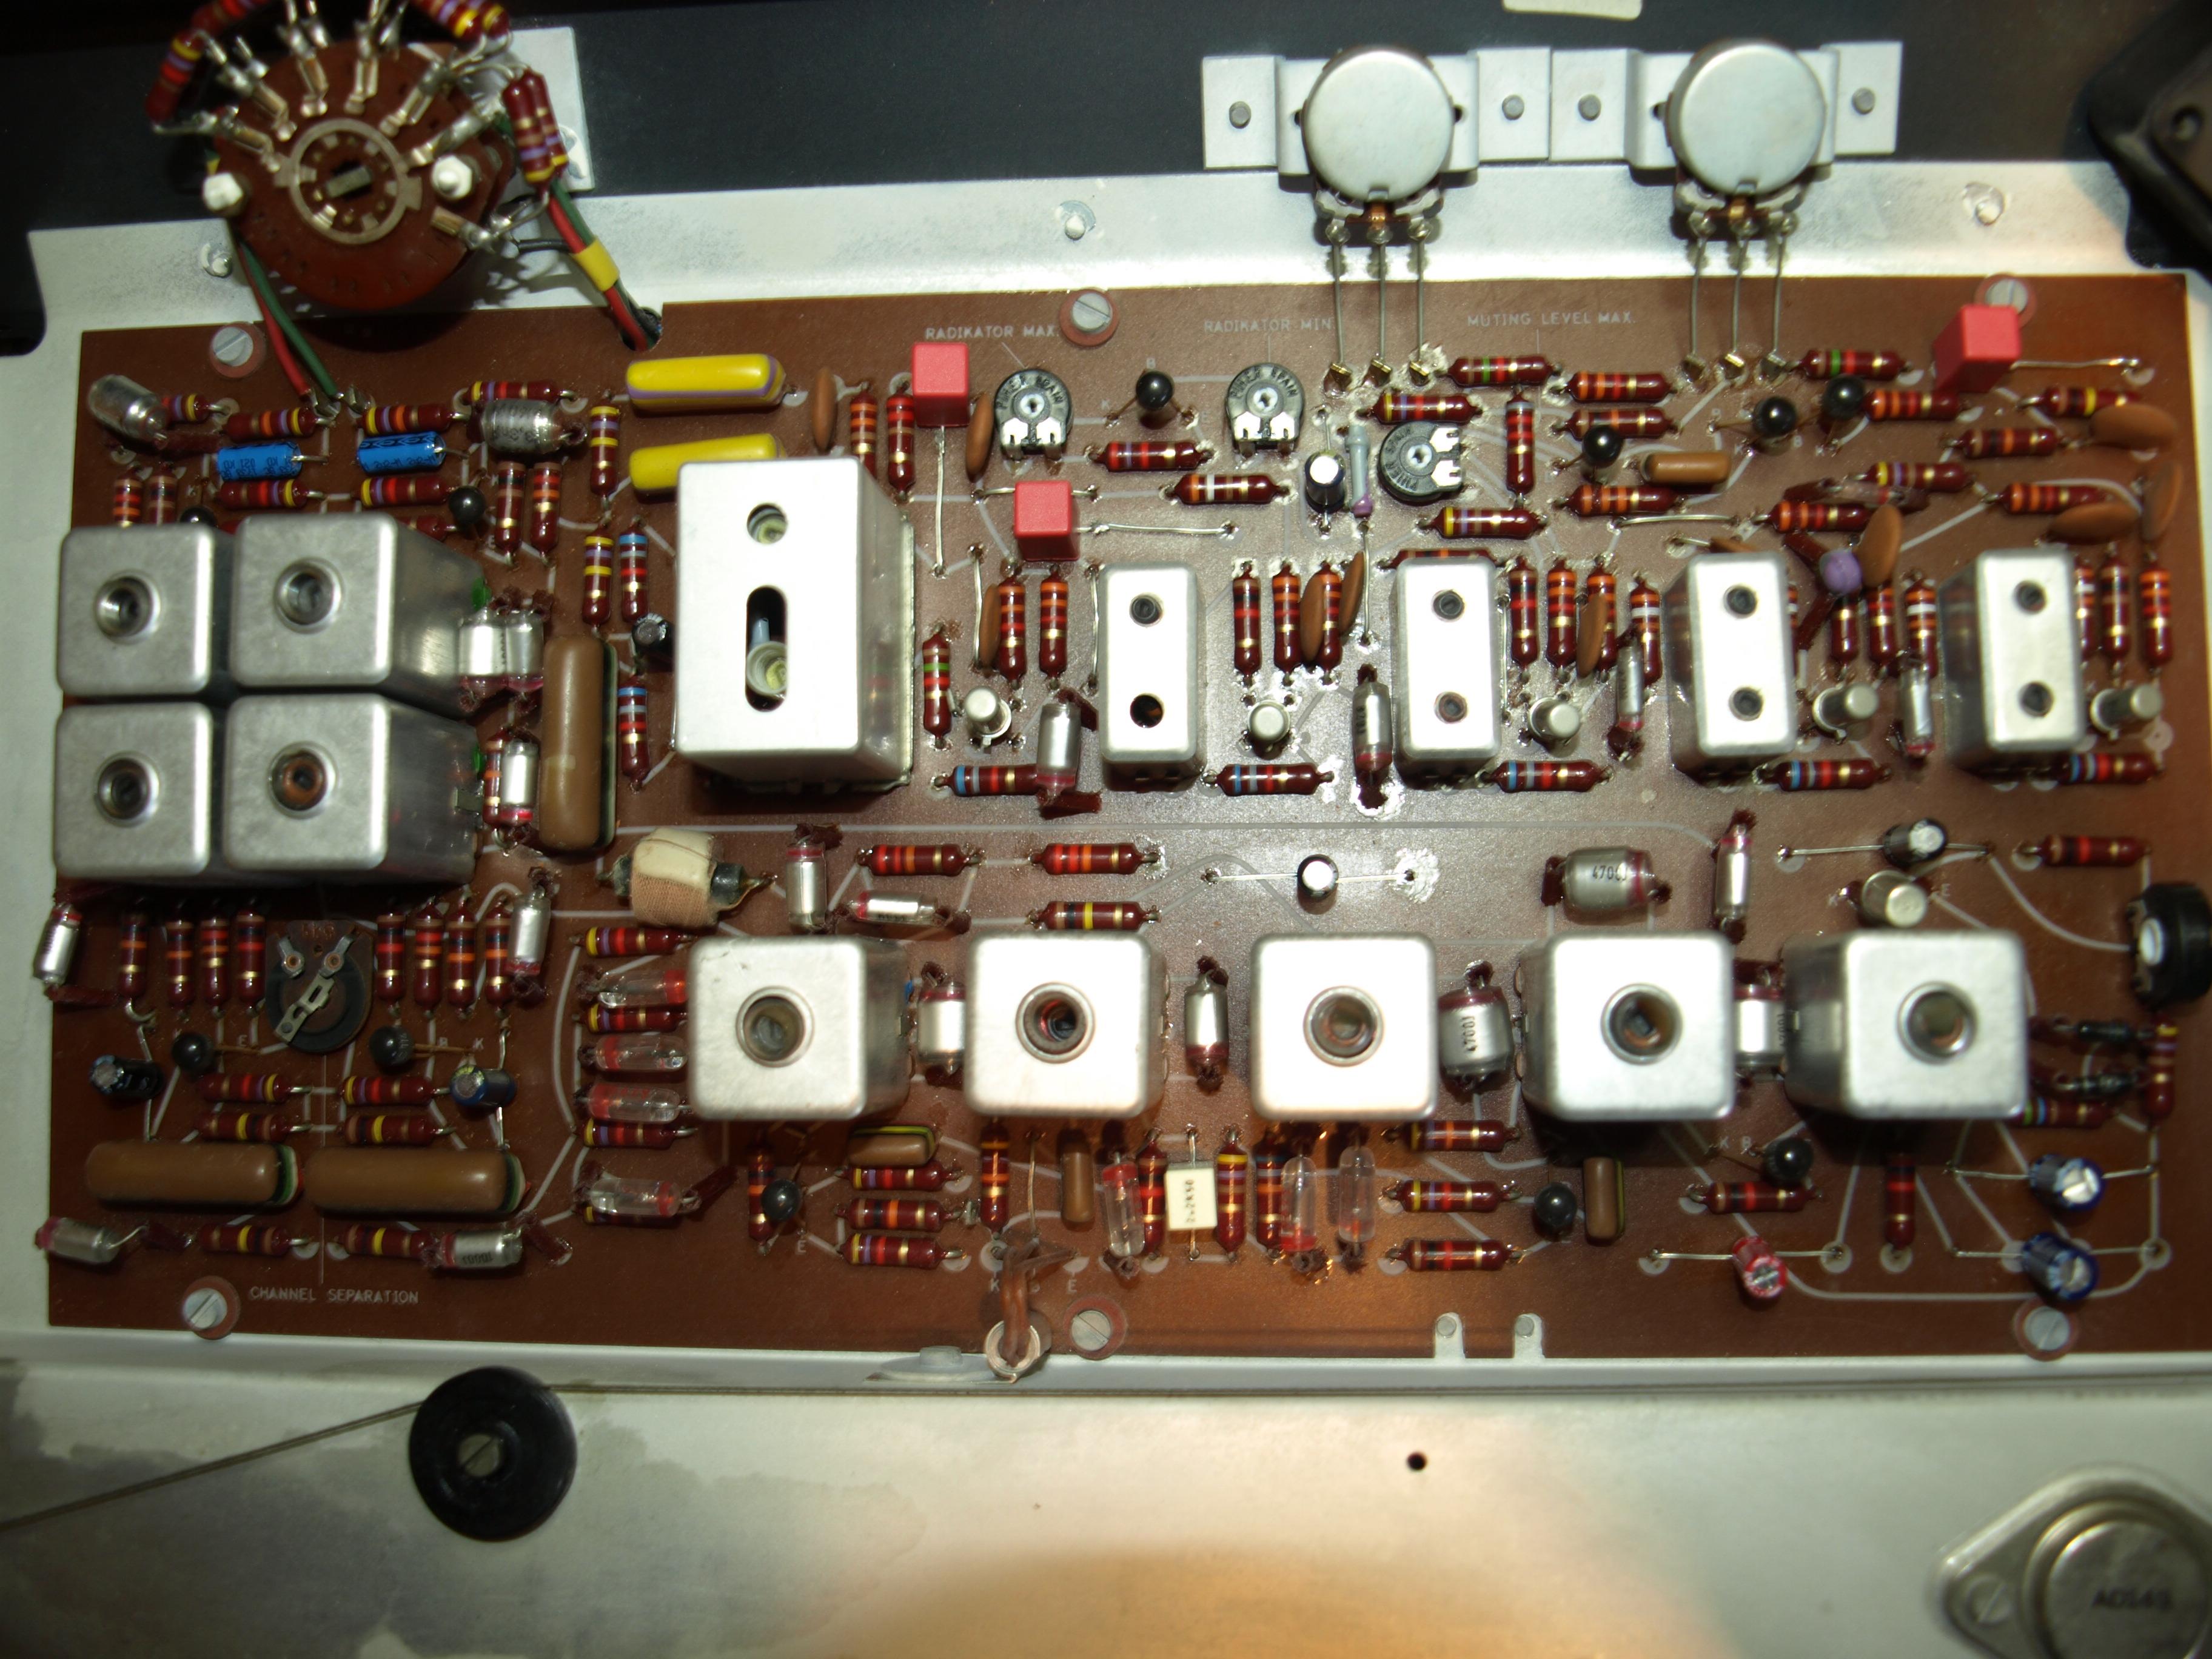
And made a start on the trimers……
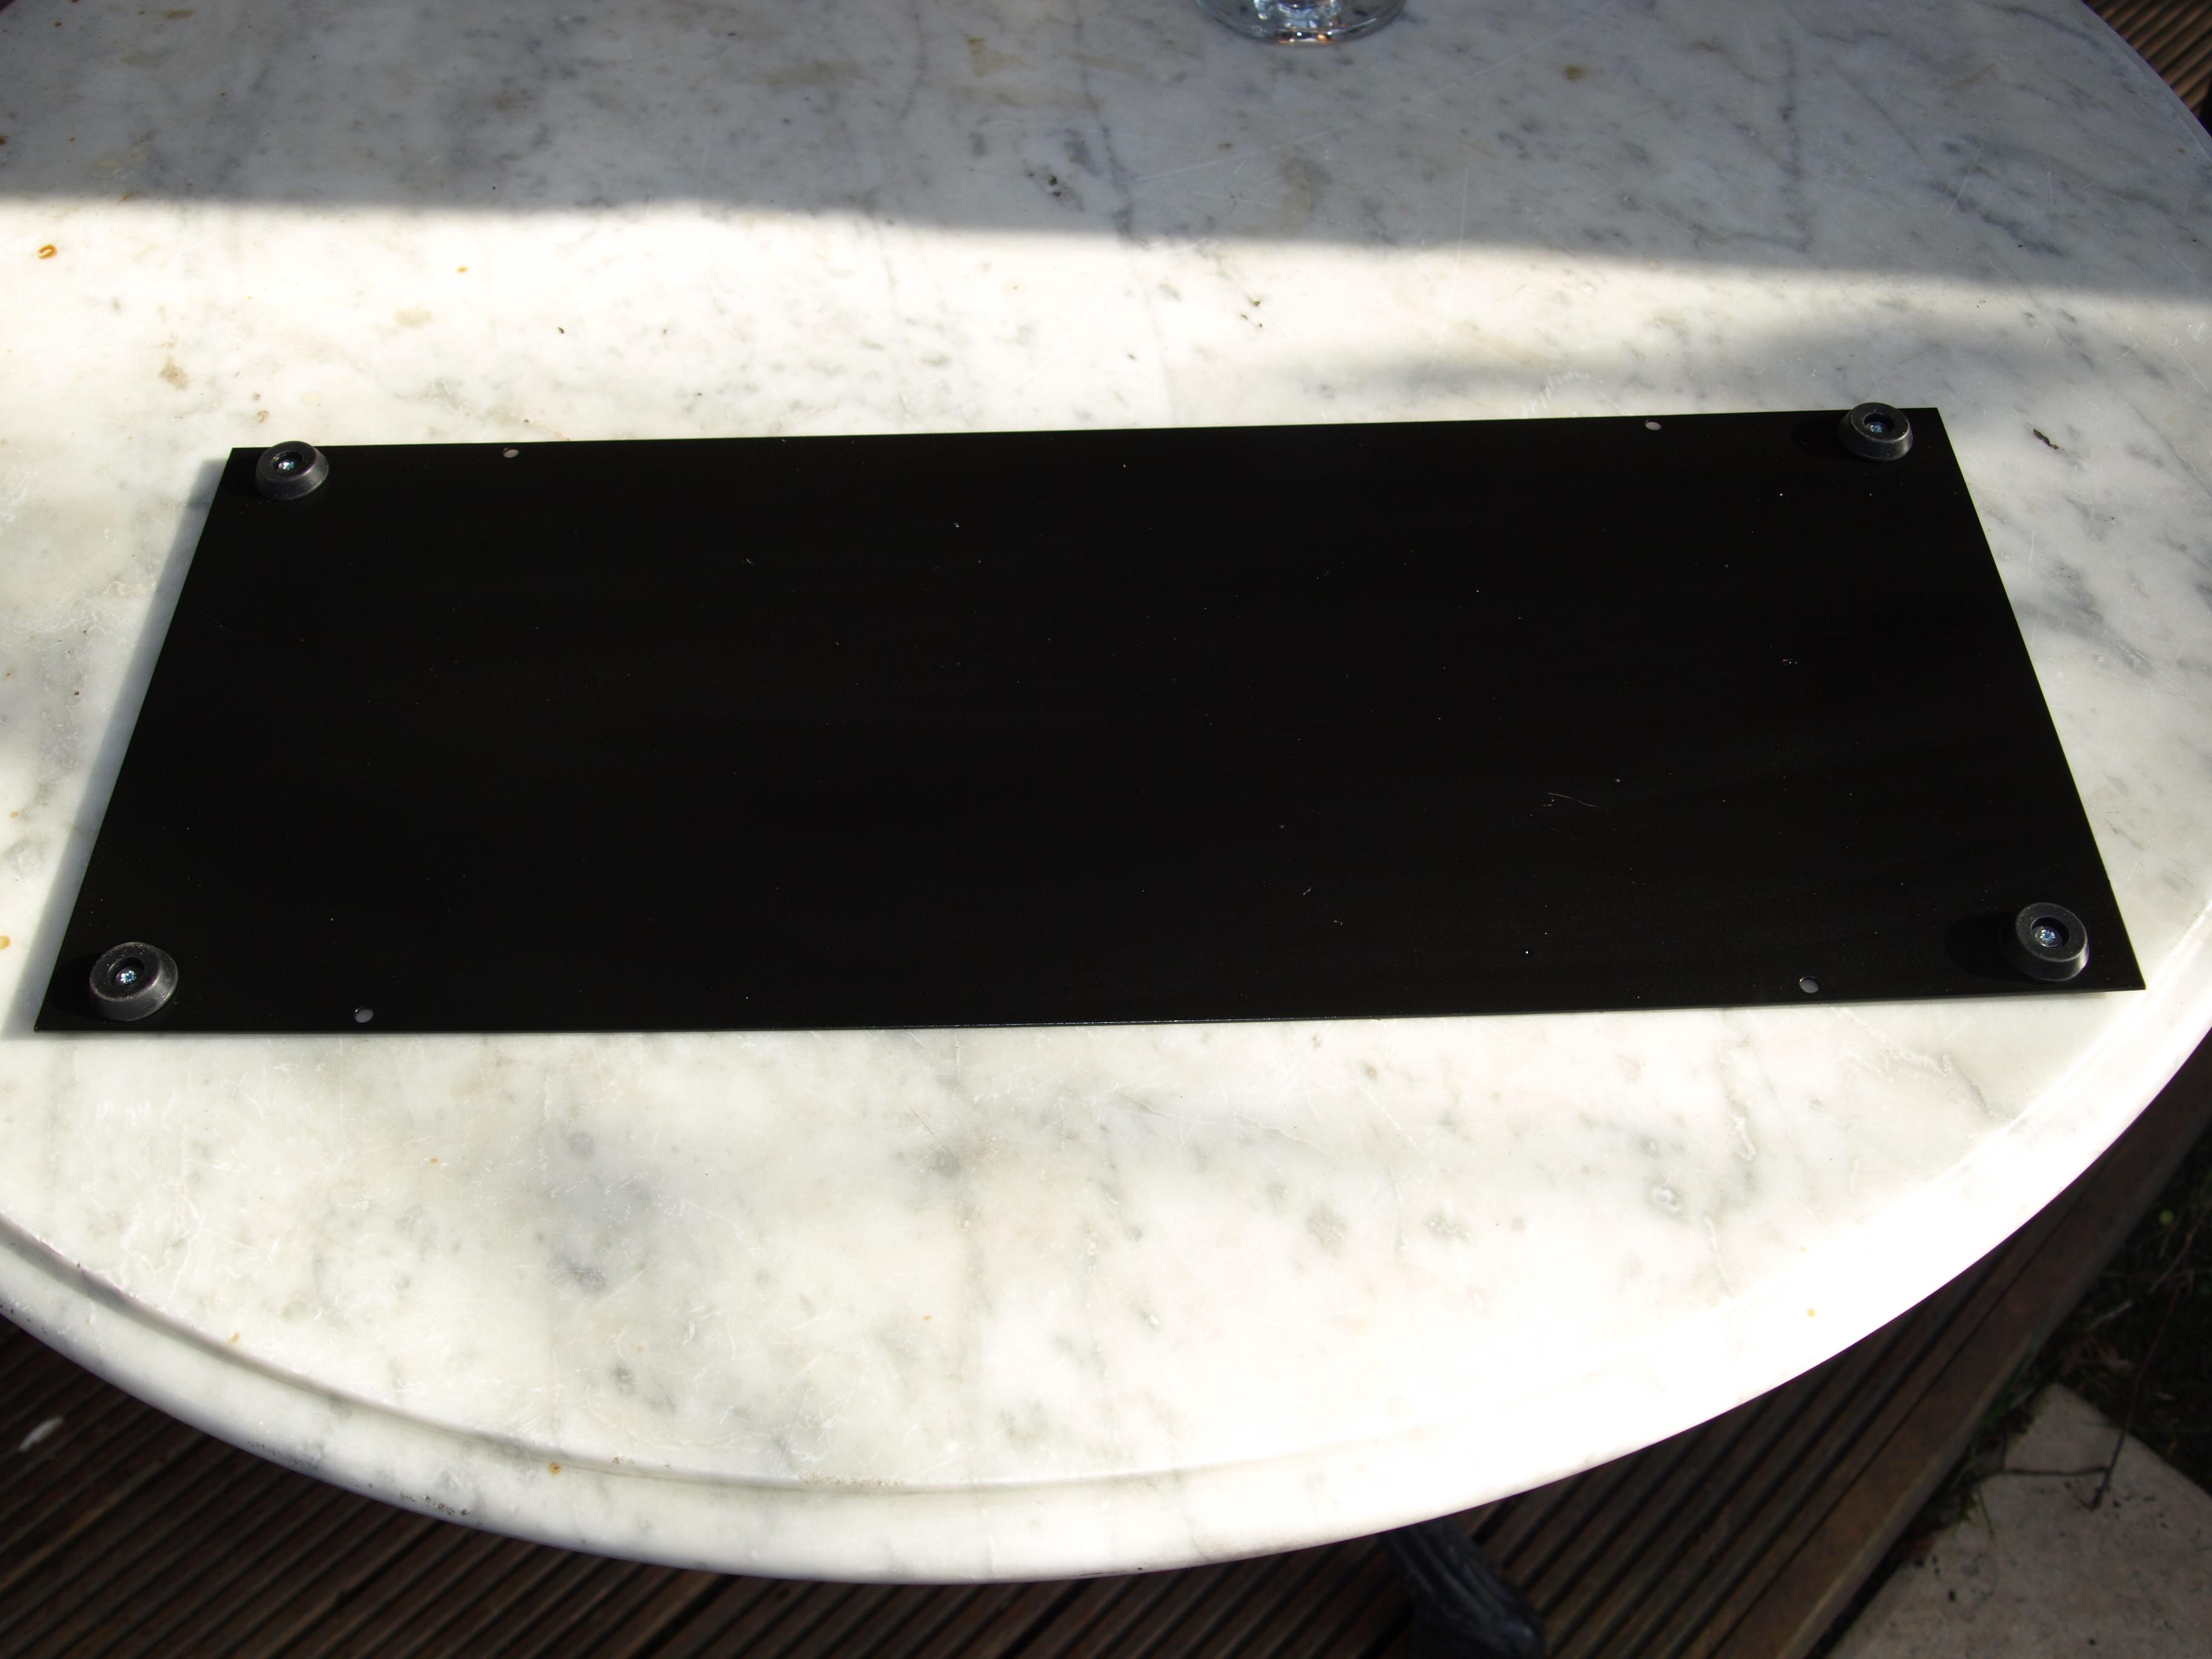
New feet arrived in the post…….drilled the old ones out and fixed these with bolts.
- AuthorPosts
