Glitch
Forum Replies Created
- AuthorPosts
-
quattttro: Have you made any more progress?
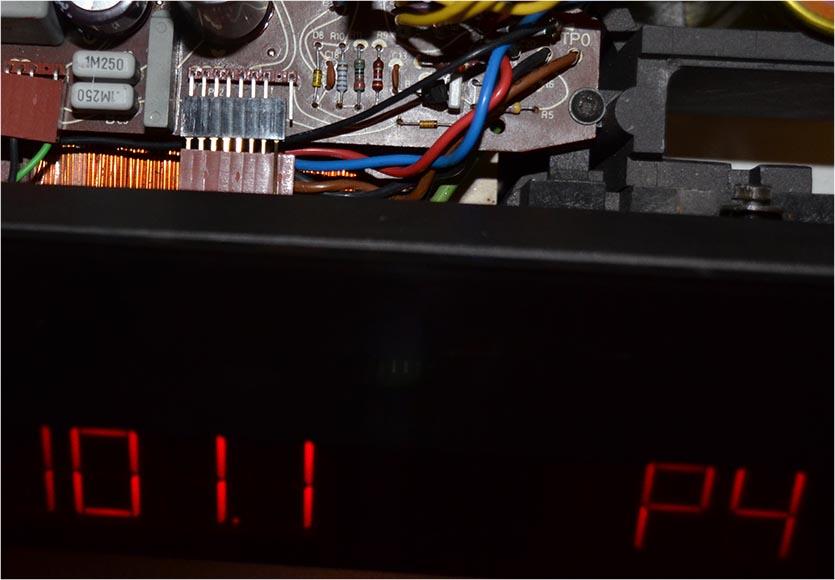
I revisited my BM6000 that doesn’t power-up properly. I was able get it to work with a known working good CPU from another BM6000. Now I’m very confident that the original CPU is bad. With the bad CPU, I observe two different (pseudo-random) behaviors when I plug-in the receiver. The first is a “:.” display, the second is a “.” display with the main amp rail relay kicking in.
Glitch
The reverse shot shows another piece of equipment I don’t recognize, underneath the Cedric Hartman lamp (which I do recognize: oooh, lamps!-). (“View Image” in your browser to see full-size.) Maybe a mixer, thus this is the mansion’s “music room”?
That looks like a guitar amp. Maybe a Mesa Boogie Lone Star Special 2-Channel 30-Watt 1×12″ Guitar Combo?
Glitch
can you tell me where the “lower display connectors” are found? Do you mean in the lower board of the two, or is it found in another place than where the displays are mounted?
A better description of the location is on the bottom cover of the speaker. This cover is the access point to the crossovers. There is a round 8 (or 9?) pin connector on it. You will see the wire connections that I’m talking about if you remove the bottom plate.
On my Pentas, the wires are small and don’t have any strain relief. The other end of the cable (by the displays) has a better connection (crimped versus soldered)
Glitch
It is good to hear that the main problem was an easy fix ;-).
It is normal for the two BF858 transistors to run a bit warm. Based on the discoloration on your circuit board it looks like the amp was pushed pretty hard at some point.
I don’t use the displays on my Pentas, but I have noticed that the wires on the lower display connectors have a tendency to break.
Hopefully fixing the displays will also be easy for you…
Glitch
I assume it worked before the recap?
Post some pictures of the top and bottoms of your boards. Someone might be able to spot the problem visually.
Glitch
I removed my response since I really didn’t answer the question. Hemenex’s reply below makes more sense.
Glitch
Regarding the 14.7v instead of 15v… Check that the heat sink compound isn’t dried up. Otherwise, the regulator is likely just “off a bit”. Swapping it with a new one is a easy job and the part is commonly available (but probably isn’t needed).
I believe that the “P” display in this case just means that the CPU board is getting 6.5v to the LED displays, but the CPU isn’t pulling up the FAULT line. Getting a “P” is pretty easy. For example, there will be a “P” display if the CPU is removed. I think a “P” can also be an indication of a genuine fault in the main amp.
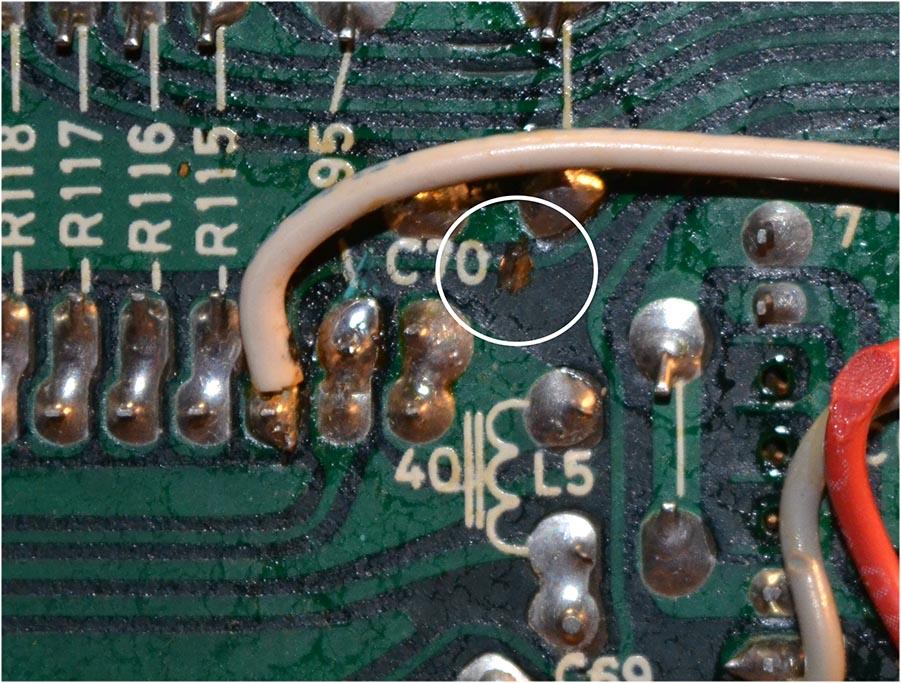
I mentioned the second 5v supply because it was the most recent cause of a “:.” display on my machine. I was testing pre-scalers chips and I bumped TR1 or TR2 and opened up a cold solder joint that killed the secondary 5v supply. I was pretty nervous for a while since I thought I might have damaged the CPU while swapping chips.
It is interesting that your 50/60 signal has the same blip. I’m not sure why this happens. I think I decreased my blip by changing 16TR4.
I’m not sure what to suggest next. Are you sure that you aren’t just “looking at it the wrong way”? Sometimes it seems that “looking at it the wrong way” is all it takes to break it. 😉
Let me know if there are any other signals that I can check on my working BM6000 for you to use as a reference. I should have one one of them on the bench in a few days to replace a burned-out bulb.
Glitch
I had to go back and check my notes… There is a good chance that the Standby pin is setup/initialized at the same time as the 50/60Hz pin. So whatever is keeping one of them from working is likely keeping other ones from working.
Are you sure that BOTH +5v power supplies on the CPU board are close to 5v?
Glitch
I understand that desperate feeling…
14.7v seems to be a bit low, but not so much that I would expect it to cause a problem.
It is a fully regulated voltage so I would expect it to be closer to 15.0v. A quick test to see is something is dragging it down would be to pull P42 and measure the voltage on pin P42-5. The relative difference between no-load and loaded is of most interest.
Glitch
One of my BM6000’s has R27 present, it is “cut out” in the other two.
I don’t think that anything related to the motor control will stop the receiver from initializing.
You mentioned that the motor runs continuously… This is usually caused by a dirty initial volume slider or the motor control trim pots being out of adjustment/corroded. I believe that you can perform the Preset Volume Adjustment from the service manual without the CPU being fully initialized. I know it would bug the heck out of me if the motor was constantly spinning while I was trying to debug the other issues.
Glitch
The 50/60Hz signal is an example of the chicken/egg situation I was referring to earlier. It would be easy to interpret a missing square wave on the signal as the cause for the receiver not running. The lack of the signal could also be an effect of the CPU not setting up the I/O ports. The tricky part is figuring out if it is the cause or effect. In quattro’s case, my test provides a clue to what is going on. Another test that could be done is to add a pull-up resistor to +5v somewhere on the 50/60Hz signal circuit and verify that the signal works as expected.
Glitch
Both WD40 and Caig Laboratories (Deoxit) have a range of products being sold under their respective brand names. You are correct about using WD40 “classic” for pretty much anything electronics related. However, WD40 contact cleaner might actually be better than some on the Deoxit products that contain acid and leave a film.
Glitch
The signal on pin 16 is definitely required for a normal startup.
I disagree, at least for my BM6000. Here is a picture of the the receiver running with pin P42-1 on board 16 disconnected (i.e. the 50/60 Hz signal).

The BM6000 does have some power drop protection, but it is implemented as part of the RESET circuit.
Glitch
From the schematic, it looks like the CPU supplies the +5v for the 50/60 Hz signal (likely via a pull-up resistor on pin16). 16TR4 then pulls down pin16 in sync with the line voltage. Not seeing a signal could be that the CPU is not supplying the voltage to pin16 or that 16TR4 or 16D5 is bad.
What happens on pin16 when you power-up?
My best guess is that the 50/60Hz signal would NOT be needed to initialize. The only thing that I could think of it being used for is for the timer functions (which aren’t critical for operation). Then again, there could be a few lines of code that check for the signal changing and fault the processor if it isn’t as expected. I would expect the display to indicate a fault if this happened.
What is insidious about trying to debug this are the possible “chicken or the egg” situations that could be happening and not knowing if one is dealing with chickens or eggs ;-).
What does you display do when you power up?
Glitch
DanteM: A couple of other things to consider are texture paint in a spray can or Plasti-dip spray. I don’t know if these would be available where you are at, but they easy to find in the US (except for maybe California).
These would not be as nice as the powder coating, but would be easier to remove if you didn’t like the results.
Glitch
The signal coming in on pin38 shouldn’t make any difference for the BM6000 starting up. It is related to the FM frequency display.
Does the voltage across R95 change when you adjust R89?
Glitch
Like this?

Yes, remove P5 completely. I believe that you are correct that removing P5 breaks the ground path back to the BM6000 power supply, so you will need to connect the bench power supply’s ground to Board 2’s ground. I usually either clip on to either the CPU shield or one of the ground vias.
I suspect that they call for a using an oscilloscope due to the high impedance of the o-scope probe (as well as a fast response for any readings). I would expect that a high quality multimeter would also work, but I haven’t tried it myself.
Glitch
Your results do seem to be unusual.
IIRC, the voltages should jump around quite a bit with small movements of R89. Are you sure that R89 is OK? At the very least, the original trim pot should be cleaned to ensure smooth, reliable contact. Better yet, a new trim pot may save you some headaches. The adjustment is sensitive enough that installing a 10-turn pot can be helpful. Be sure to exactly follow the procedure in the service manual. This is an adjustment where “close enough is good enough” usually doesn’t work very well ;-).
The only other thing that might give you more clues is to try the RESET adjustment with the CPU removed. I would do this as a last resort since the mechanical stress of removing the CPU might damage it.
Glitch
- AuthorPosts

