Beitie
Forum Replies Created
- AuthorPosts
-
I just saw the video from Steve, so I wanted to stop in and say congrats to Mark. Also big thanks to Keith and Lee, It’s been such a blessing to be here, learn about B&O, and help share ways to fix our beloved products.
This is very cool!
I had some free time this weekend, and I wanted to spend some of that time exploring more on my Beocenter 9500. The first thing I wanted to take care of was the center mirror panel. The last time I buttoned this item up, I noticed that the upper left screw was not threading into anything.
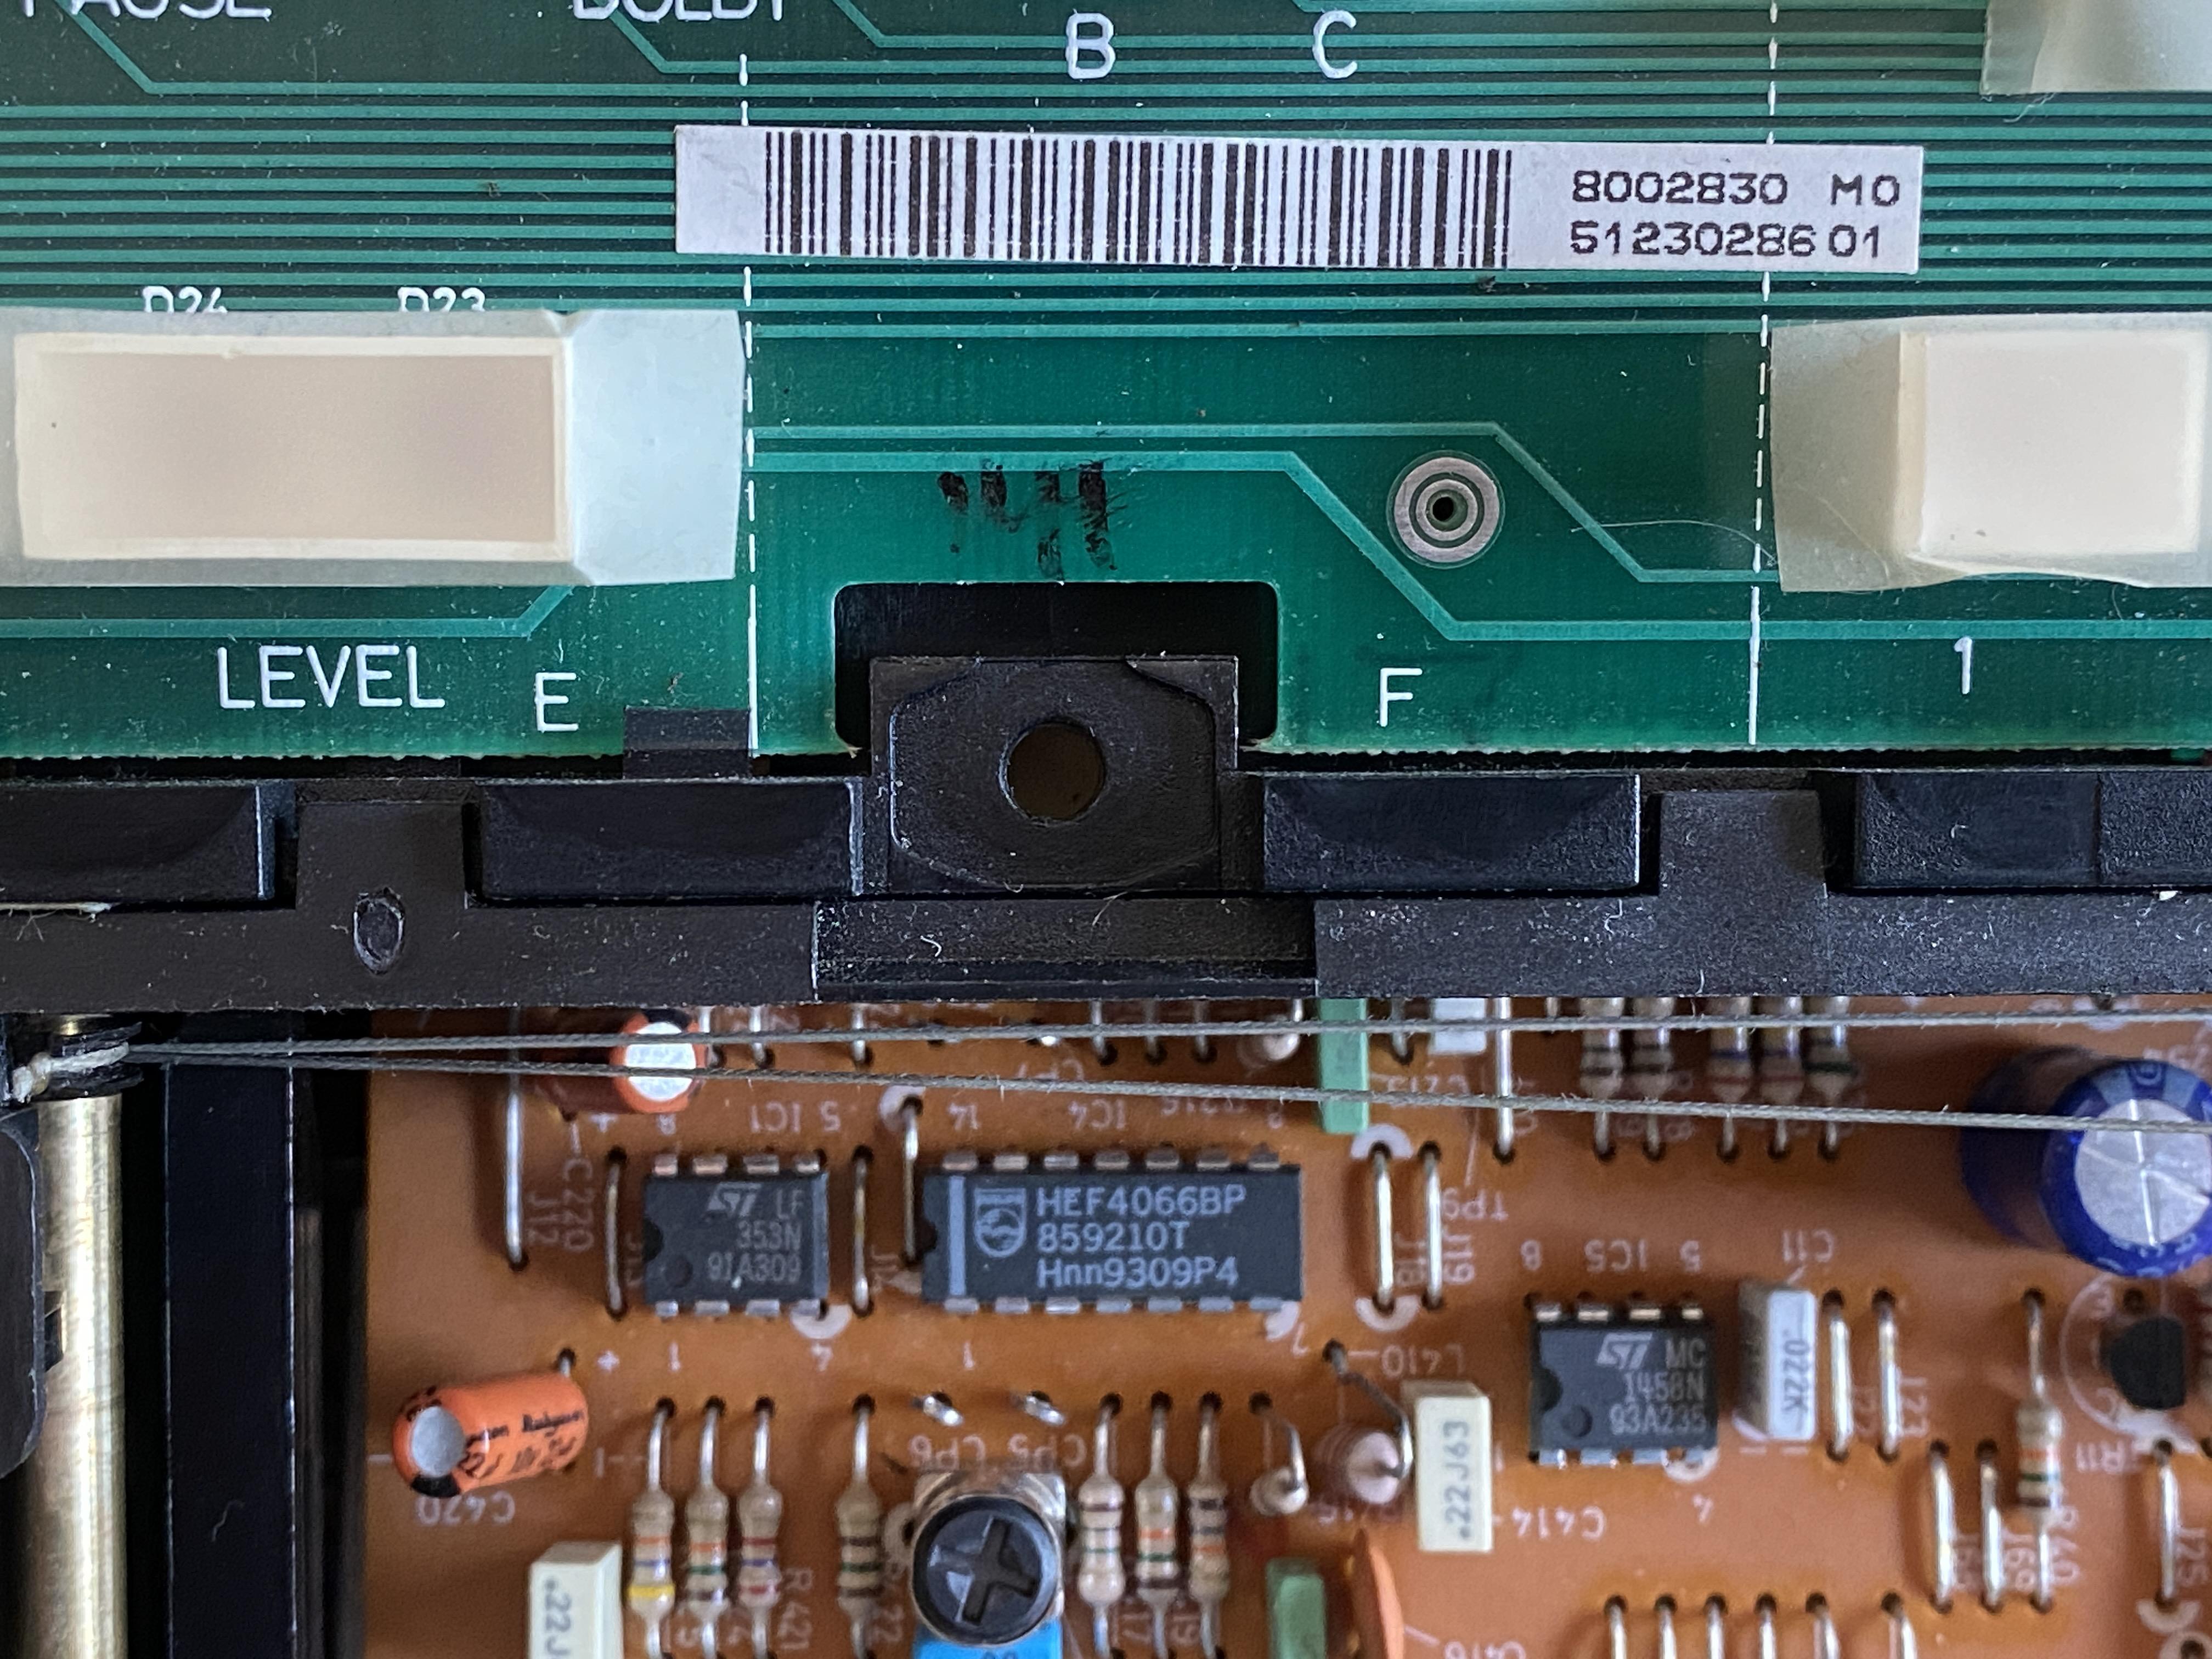
Luckily I found the threaded part laying on the PCB below the hole. I put a few drops of super glue onto the outside of it, and put it back into it’s home. I noticed that there was some cloth tape covering the hole so that this item shouldn’t have been able to fall out, but the adhesive on the tape was dried and the tape was brittle. I re-covered the back side of the hole with some painters tape for now. Along with the super glue, this should be good for another 30 years I hope.
I was hopeful that this would somehow allow my Beocenter to power back on, but no such luck in that department.
I spent a little time with a multimeter probing the power transformer. While I understand electricity very well (I work at a generator factory, and calibrate meters for a living) I find schematics so busy and they trigger ADHD in me so that I cannot focus on one thing.
That all said, I was finding voltages on all spots that I expected. So more exploration will need to be done.
I have not. I do have at least one kit from Beoparts on hand, but I suck at soldering. The kit was going to be for my Beocenter 9500.
The new CD tray belt came in, and I replaced it. However, now it just will not play any CD’s that I toss in it.
I’m starting to think that the rubber shock absorbers that Chartz mentioned will be needed to complete this job. Luckily for me, another forum member was placing an order, and added a set of them so that I didn’t have to make yet another order.
Here’s a short video of how it’s operating now.
Wow! Very well detailed, and so cool that you had replacement door kit parts! Thank you so much for documenting this process, and glad that you got it going!
I like the clip you used to keep the sliders in place. I had used painters tape, but neat to see other methods. The cross tweezers is nice. I found that a nice hook tool and tweezers were must haves for this job.
When I had it opened up, I also cleaned off the old lithium grease, and replaced with some new grease.
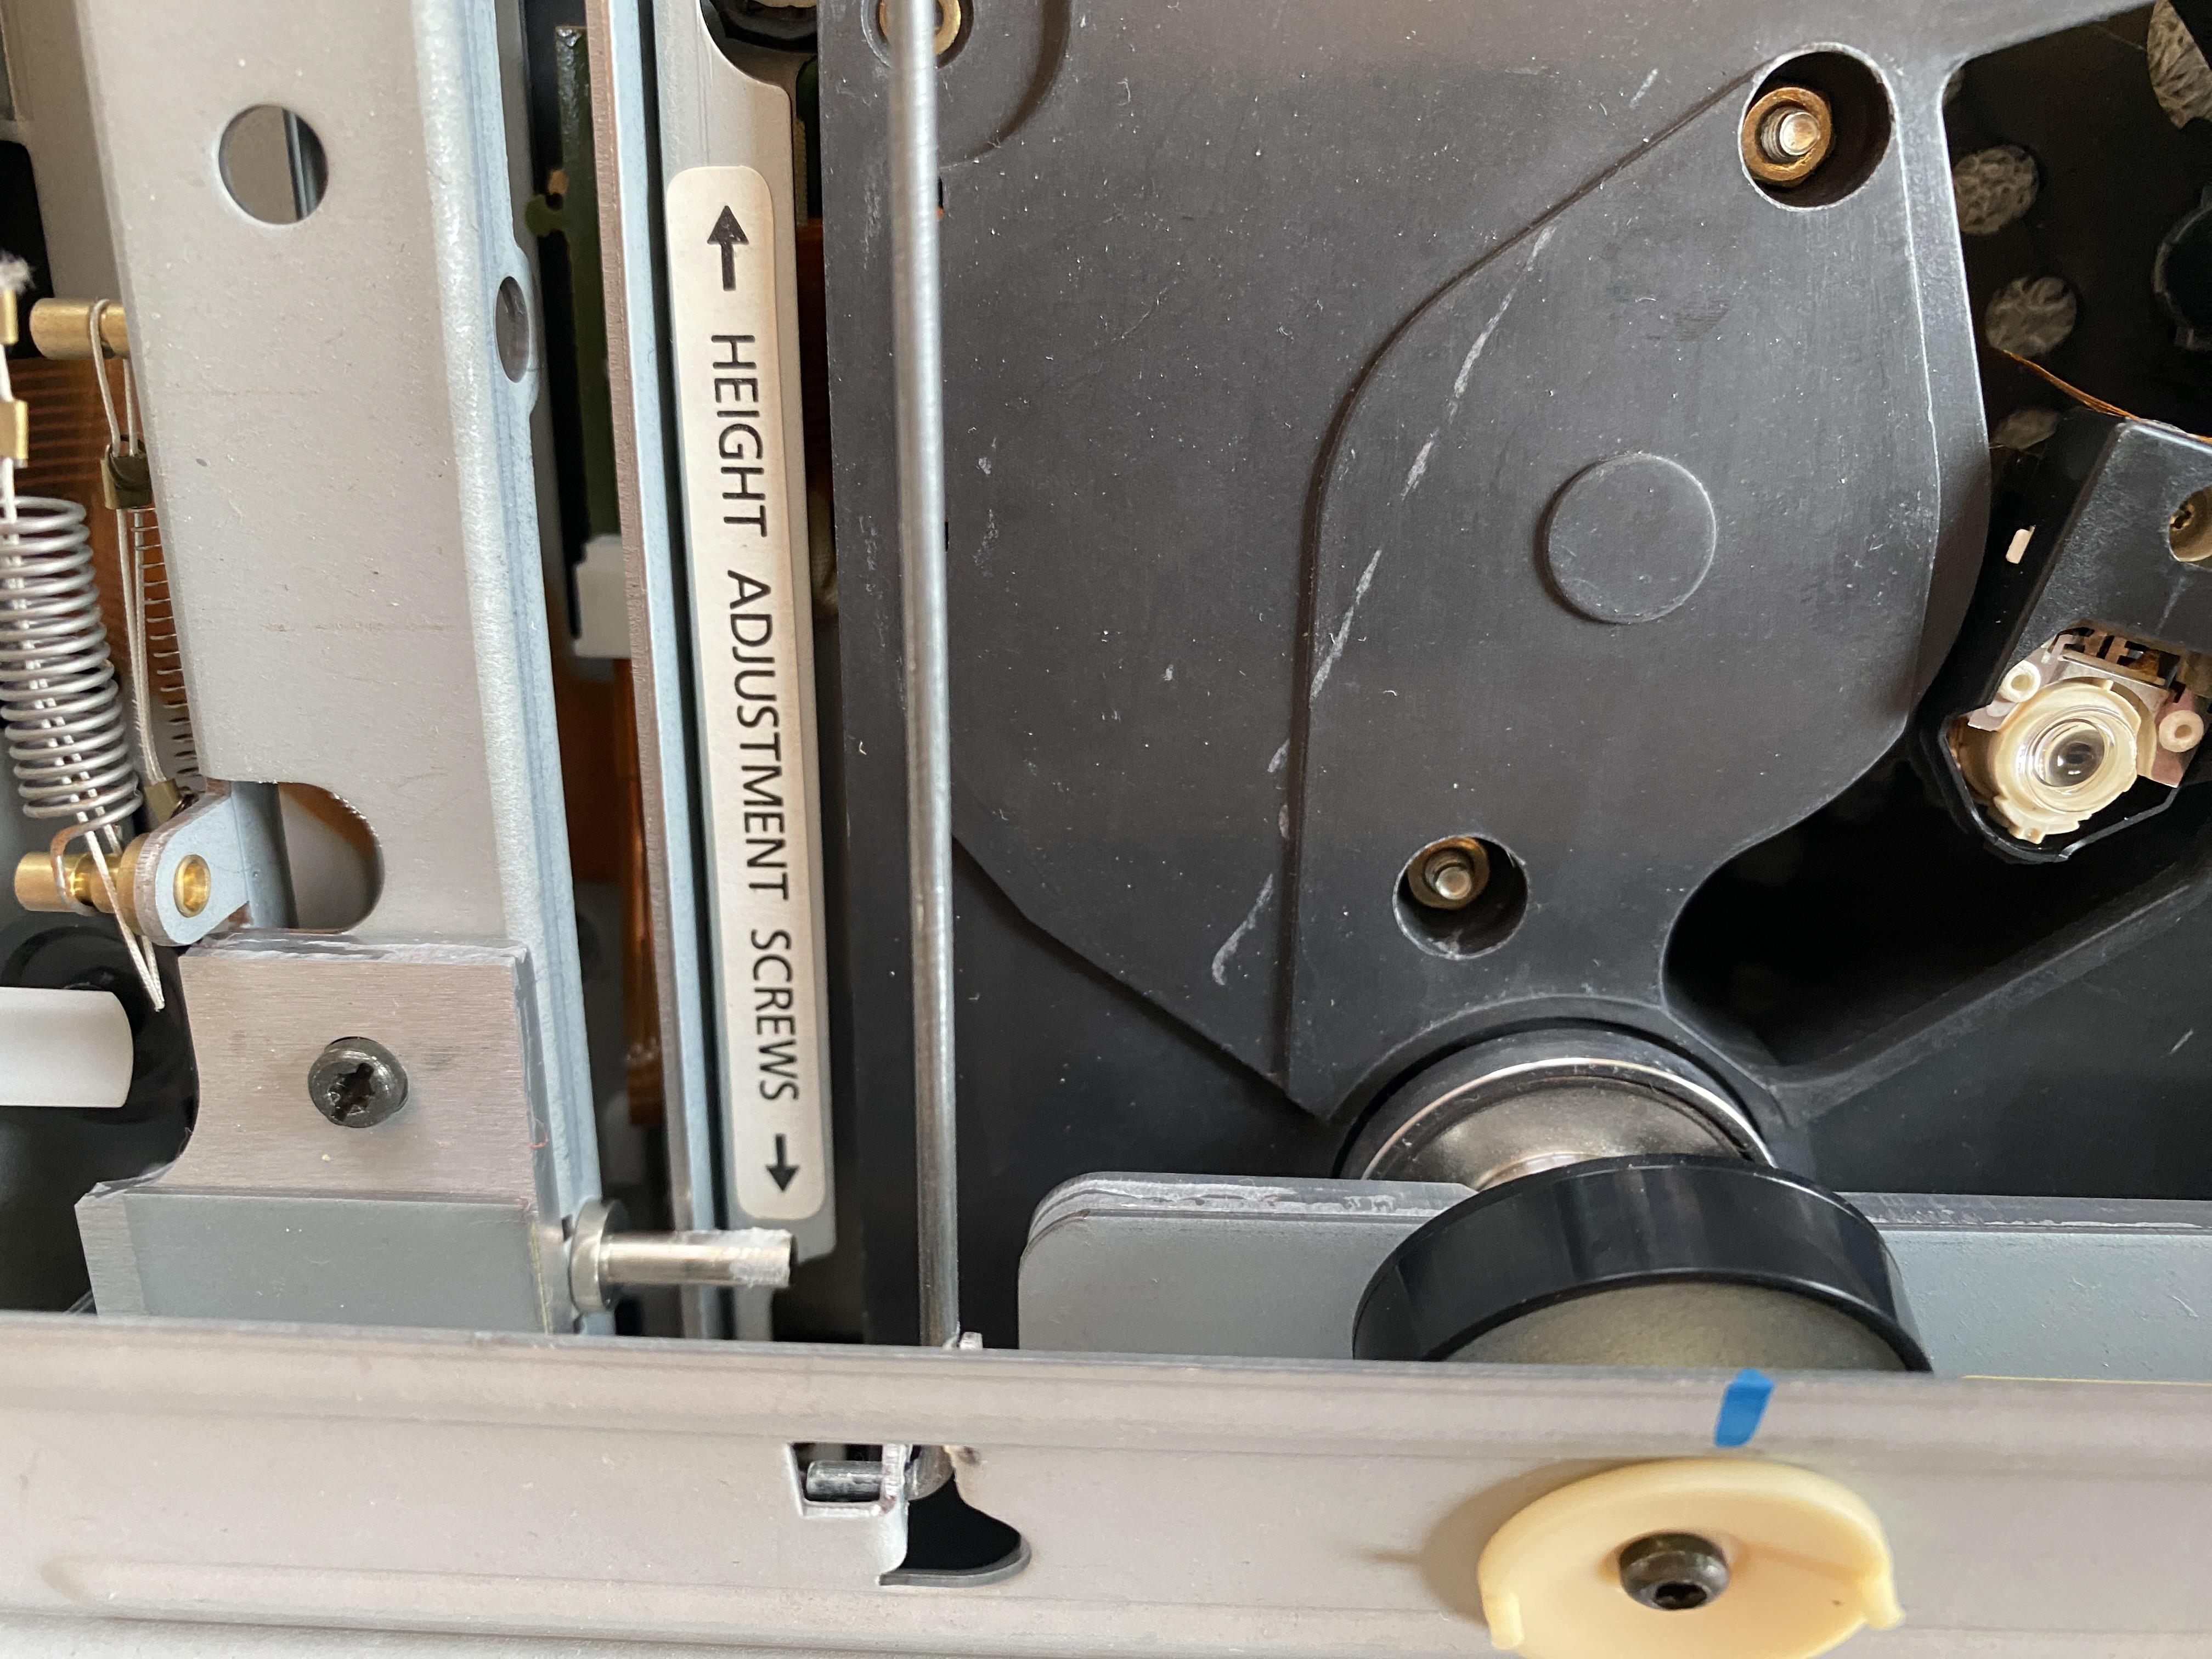
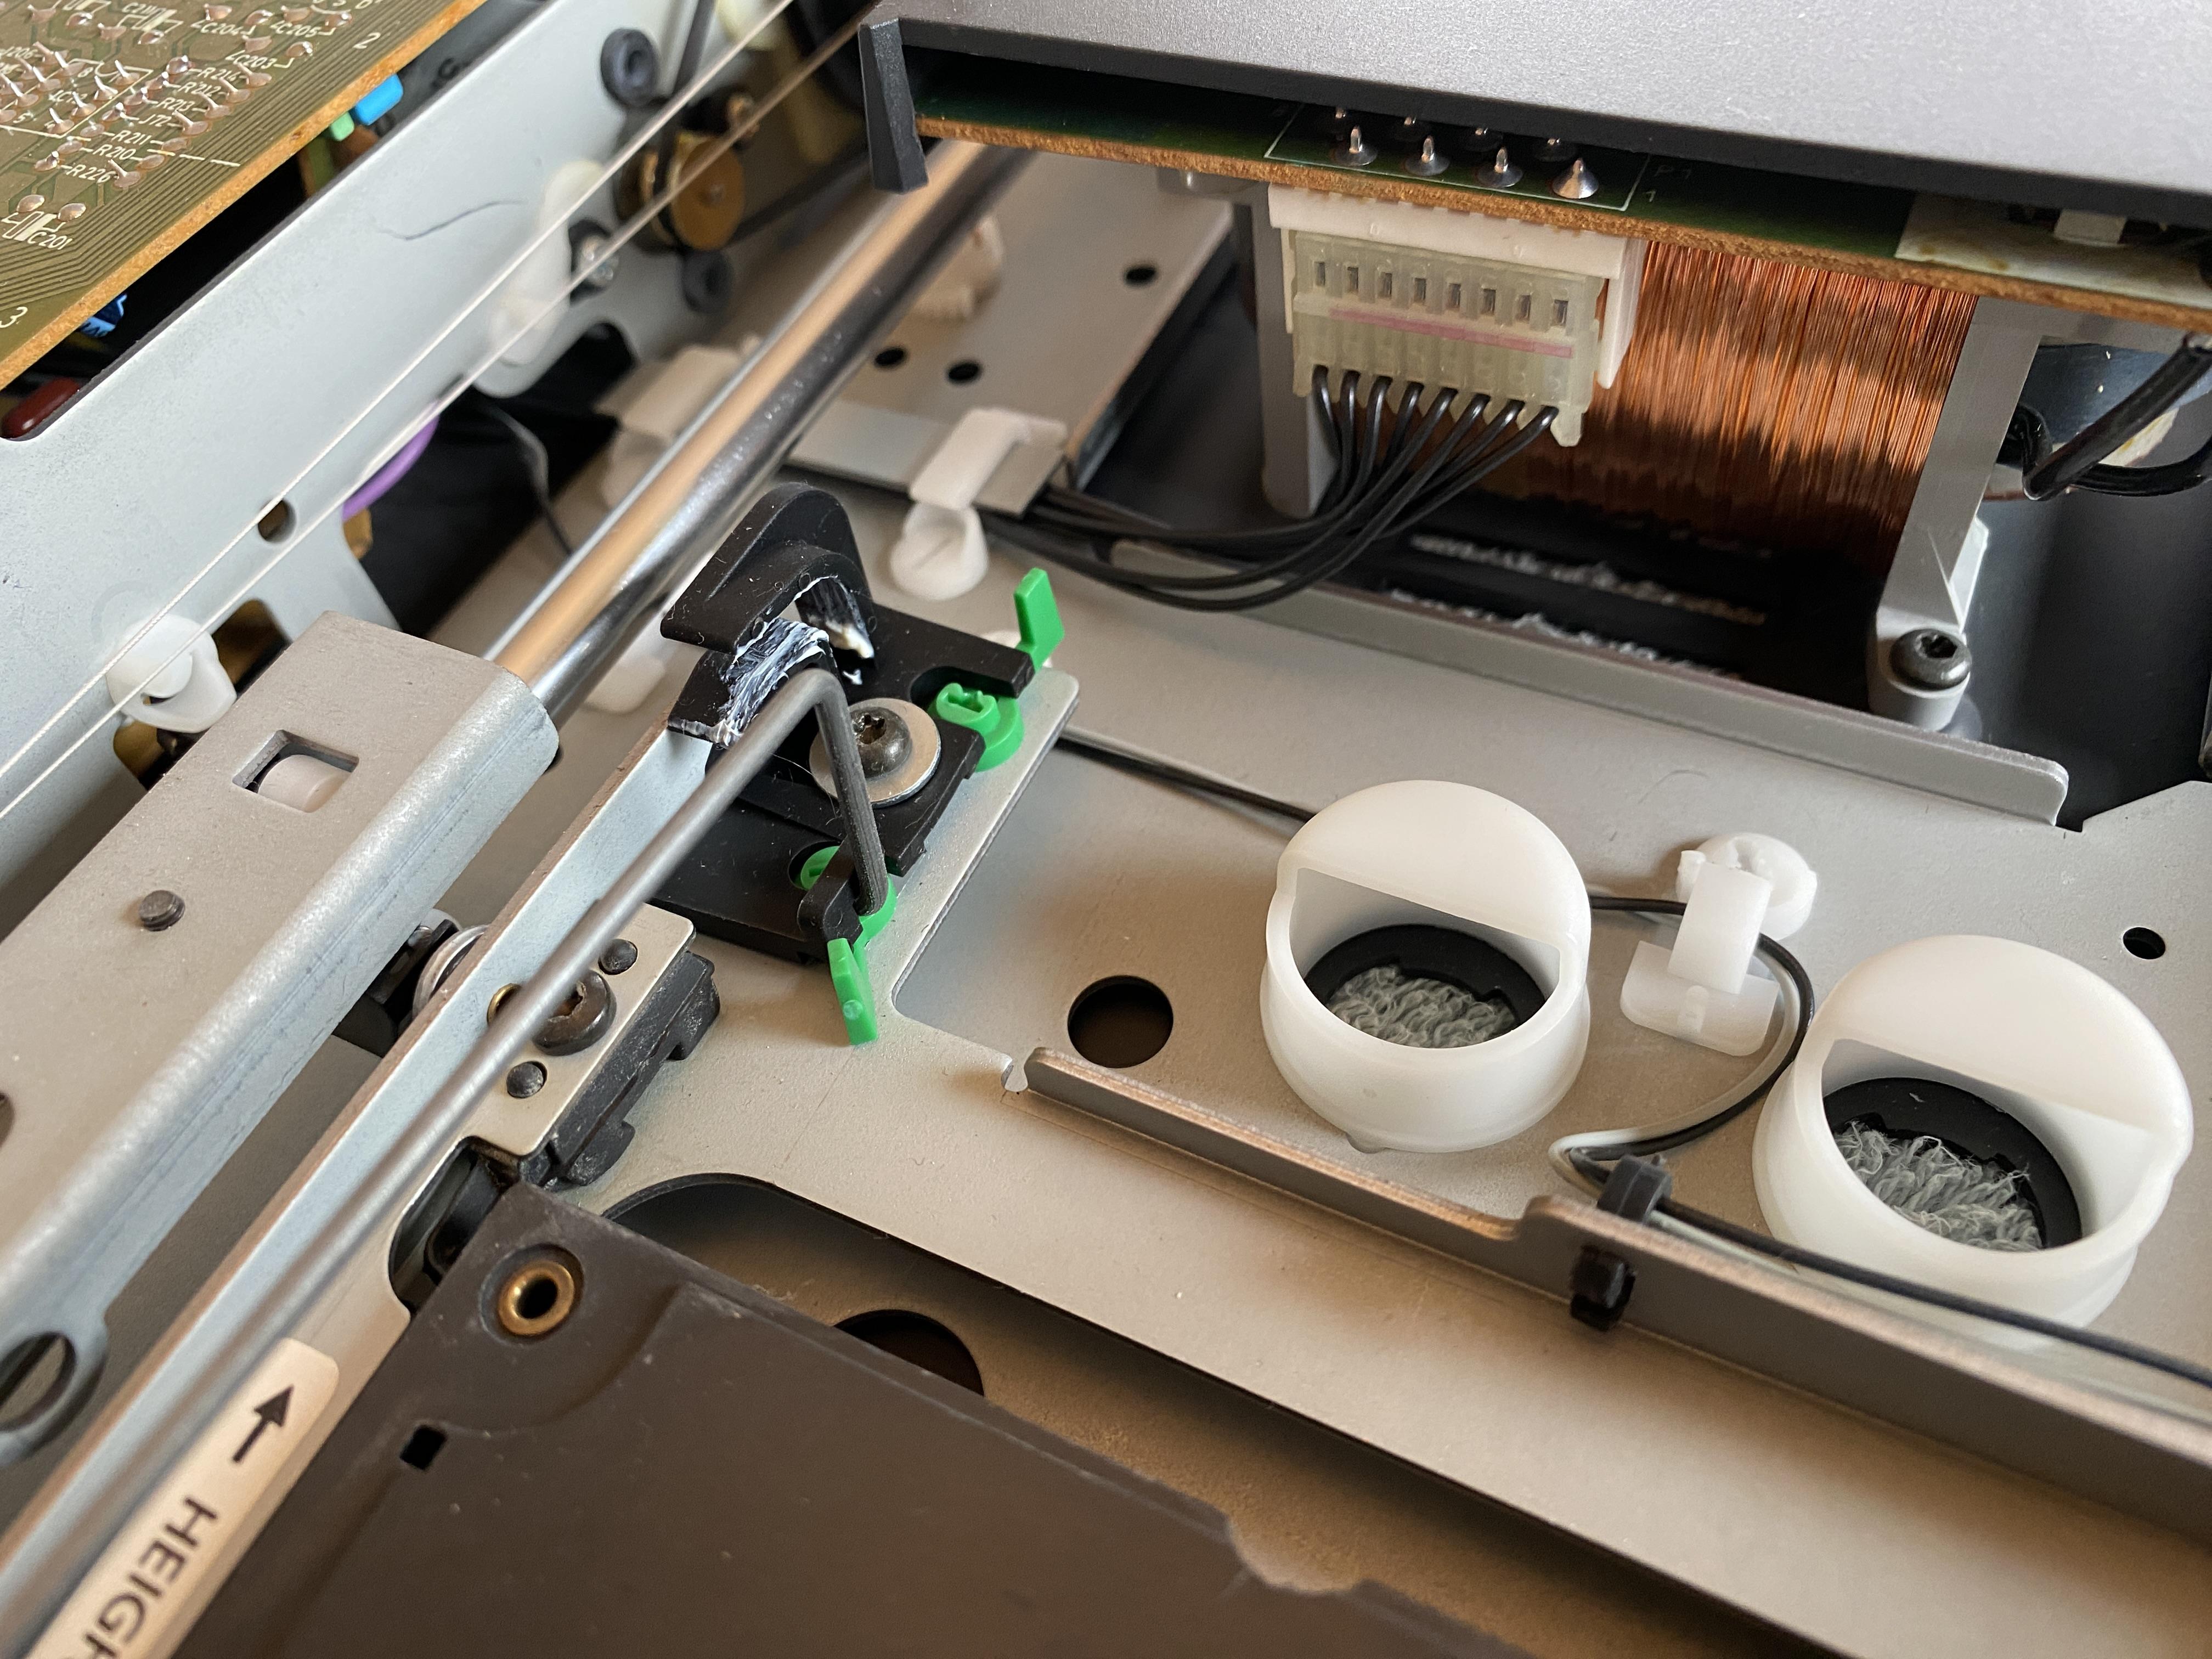
Glad to help when I can.
Also, I found it very helpful to have some painters tape around to hold things in place when working on that section. Especially the spring set up in the center of it all. Take off the metal bar holder and wrap some tape around spring assembly to hold it in place. That gives you nice access to the pulleys when you need it.
I reset it to Unlisted now. Give the link a try, and let me know if it works. I just didn’t want it publicly out there since I had incorrectly counted the turns around the post.
Last night I was able to get all the doors stringed properly. I double checked all the connectors to the PCB’s, and buttoned up the Beocenter. Still it will not power on. I even tried a few different outlets. So the project is on hold for now. I want my dining room table back.
Congrats everyone 🙂
Thanks guys! I will check the connectors on the boards.
Yes, I do have new belts on the door motors.
Well, I had it set up with all the strings doing the two loops around. However, the lower cassette door string was too loose. So I re-did it with three loops around. While it was a little tight getting the knot back into the slider, it worked. However, then the upper CD door string was too loose, and the door wouldn’t open properly on its own.
So this is a very frustrating issue. I’m currently playing around with three to see if I can get that to work.
Motorman, I fully agree with your take as well. So I’m just struggling with this project.
The next big issue is: When I received this item, I could turn it on, change inputs, ect. At one point much earlier while trying to figure out the door issue, I had the Beocenter up in the service position, and I tapped on the “Load CD” sensor. From that point on, the Beocenter lost power.
I opened up the fuse panel last night, and checked the fuses, all were good.
Thanks Guy, I do have the manual, so I’ll give it a look. At first I thought 3 turns as well, so I might play around with it a little more. The main problem is each slider and system will affect the others, so if you have something wrong, and rework it, you could easily un-do your previous work on a completely different slider.
(slight edit, I am a Gold member, just don’t have it linked to my forum thing.)
So after a lot of frustration, I couldn’t stop thinking about the Beocenter, and I came up with an idea where I started with the slider, and directed the string from there, maybe I could get it taken care of correctly.
I think I got it. Though I still have a ton of work to do, and might have to re-do one of these sliders. I’m posting a video on the method I used, and I totally welcome any other suggestions, or pointers telling me where I went wrong.
hello everyone, i have a penta mk3 speakers, the other one has a problem. no standby light, when i move the switch on the right part, green light appears but no sound. any idea? thanks
Hello Nick. A few questions: What type of system do you have hooked up to the Beolabs? What input on the Beolab are you using? This may help us answer your question.
Sadly this project isn’t going well at all. After my last post I continued a few attempts at repairing the Beocenter, but with each attempt, things got worse, not better.
Today I took the Beocenter up to a friends and between the two of us we got very close, but ultimately got beat by the Beocenter.
I can see how the string is supposed to go around the longer rod, but the level of difficulty and mental anguish it is to put that together is just too much for me.
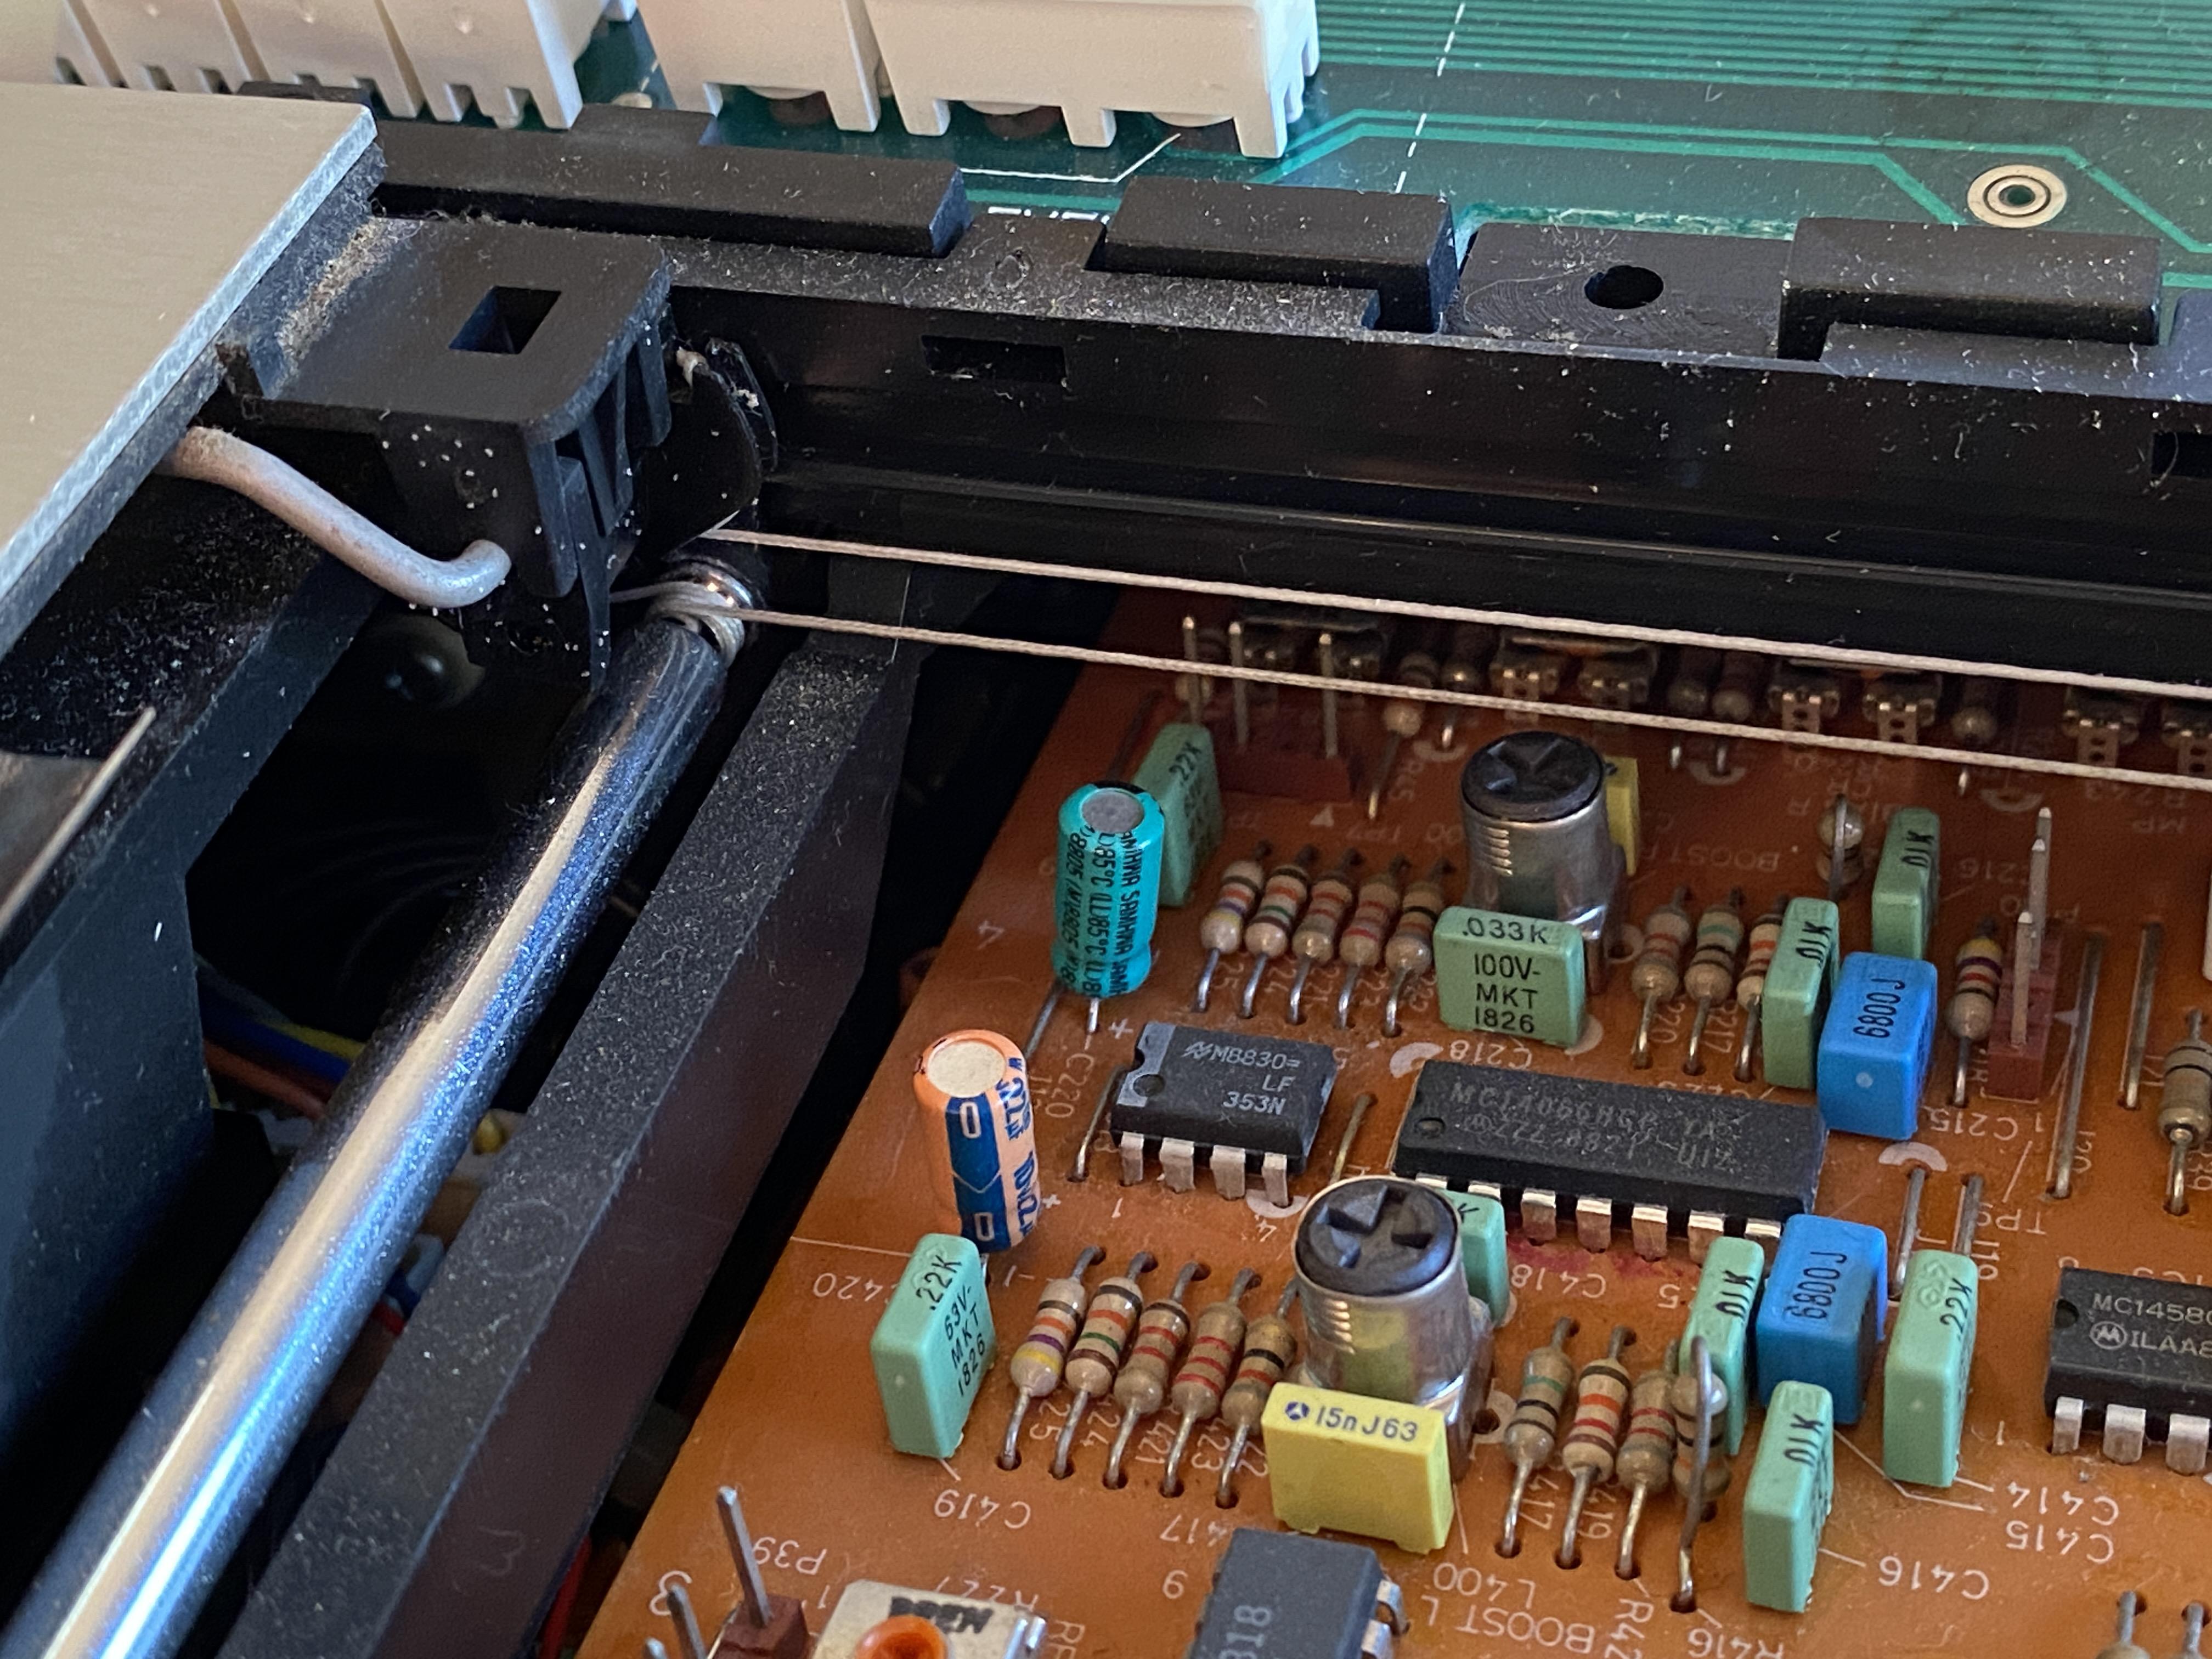
I took this picture of my Beocenter 9000. Here I can see how many times the string goes around the rod, what directions the string comes off of it, etc. But even with four hands, we just couldn’t manage to get the strings of the 9500 in the correct spots. It’s a really bad, sinking feeling.
I pretty much second all of what Steve from Sounds Heavenly said.
I’m not much of a regular on the forums, but I do enjoy my Bang & Olufsen items, and work on items from time to time as well.
My first time as a Gold member came when an item on my Beogram 9000 broke, and a member was kind enough to send me a replacement just for me signing up and helping with the site. From there I’ve kept my Gold membership because the access to the service manuals was a help to me.
I somehow won a prize last spring, and didn’t realize it till much later. I can’t lie that I was pretty excited about it, but it also didn’t have the most impact on my decision to re-up my Gold membership.
Option 1 would be my vote, but I’m not going to be heartbroken with whatever happens, and I really hope that we can keep on with this brand we love.
January 28, 2023 at 3:19 am in reply to: Beosystem 2500 Cassete issues and Beolab 2500 issues #15124Wow, that must have been a very interesting issue. Glad you have it worked out.
So after looking at things closely, I felt that I had a good chance at fixing the cassette deck door. The string for the top side of the door is still fully working and stringed properly. The lower string is loose, but doesn’t seem too far off from what it should be.
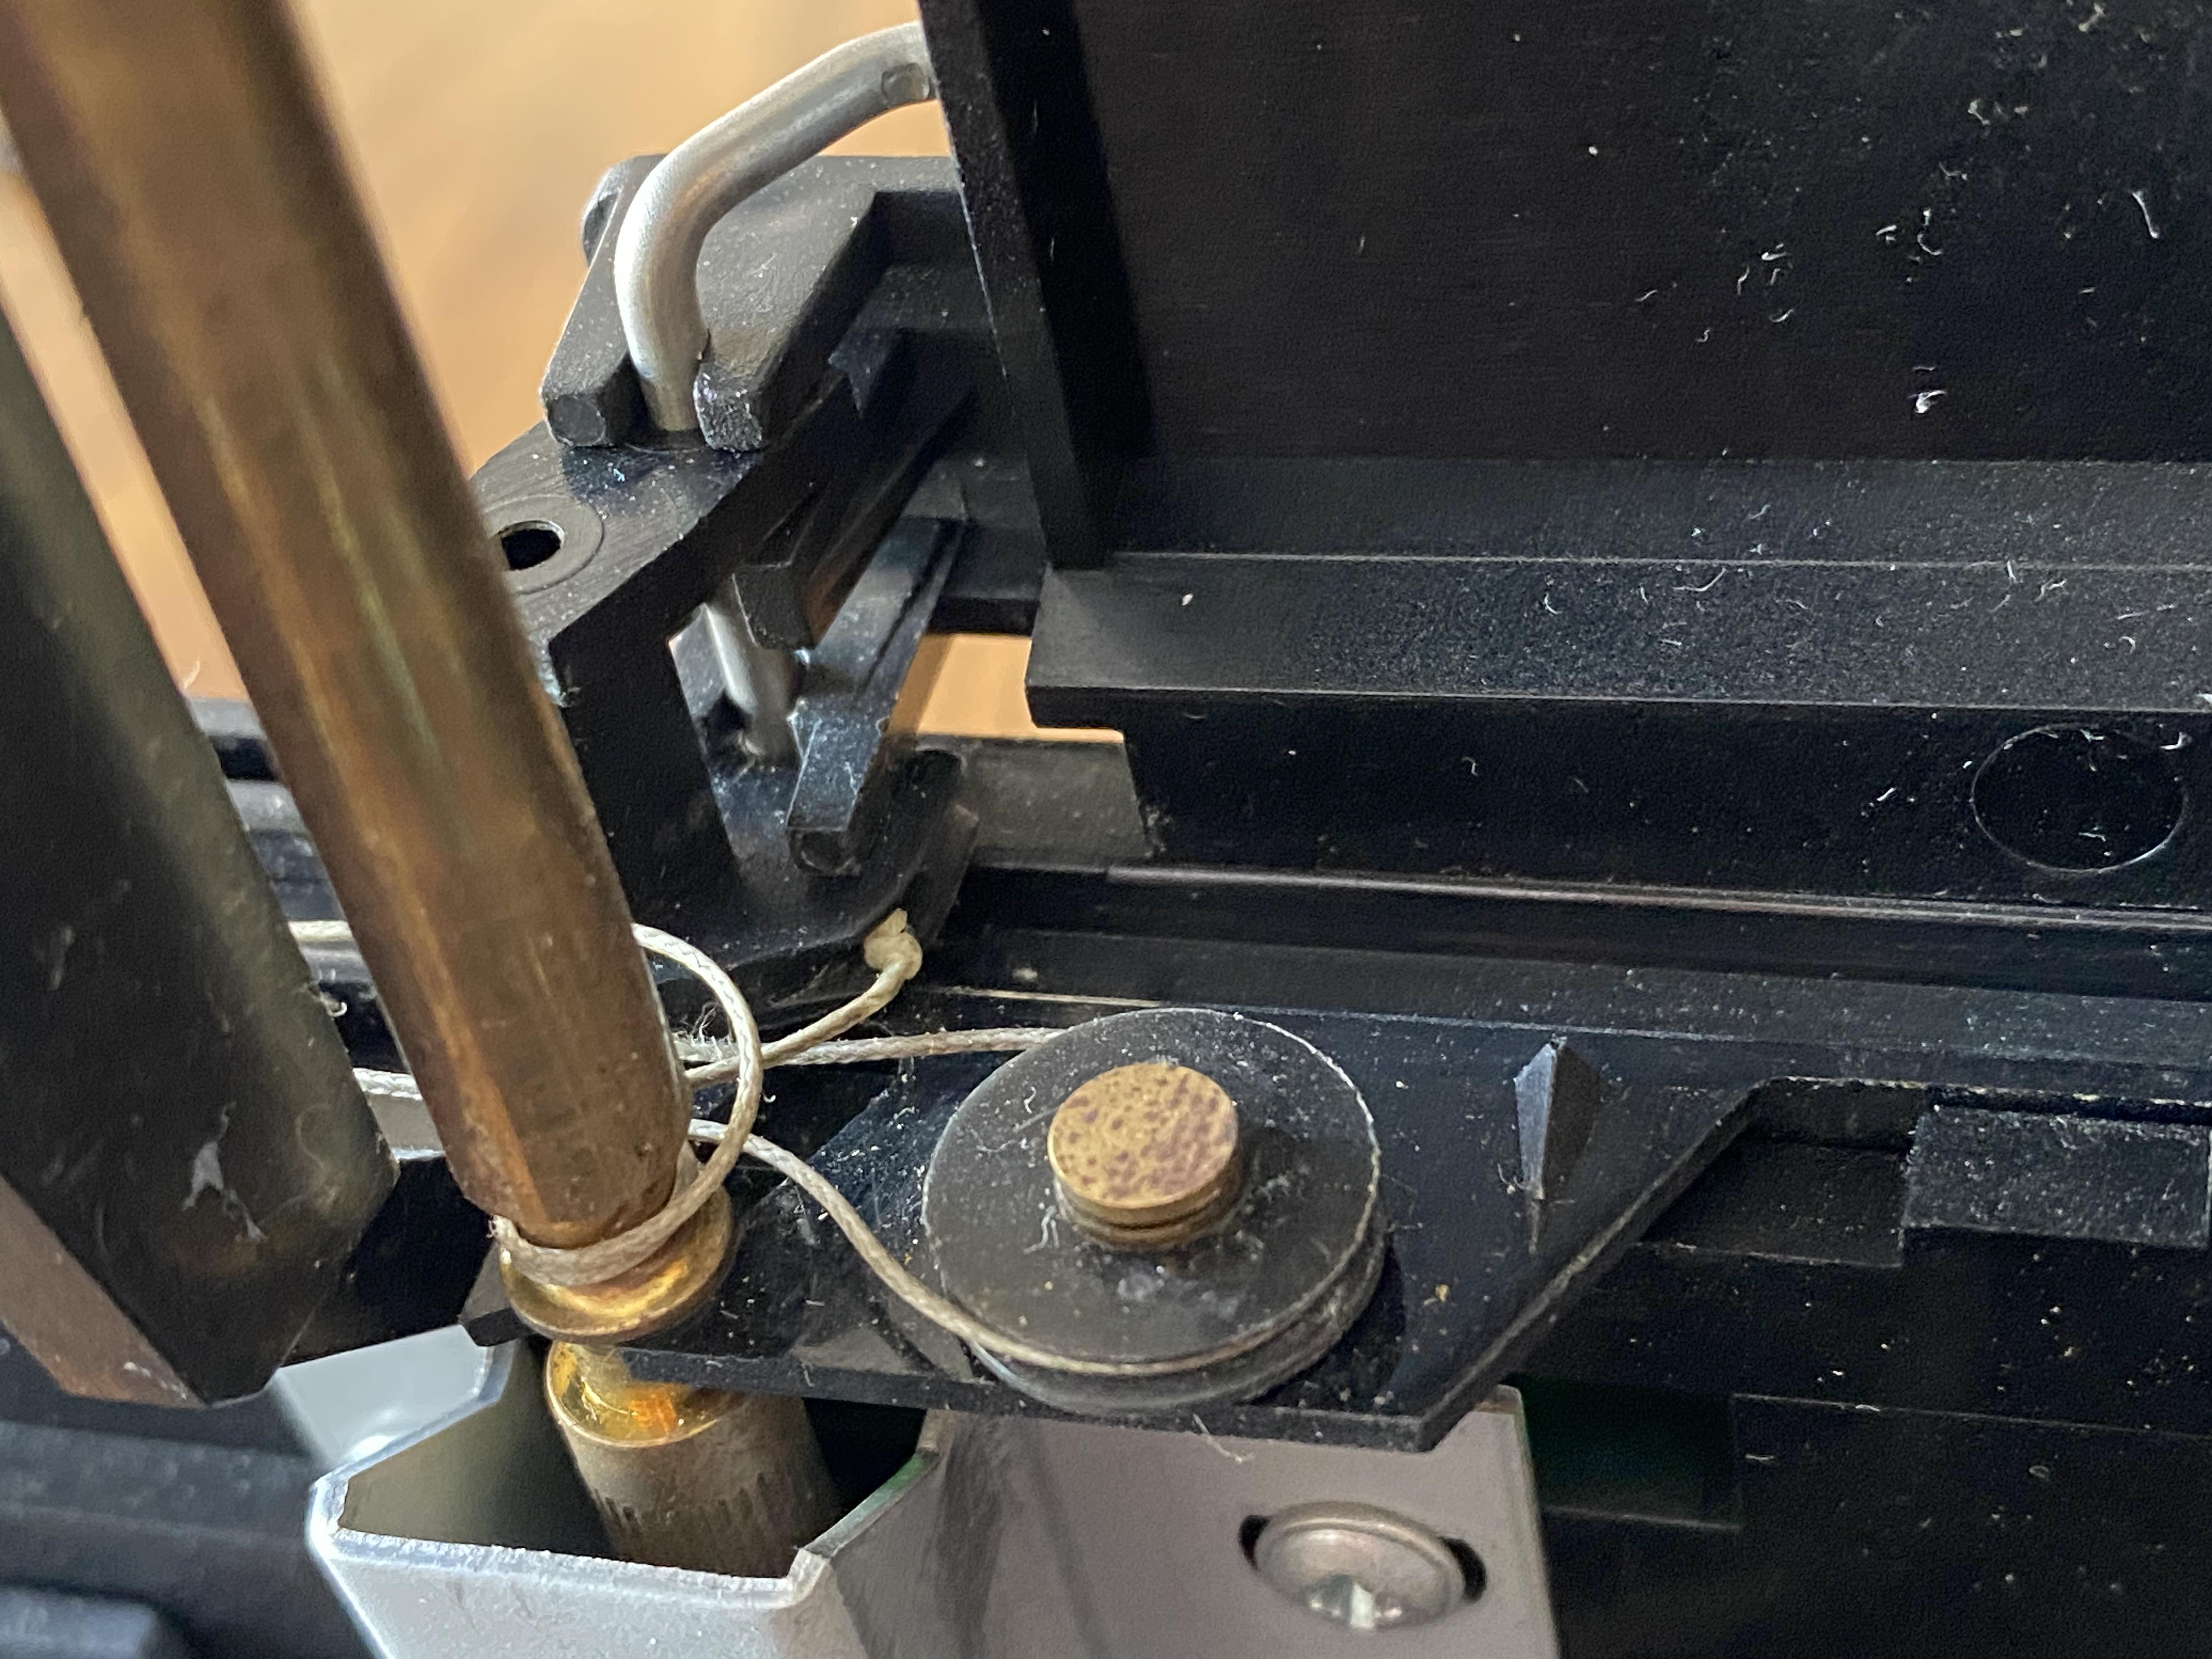
I could tell by looking at this that the knot was still good in the string. It’s very hard to see with the eye, but when looking at the photo, it’s clear as day. So I tried to put the knot into the slot in the sliding bracket.
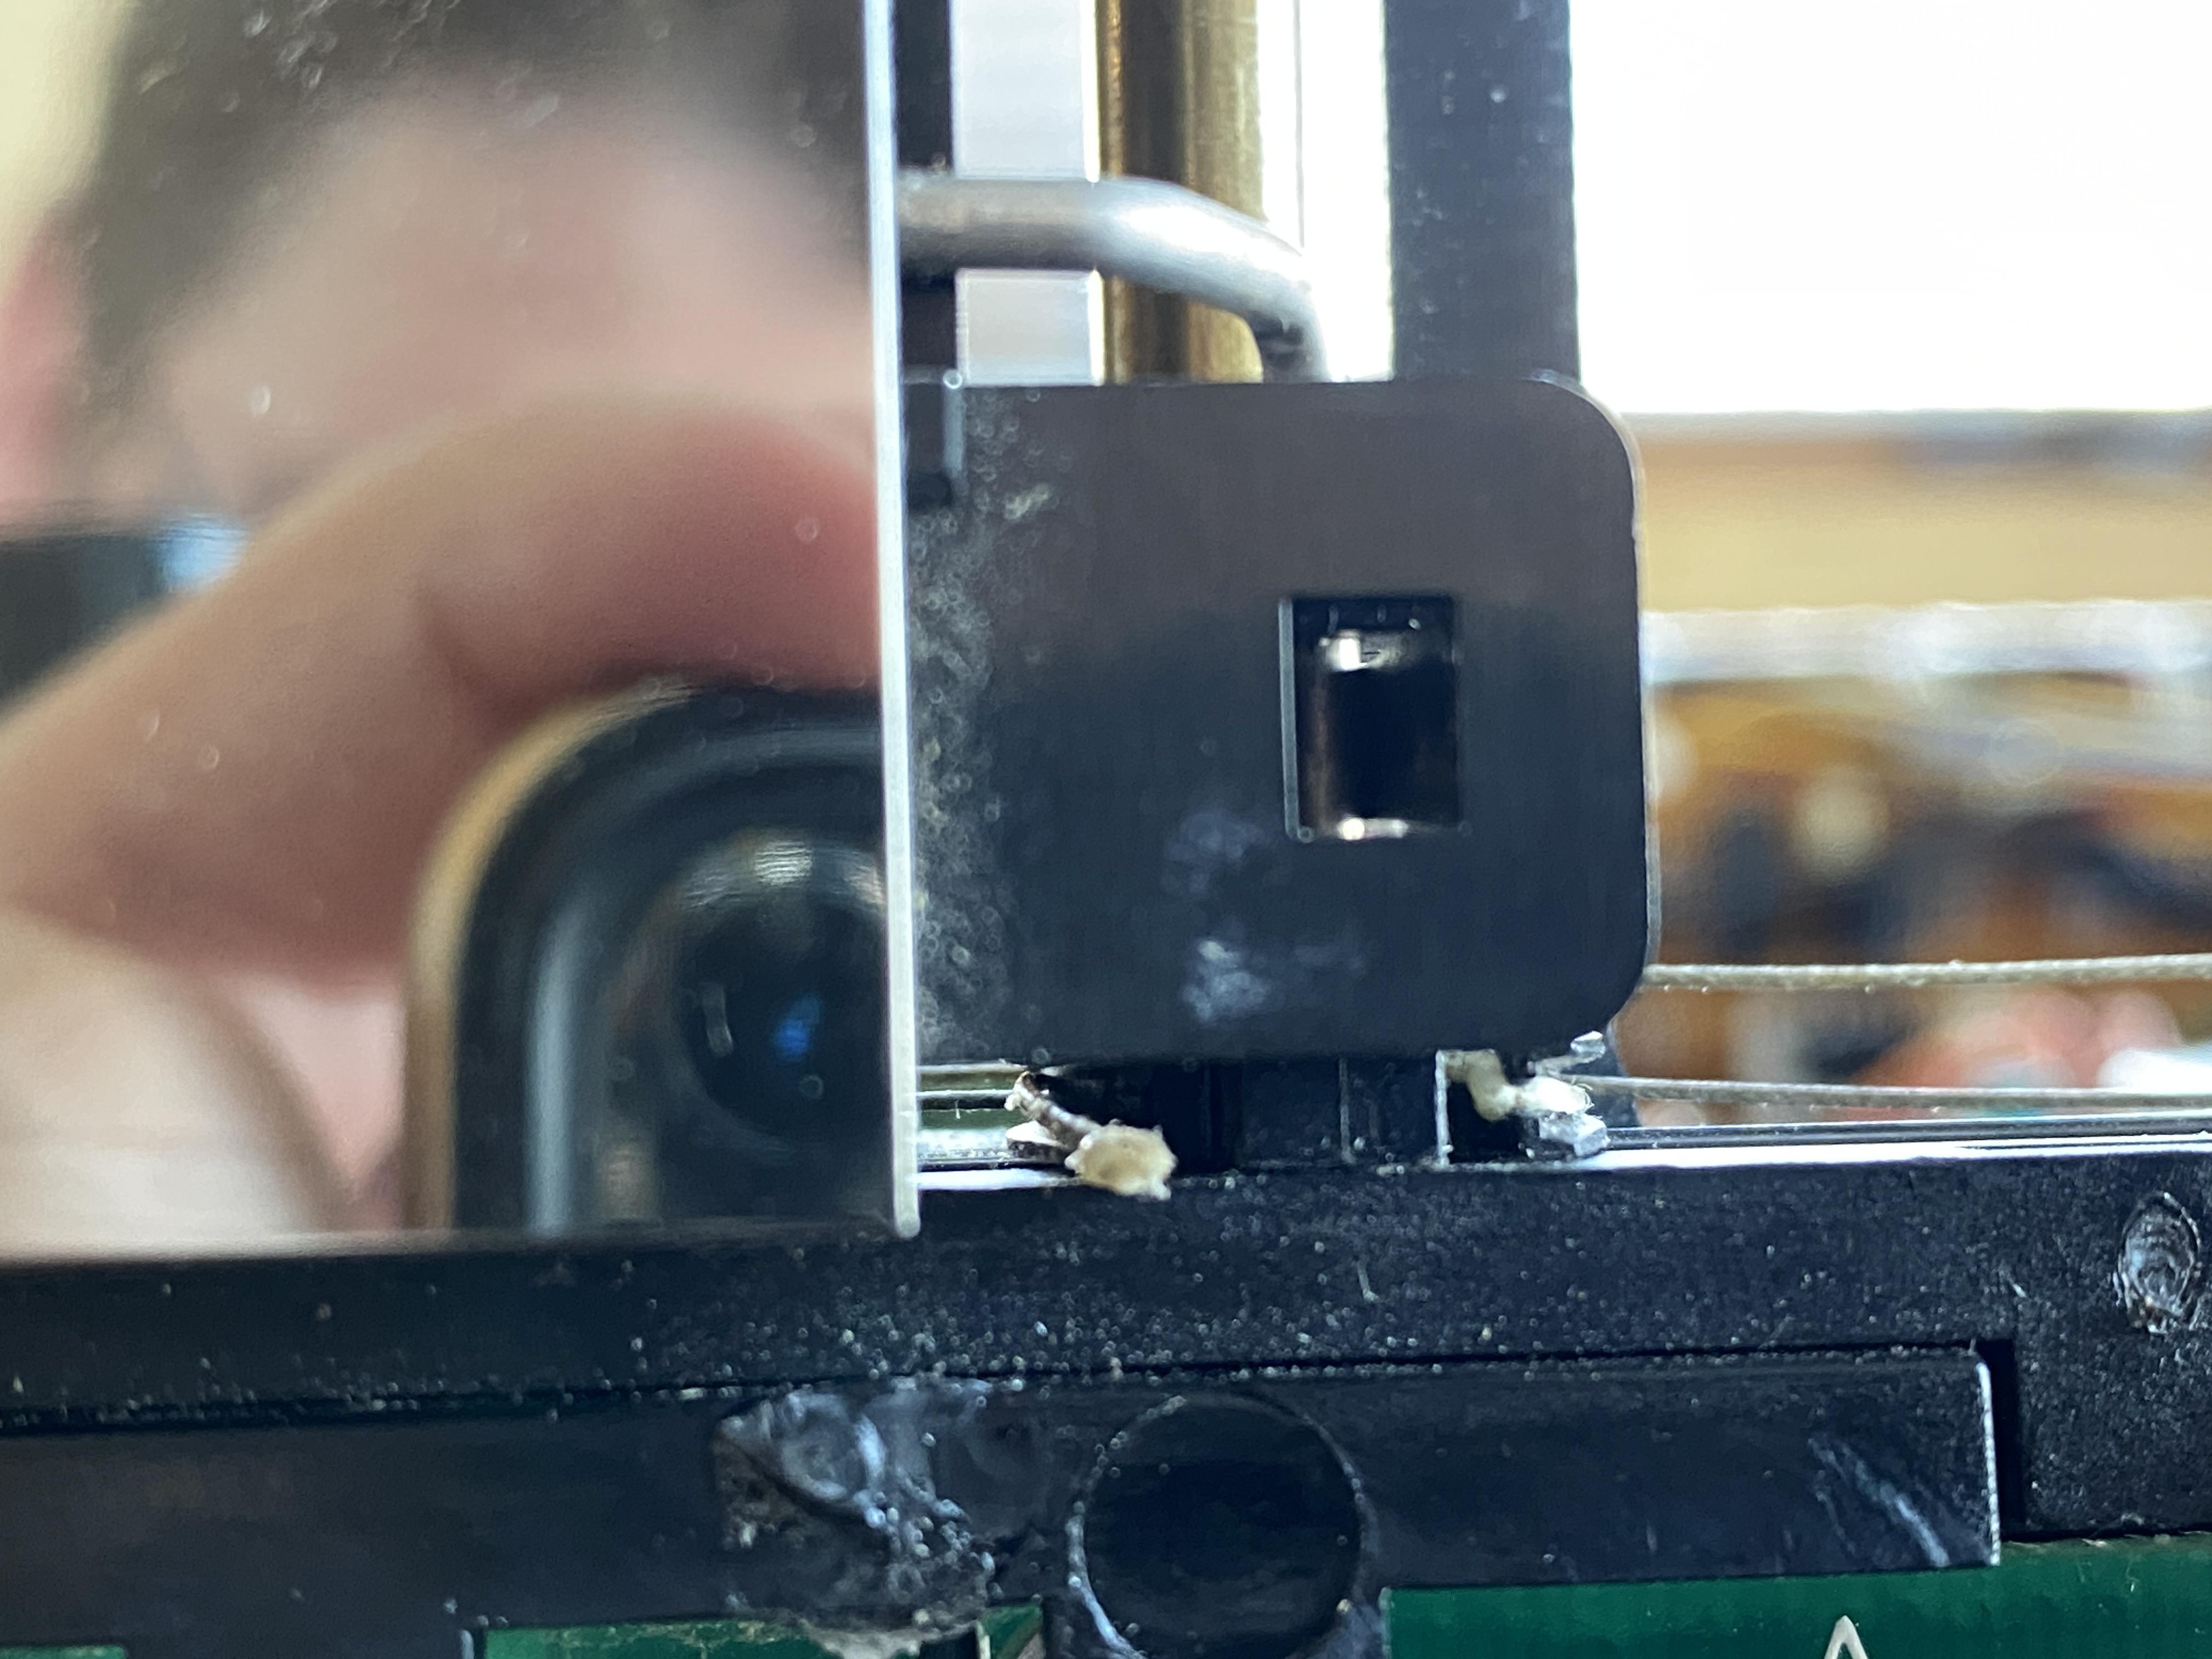
Even after getting the knot into the correct spot, the string was still loose. So something else must be wrong with it yet.
- AuthorPosts
